


Malware developers have modified the Free-Freedom ransomware that was developed by a minor to a new virus called Roga ransomware which exhibits similar features.
| Name |
Roga |
| File Extensions |
.madebyadam |
| Ransom |
30$ Value Google Play Gift Card |
| Solution #1 |
You can skip all steps and remove Roga with the help of an anti-malware tool. |
|
Solution #2 |
Roga ransomware can be removed manually, though it can be very hard for most home users. See the detailed tutorial below. |
| Distribution |
Spam Email Campaigns, malicious ads & etc. |
Roga Ransomware Description
A criminal developer or a hacker collective modified the Free Freedom ransomware to a new malware strain known as Roga ransomware. The new virus adds the .madebyaadam extension to the compromised files.
Like the previous version the vinary file contains the unlock passcode in itself and does not actually encrypt the files. The unlock string is adamdude9.
The displayed ransomware note reads the following:
Your files have been encrypted!
All of your documents, music, pictures, text files etc have all been encrypted!
Want your files back? Just follow the onscreen instructions below:Yes. This ransomware is called Roga!
To decrypt and retrieve your files, just go to this website:http://www.i-m.mx/epicbet/freefreedom
The virus uses the same site that is associated by Free-Freedom which might mean that the same developer or a closely related team is behind the malware. Also note that the ransomware sum is the same – a Google Play gift card with a 30 US Dollars value.
Roga Ransomware Distribution
Like previous malware strains the virus is primarily distributed via the usual infection tactics: malicious ads, browser hijackers, exploit kits and etc.
Roga Ransomware Removal
For a faster solution, you can run a scan with an advanced malware removal tool and delete Roga completely with a few mouse clicks.
STEP I: Start the PC in Safe Mode with Network
This will isolate all files and objects created by the ransomware so they will be removed efficiently.
-
1) Hit WIN Key + R
- 2) A Run window will appear. In it, write “msconfig” and then press Enter
3) A Configuration box shall appear. In it Choose the tab named “Boot”
4) Mark “Safe Boot” option and then go to “Network” under it to tick it too
5) Apply -> OK
Or check our video guide – “How to start PC in Safe Mode with Networking”
STEP II: Show Hidden Files
-
1) Open My Computer/This PC
2) Windows 7
-
– Click on “Organize” button
– Select “Folder and search options”
– Select the “View” tab
– Go under “Hidden files and folders” and mark “Show hidden files and folders” option
3) Windows 8/ 10
-
– Open “View” tab
– Mark “Hidden items” option

4) Click “Apply” and then “OK” button
STEP III: Enter Windows Task Manager and Stop Malicious Processes
-
1) Hit the following key combination: CTRL+SHIFT+ESC
2) Get over to “Processes”
3) When you find suspicious process right click on it and select “Open File Location”
4) Go back to Task Manager and end the malicious process. Right click on it again and choose “End Process”
5) Next you should go folder where the malicious file is located and delete it
STEP IV: Remove Completely Roga Ransomware Using SpyHunter Anti-Malware Tool
SpyHunter anti-malware tool will diagnose all current threats on the computer. By purchasing the full version, you will be able to remove all malware threats instantly. Additional information about SpyHunter / Help to uninstall SpyHunter
STEP V: Repair Windows Registry
-
1) Again type simultaneously the Windows Button + R key combination
2) In the box, write “regedit”(without the inverted commas) and hit Enter
3) Type the CTRL+F and then write the malicious name in the search type field to locate the malicious executable
4) In case you have discovered registry keys and values related to the name, you should delete them, but be careful not to delete legitimate keys
Further help for Windows Registry repair
STEP VI: Recover Encrypted Files
-
1) Use present backups
2) Restore your personal files using File History
-
– Hit WIN Key
– Type “restore your files” in the search box
– Select “Restore your files with File History”
– Choose a folder or type the name of the file in the search bar
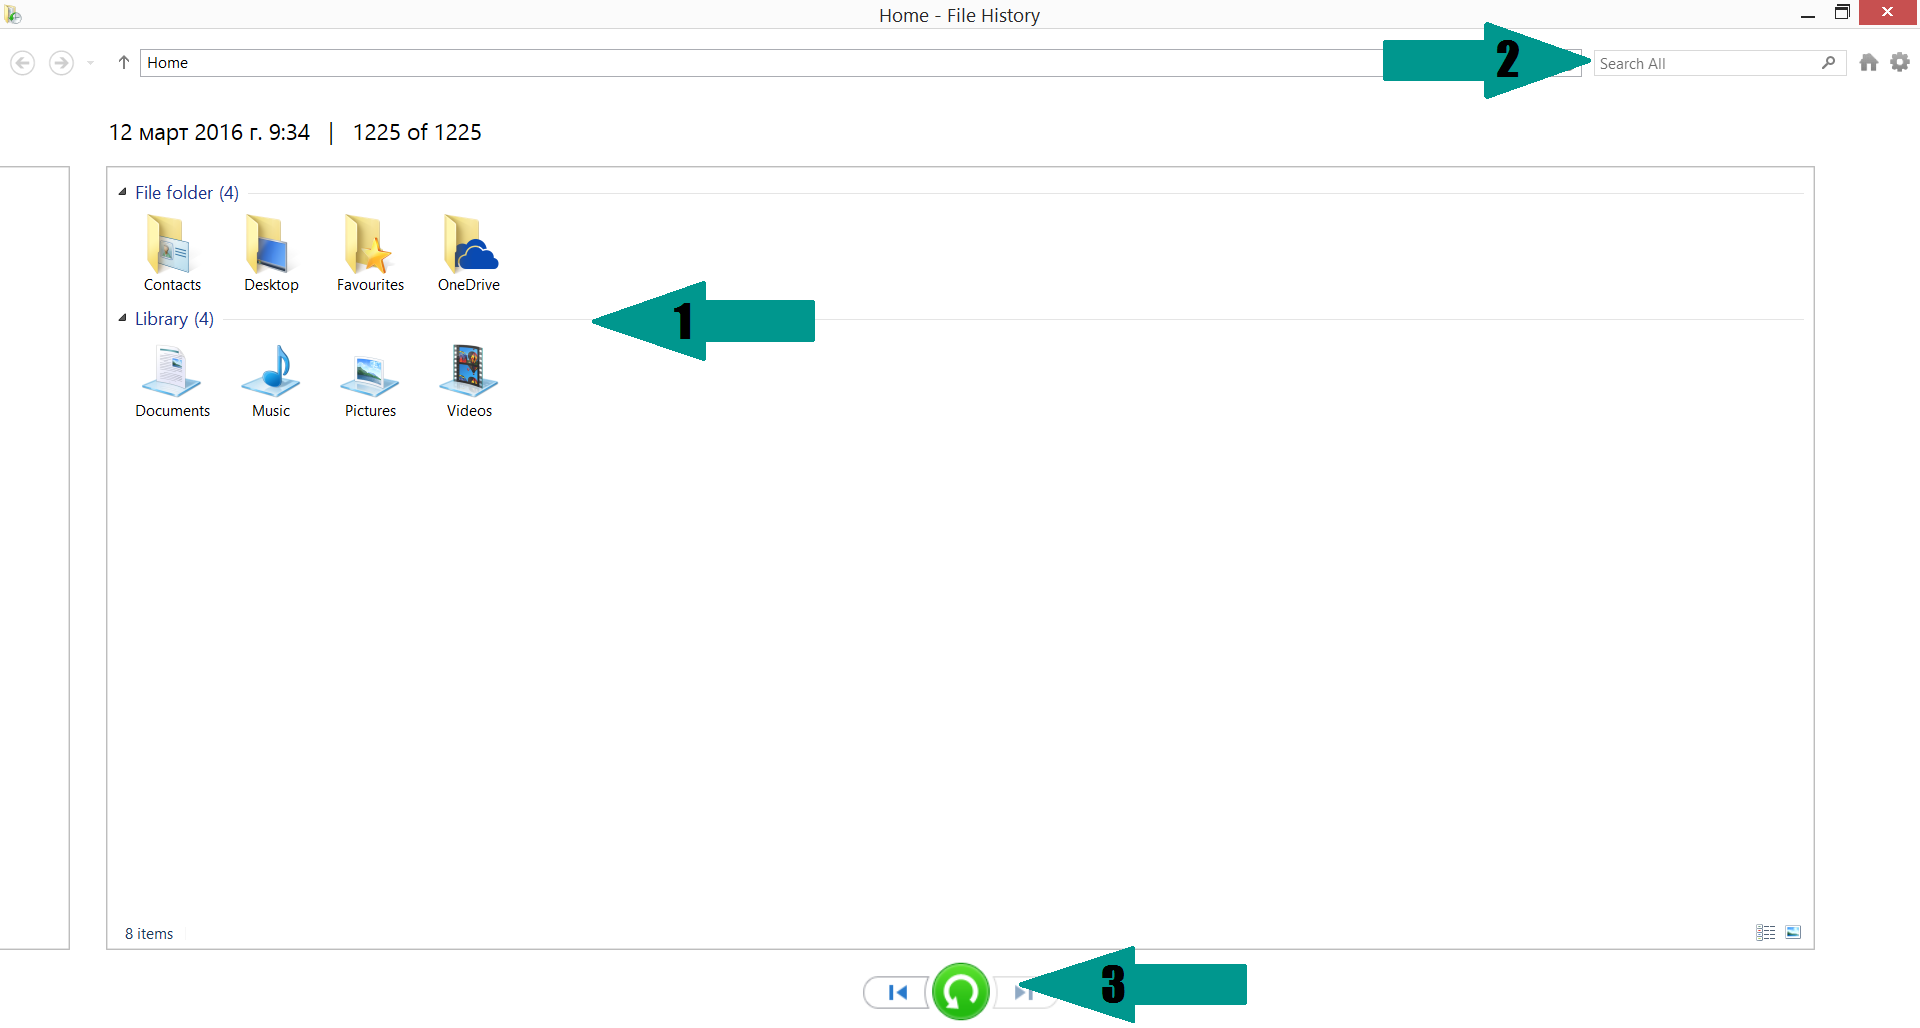
- – Hit the “Restore” button
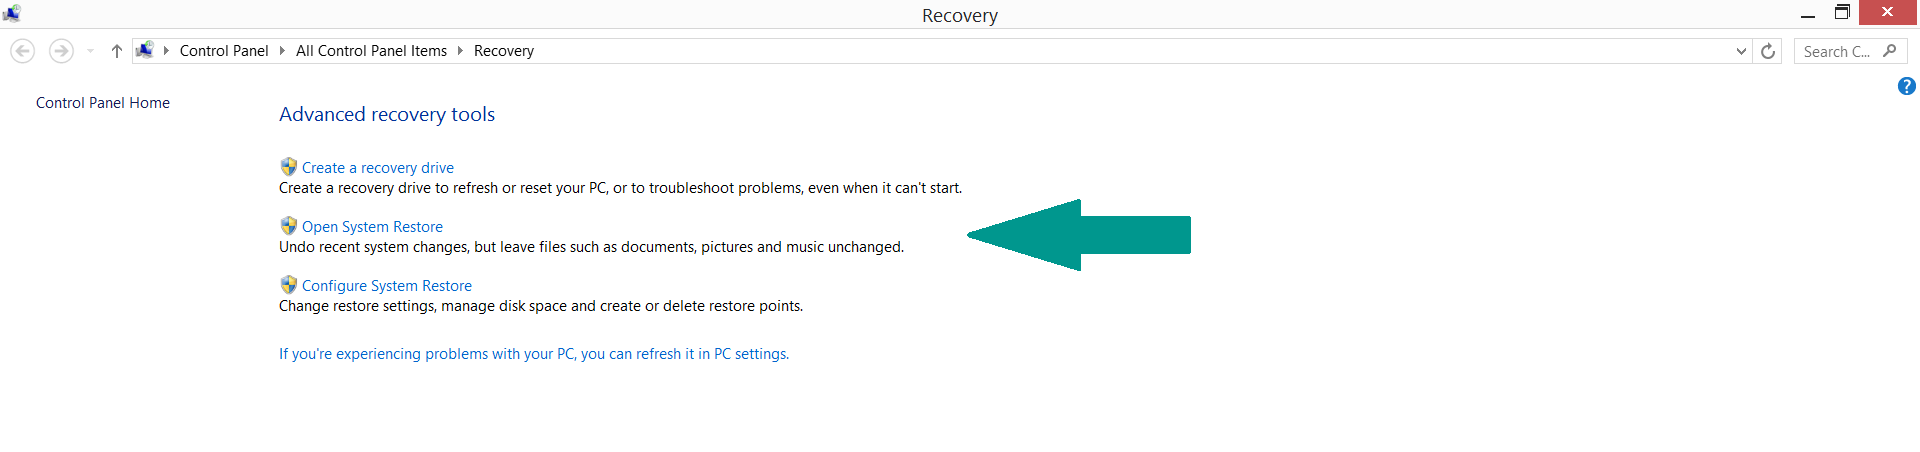
3) Using System Restore Point
-
– Hit WIN Key
– Select “Open System Restore” and follow the steps
STEP VII: Preventive Security Measures
-
1) Enable and properly configure your Firewall.
2) Install and maintain reliable anti-malware software.
3) Secure your web browser.
4) Check regularly for available software updates and apply them.
5) Disable macros in Office documents.
6) Use strong passwords.
7) Don’t open attachments or click on links unless you’re certain they’re safe.
8) Backup regularly your data.
SpyHunter anti-malware tool will diagnose all current threats on the computer. By purchasing the full version, you will be able to remove all malware threats instantly. Additional information about SpyHunter / Help to uninstall SpyHunter