


SurfSelf(.)com is the main page of a browser hijacker. If the homepage of your Google Chrome, Mozilla Firefox, Microsoft’s Edge, or another browser is set to Surfself(.)com, it’s likely hijacked. To learn more about the threat and what you can do about it, read the article featured bellow.
| Name |
|
| Main Domain Address |
SurfSelf.Com |
| Solution #1 |
The easiest way to remove and other browser hijackers from your computer is with the help of an anti-malware tool. This software will also protect your computer from severe cyber threats like ransomware |
|
Solution #2 |
You can remove the browser hijacker by hand by carefully following all the guidelines of our step-by-step guide below. |
| Distribution |
PUPs, malicious ads, bundle packs. |
SurfSelf(.)com Browser Hijacker – Distribution
Browser hijackers like SurfSelf(.)Com are often distributed through bundled installs. This trick is a popular way to push software that’s either unwanted by or harmful to users. It works like this- a bundle of PUPs(potentially unwanted programs) would be attached to the install file of a program that the user might want on his computer. While installing, the menu would give the user the option to add undesired programs to his computer. These options are often hidden in the Advance or Custom part of the install files and can be missed easily by a non-vigilant user. People who install applications by clicking “Next“ on each step are most threatened to this type software pushing.
Another way to distribute browser hijackers is through intrusive ads, of the kind often found on shady websites. Avoid clicking of this type of advertisement, especially if it’s on a torrent tracker, free file-sharing services, pornographic sites, and similar web pages.
SurfSelf(.)com Browser Hijacker – More Details
The main page of the SurfSelf(.)com hijacker is a search engine of the same name. Here’s how it looks
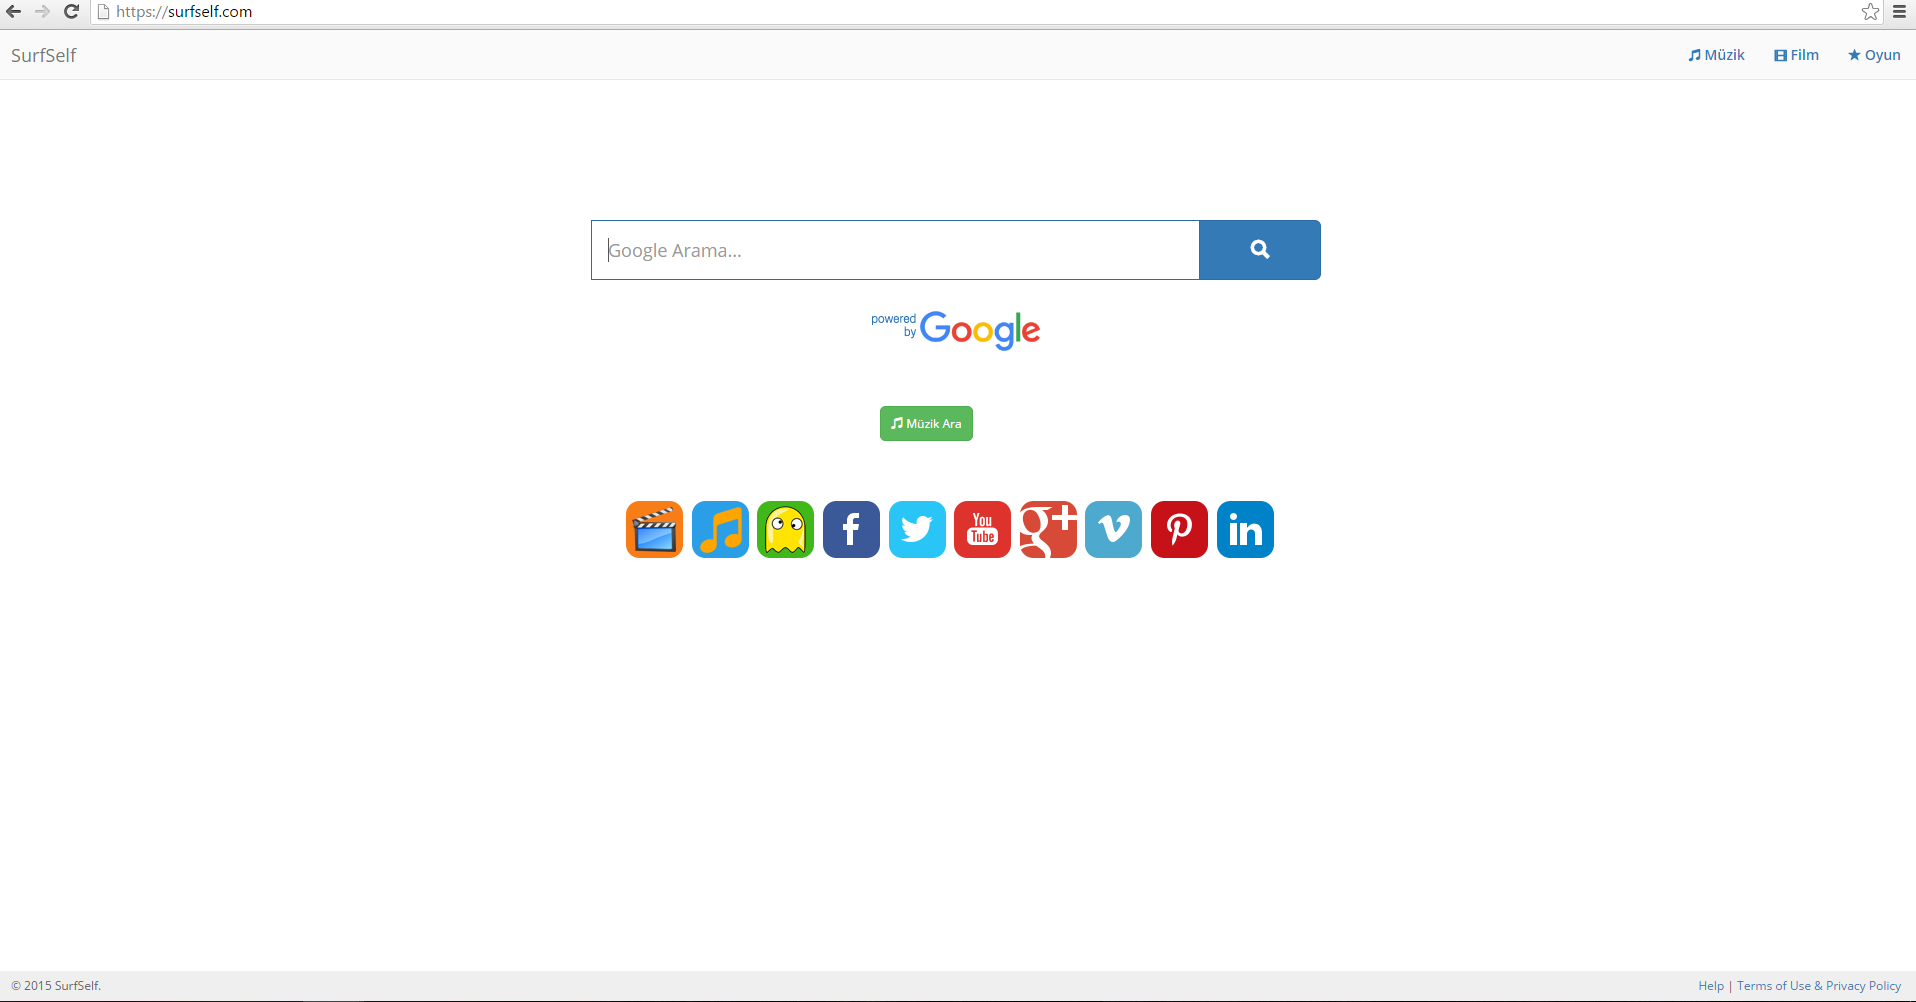
The design consists of a search bar and a few links. By clicking on them, the user gets a redirect URL –“bit(.)ly.” That’s never a good sign, as it’s very prevalent in hoax search engines. Another fishy aspect of SurfSelf(.)Com is that the site seems to lack its own database, as it uses Google Custom Search.
Here’s a picture of the SurfSelf(.)Com’s Terms of Use and Privacy Policy
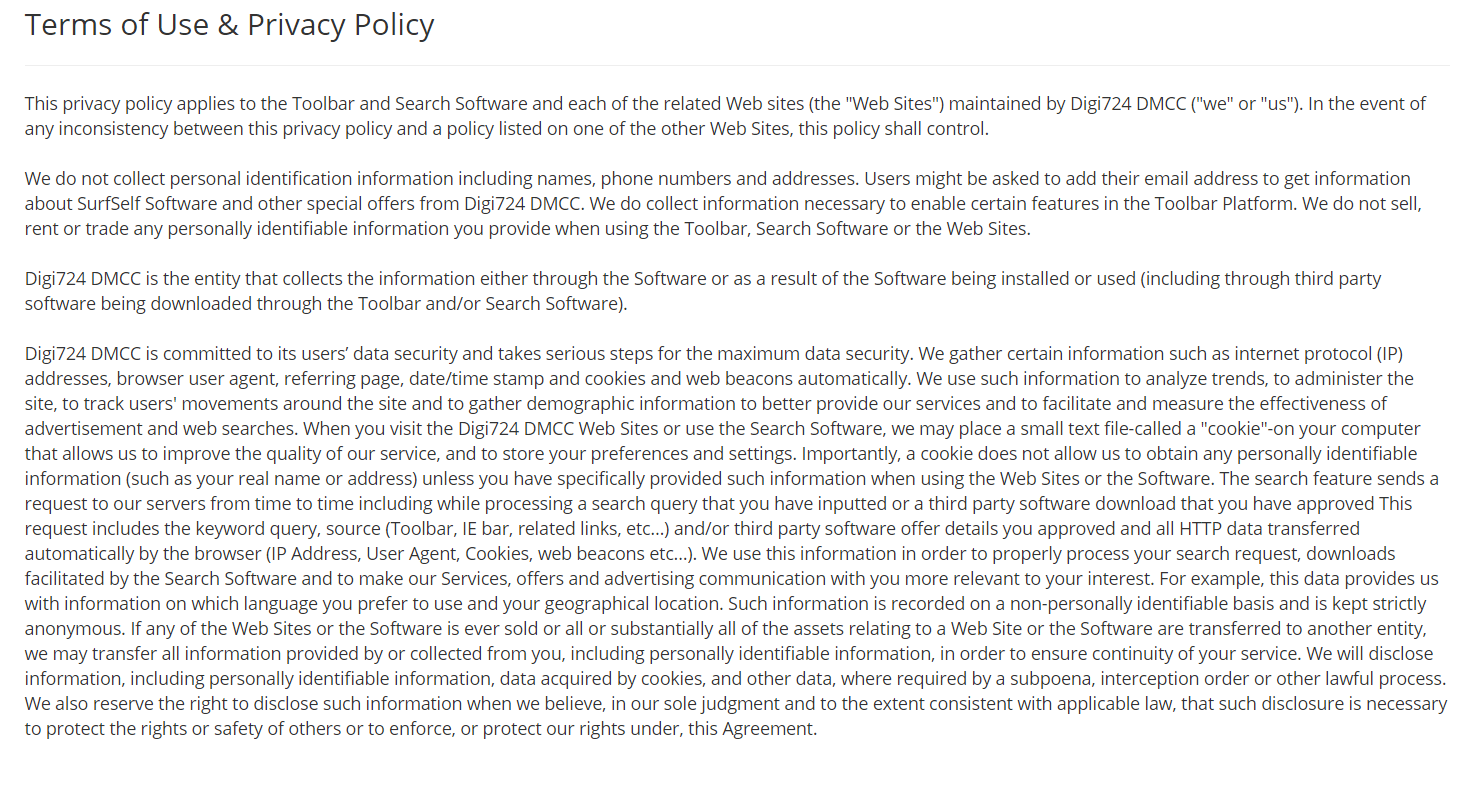
SurfSelf(.)Com’s Terms of Use and Privacy Policy are very short and obscure, which is a bad sign. The document clearly states that the site collects user data like:
- IP addresses
- Referring page
- Browser user agent
It’s unknown where this information might end up, but it’s sure that you don’t want it in the hands of cyber-criminals or disingenuous advertisers.
More signs of a hijacked browser are the installation of a toolbar, a changed new tab page, switched default search engine, and a slower working speed on your PC. In addition to all these malicious “features”, SurfSelf(.)Com could also display excessive advertising, such as pop-ups, banners, etc. There’s no real upside to having a browser hijacker on your computer. That’s why you should remove it as quickly as possible.
SurfSelf(.)Com – Removal Guide
Removing SurfSelf(.)Com could be tricky, but it’s by no means impossible. To get rid of a hijacker, you should remove all its components from the affected system. That process can take a lot of time and takes more advanced tech skills. You can also install an anti-malware program, which will scan your system and delete any malicious software. Plus, it’ll protect you from future threats.
How to Enter Safe Mode
Booting into safe mode in the Windows XP, Vista, 7 operating systems
- Unplug devices such as USB flash drives, Memory Sticks, DVD’s, CD’s, anything that can be bootable
- Now you have to decide which of the following methods is right for your computer. If you have:
- –One operating system on your PC, then press F8 repeatedly when you see the first boot screen after restarting your computer. If the Windows logo appears, repeat the same action until you enter the
–Multiple operating systems on your computer. This is very similar to booting with a single operating system. Press F8 repeatedly when you see the first boot screen. You just have to use the arrow keys to choose which system you should boot. - When the Advanced Boot Options appear, you should select the Safe Mode option with the arrow keys. Confirm the selection by pressing Enter
- Log into your computer using the Administrator account
While you’re in safe mode, your screen will be windowed.
Booting into Safe Mode on the Windows 8, 8.1, and 10 Operating Systems
- Open the Start menu
- Hold down the Shift button and left-click on the Power icon, then click Restart
- After the reboot, the Startup menu will appear. From there, choose Troubleshoot
- From the Troubleshoot menu choose Advanced Options
- Once you’re in Advanced Options, click on Startup Settings
- Click Restart
- A menu should appear after the reboot. Choose Safe Mode by pressing its corresponding key number. The PC will restart and boot into Safe Mode.
Remove/Uninstall SurfSelf(.)Com from Windows
Here’s a way to remove the program. This method will work regardless if you’re on Windows 10, 8, 7, Vista or XP. Simply selecting the program and pressing delete won’t work, as it’ll leave a lot of small files. That’s bad because these leftovers can linger on and cause all sorts of problems. The best way to delete a program is to Uninstall it. Here’s how you can do that:
- Hold the “Windows” button (It’s between CTRL and Alt on most keyboards) and press “R.” You’ll see a pop-up window
- In the textbox, type “appwiz.cpl”, then press “Enter.”
- The “Programs and features” menu should now appear. It’s a list of all the programs installed on the PC. Here you can find the program, select it, and press Uninstall.
Follow these instructions and you’ll be able to uninstall it successfully.
How to Remove SurfSelf(.)Com from Your Browser
Before resetting your browser’s settings, you should know that this action will wipe out all your recorded usernames, passwords, and other types of data. Make sure to save them in some way
Internet Explorer
- Start Internet Explorer
- Go to the Tools menu and click on Manage add-ons.
- In the Manage add-ons window, bellow Add-on Types, select Toolbars and Extensions
- If you see a suspicious toolbar, select it and click Disable
- In Manage Add-ons window, in Add-on Types, Select Search Providers
- Chose a search engine and click Set as default
- Select the unknown search engine and click Remove and Close
- Open the Tools menu, select Internet Options
- In the General tab, in Home page, enter your preferred page
- Click Apply and OK
- On the desktop, right-click on Internet Explorer icon and select Properties
- In the Properties window, under the Shortcut tab, in Target delete the text after iexplore.exe
- Click Apply, click OK to save
- Click Close
- Start Google Chrome
- On the upper-right corner, there a Customize and Control Google Chrome menu icon. Click on it, then click on Settings
- Click Extension under Chrome
- In the Extensions menu, click on the unknown extensions, then click on the trash bin icon
- Under Chrome, Click on Settings
- In Settings, under on Startup click Set pages
- In the Startup pages menu, select the suspicious entries and click on X
- Click OK
- In Settings, under Appearance select the Show home button and click Change
- In the Home page menu, click Use New Tab page and press OK
- In the Settings window under Search, click on Manage search engines
- Once you enter Search engines, select your search engine of choice and click Make default
- In the default search settings list, find the unknown search engine and click on X
- Click Done
- Start Mozilla Firefox
- In the upper right corner, click on the Open menu icon and select Add-ons
- Inside the Add-ons Manager select Extensions
- Search the list of extensions for suspicious entries. If you find any, select them and click Disable
- Click on the Open menu icon, then click Options
- In the Options window, under General tab, Click Restore to Default
- Click OK
- In the Firefox window, right next to the URL field, click the down arrow icon. Select Manage Search Engines
- In Manage Search Engines List window, select the unknown search engine and press Remove
- Click OK