


An infection with the dangerous Bitcoinminer Miner leads to serious security issues. Victims can restore and protect their computers by following our complete removal guide.
Remove Bitcoinminer Miner and Restore PC
Manual Removal Guide
Skip all steps and download anti-malware tool that will safely scan and clean your PC.
SpyHunter anti-malware tool will diagnose all current threats on the computer. By purchasing the full version, you will be able to remove all malware threats instantly. Additional information about SpyHunter / Help to uninstall SpyHunter
Distribution of Bitcoinminer Miner
Bitcoinminer is a dangerous virus infection that can be acquired by falling victim to several different hacker tactics. At the moment the collected samples associated with the infection do not showcase a main delivery method. We presume that the most popular strategies are being employed.
One of them relies on email spam campaigns that utilize social engineering tricks. The hacker operators can include links that lead to the Bitcoinminer virus files or directly attach them to the messages. Example emails include topics and schemes that are related to common scenarios employed by the hackers. Some of the most popular ones include the following:
- Invoices
- Financial Statements
- Notary Letters
- Contracts and Deeds
Another method relies on scripts, ad networks and other redirects that lead to the infections. The criminals can also use other malware to deliver the Bitcoinminer. Note that infected documents are usually the primary payloads. They are usually rich text documents, spreadsheets or databases. Once they are opened by the victims a notification popup will ask them to enable the built-in scripts (macros). If this is done then the malware is downloaded from a remote server and the infection begins.
Impact of Bitcoinminer Miner
Once the Bitcoinminer virus has infiltrated the victim computers it starts its main engine. Depending on the hacker configuration a preliminary stage can be activated. This means that the criminals can create samples of the virus that can modify essential Microsoft Windows settings (including the Registry) which can lead to system issues, application failure or performance slowdown of the computer.
The main goal of the Bitcoinminer malware is to take over control of the machine’s resources to “mine” the Bitcoin crypto currency. This essentially overtakes control of key services and installs the malicious component so that it runs all the time. The engine can place itself in system folders or user locations depending on the hacker configuration.
As a result of the miner’s installation the computer connects to a special network called “mining pool” from where it receives resource-intensive tasks. When they are completed successfully and reported back to the servers a payment ratio is calculated for each performed task. When a certain number of results are returned a payment is issued to the hackers based on the predefined address.
Depending on the strain the Bitcoinminer engine may contain additional functionality including the following:
- Additional Malware Delivery ‒ Other miners or malware can be installed via the infection.
- Automatic Updates ‒ The installed virus can update itself if this feature is built-in in the samples.
- Information Harvesting ‒ Sensitive information can be collected from the hosts including the following: account credentials, passwords, files, settings and hardware information.
- Trojan Instance ‒ Advanced versions of the Bitcoinminer virus can be used to spy on the victim computers in real time.
Remove Bitcoinminer Miner and Restore PC
WARNING! Manual removal of the Bitcoinminer Miner requires being familiar with system files and registries. Removing important data accidentally can lead to permanent system damage. If you don’t feel comfortable with manual instructions, download a powerful anti-malware tool that will scan your system for malware and clean it safely for you.
SpyHunter anti-malware tool will diagnose all current threats on the computer. By purchasing the full version, you will be able to remove all malware threats instantly. Additional information about SpyHunter / Help to uninstall SpyHunter
Bitcoinminer Miner – Manual Removal Steps
Start the PC in Safe Mode with Network
This will isolate all files and objects created by the ransomware so they will be removed efficiently. The steps bellow are applicable to all Windows versions.
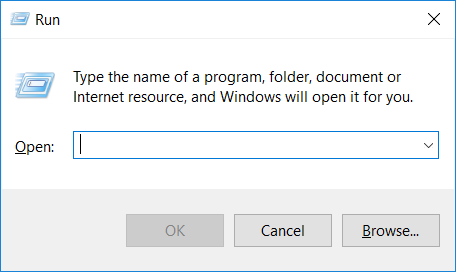
1. Hit the WIN Key + R
2. A Run window will appear. In it, write msconfig and then press Enter
3. A Configuration box shall appear. In it Choose the tab named Boot
4. Mark Safe Boot option and then go to Network under it to tick it too
5. Apply -> OK
Remove Bitcoinminer from Windows
Here’s a way to remove the program. This method will work regardless if you’re on Windows 10, 8, 7, Vista or XP. Simply selecting the program and pressing delete won’t work, as it’ll leave a lot of small files. That’s bad because these leftovers can linger on and cause all sorts of problems. The best way to delete a program is to uninstall it. Here’s how you can do that:
1. Hold the “Windows” button (It’s between CTRL and Alt on most keyboards) and press “R”. You’ll see a pop-up window.
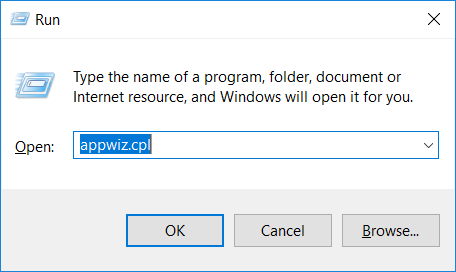
2. In the textbox, type “appwiz.cpl”, then press“ Enter ”.
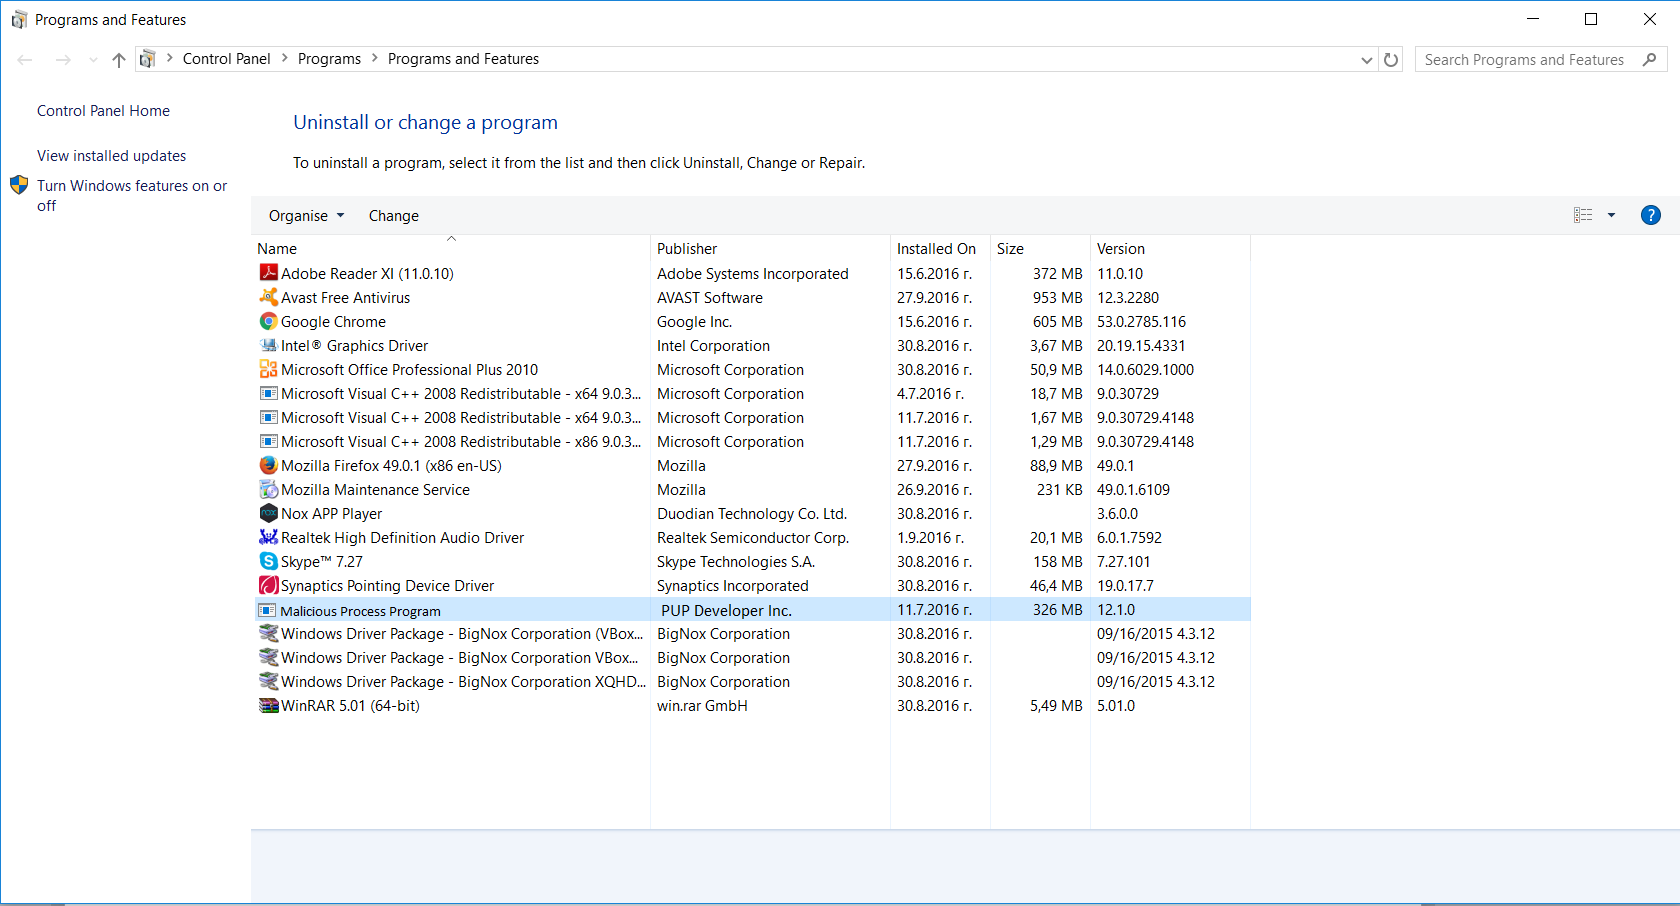
3. The “Programs and features” menu should now appear. It’s a list of all the programs installed on the PC. Here you can find the program, select it, and press “Uninstall“.
Remove Bitcoinminer Virus From Your Browser
Before resetting your browser’s settings, you should know that this action will wipe out all your recorded usernames, passwords, and other types of data. Make sure to save them in some way.
-
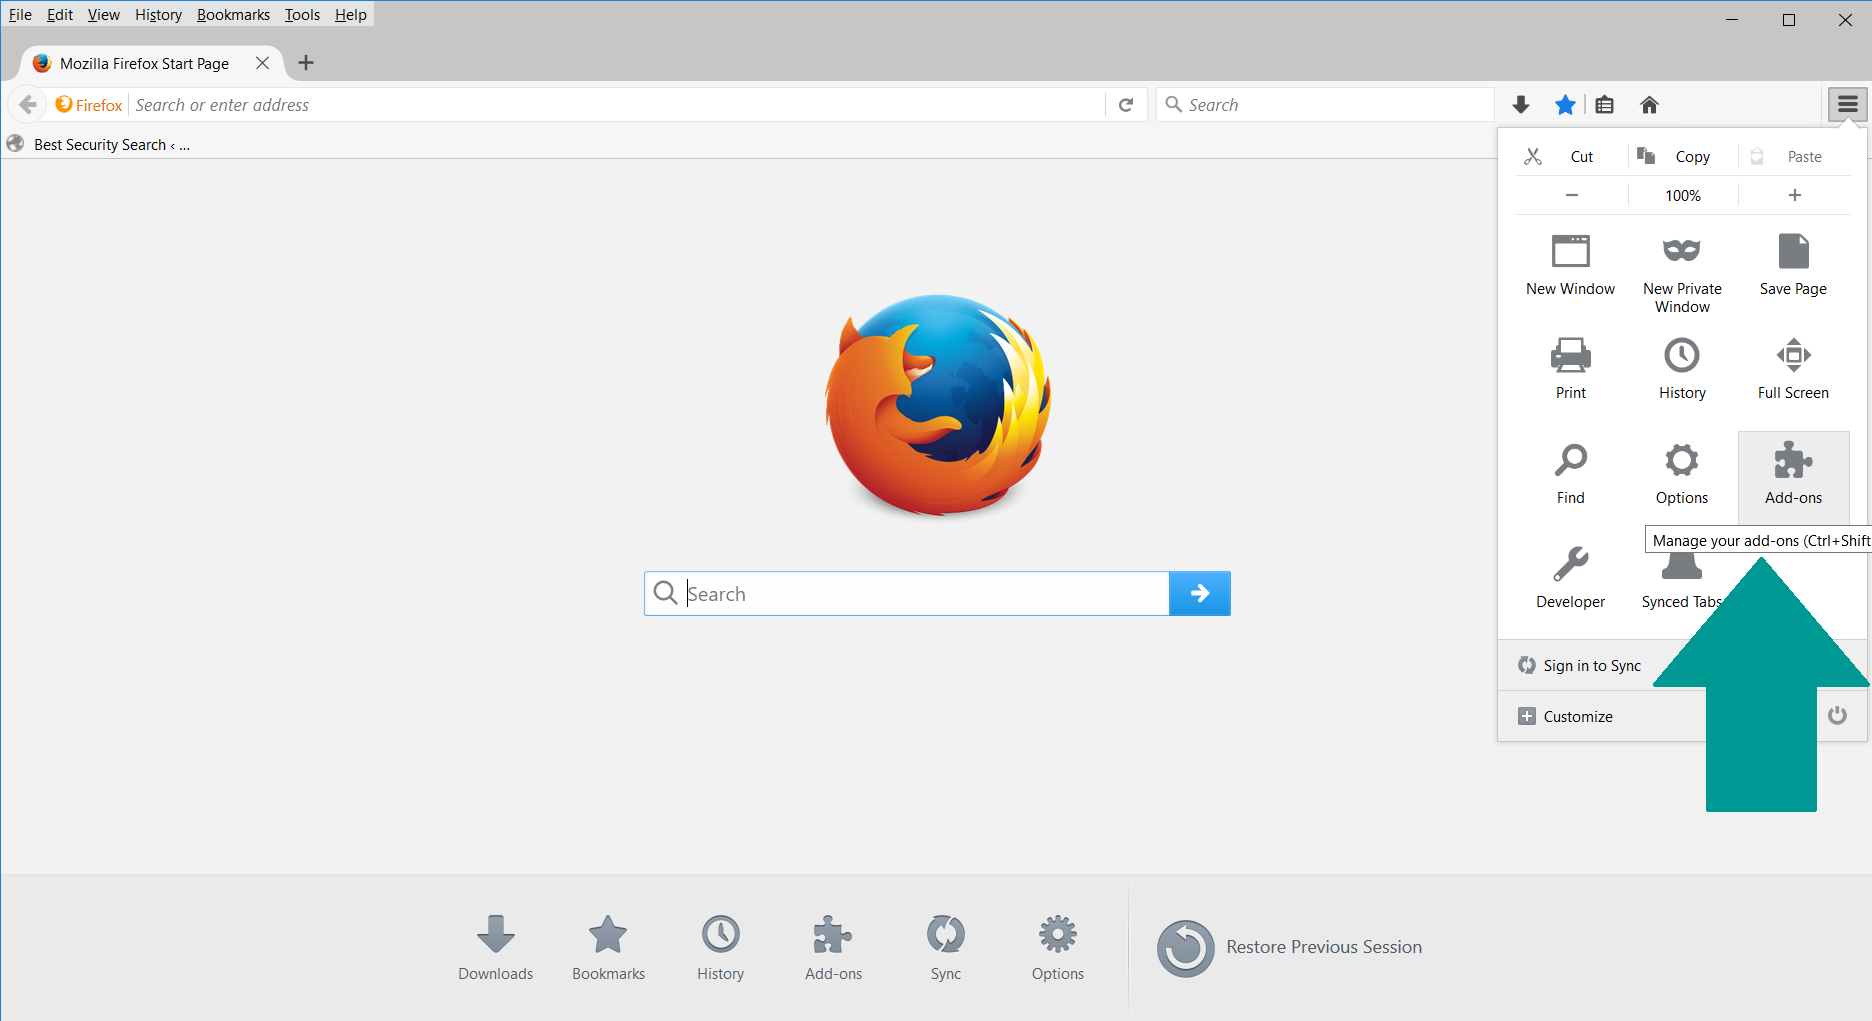
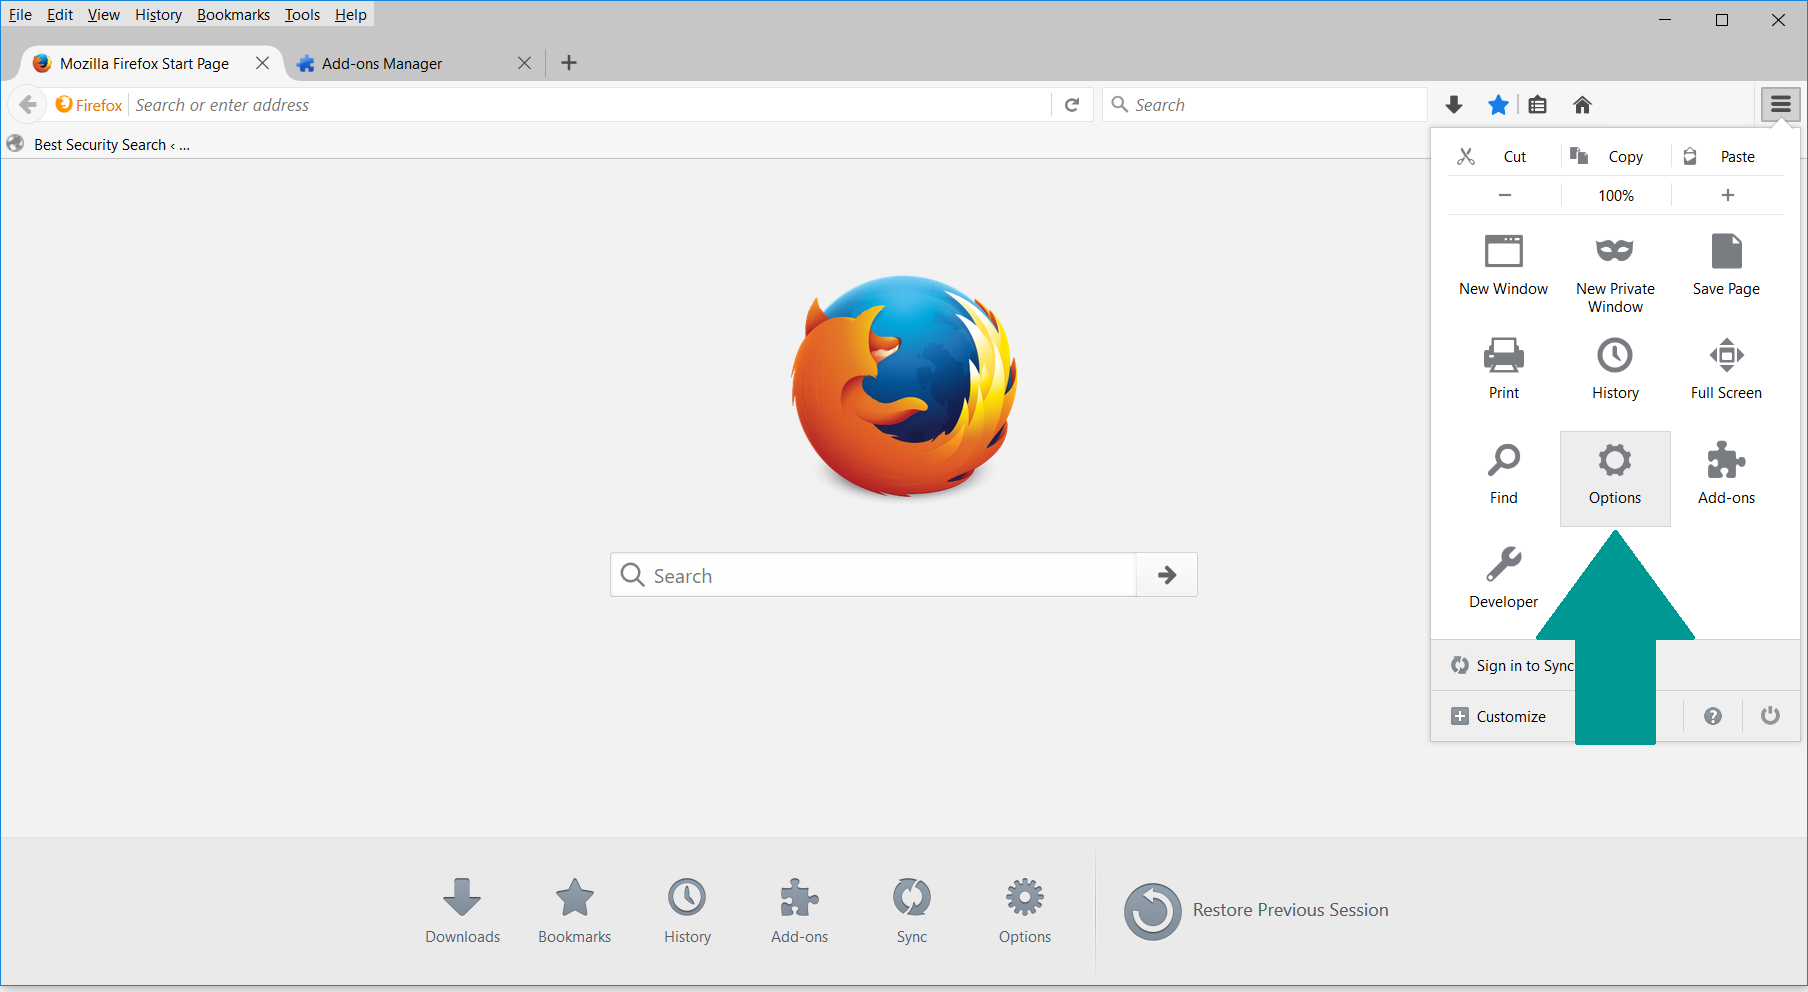
1. Start Mozilla Firefox. In the upper right corner, click on the Open menu icon and select “Add-ons“.
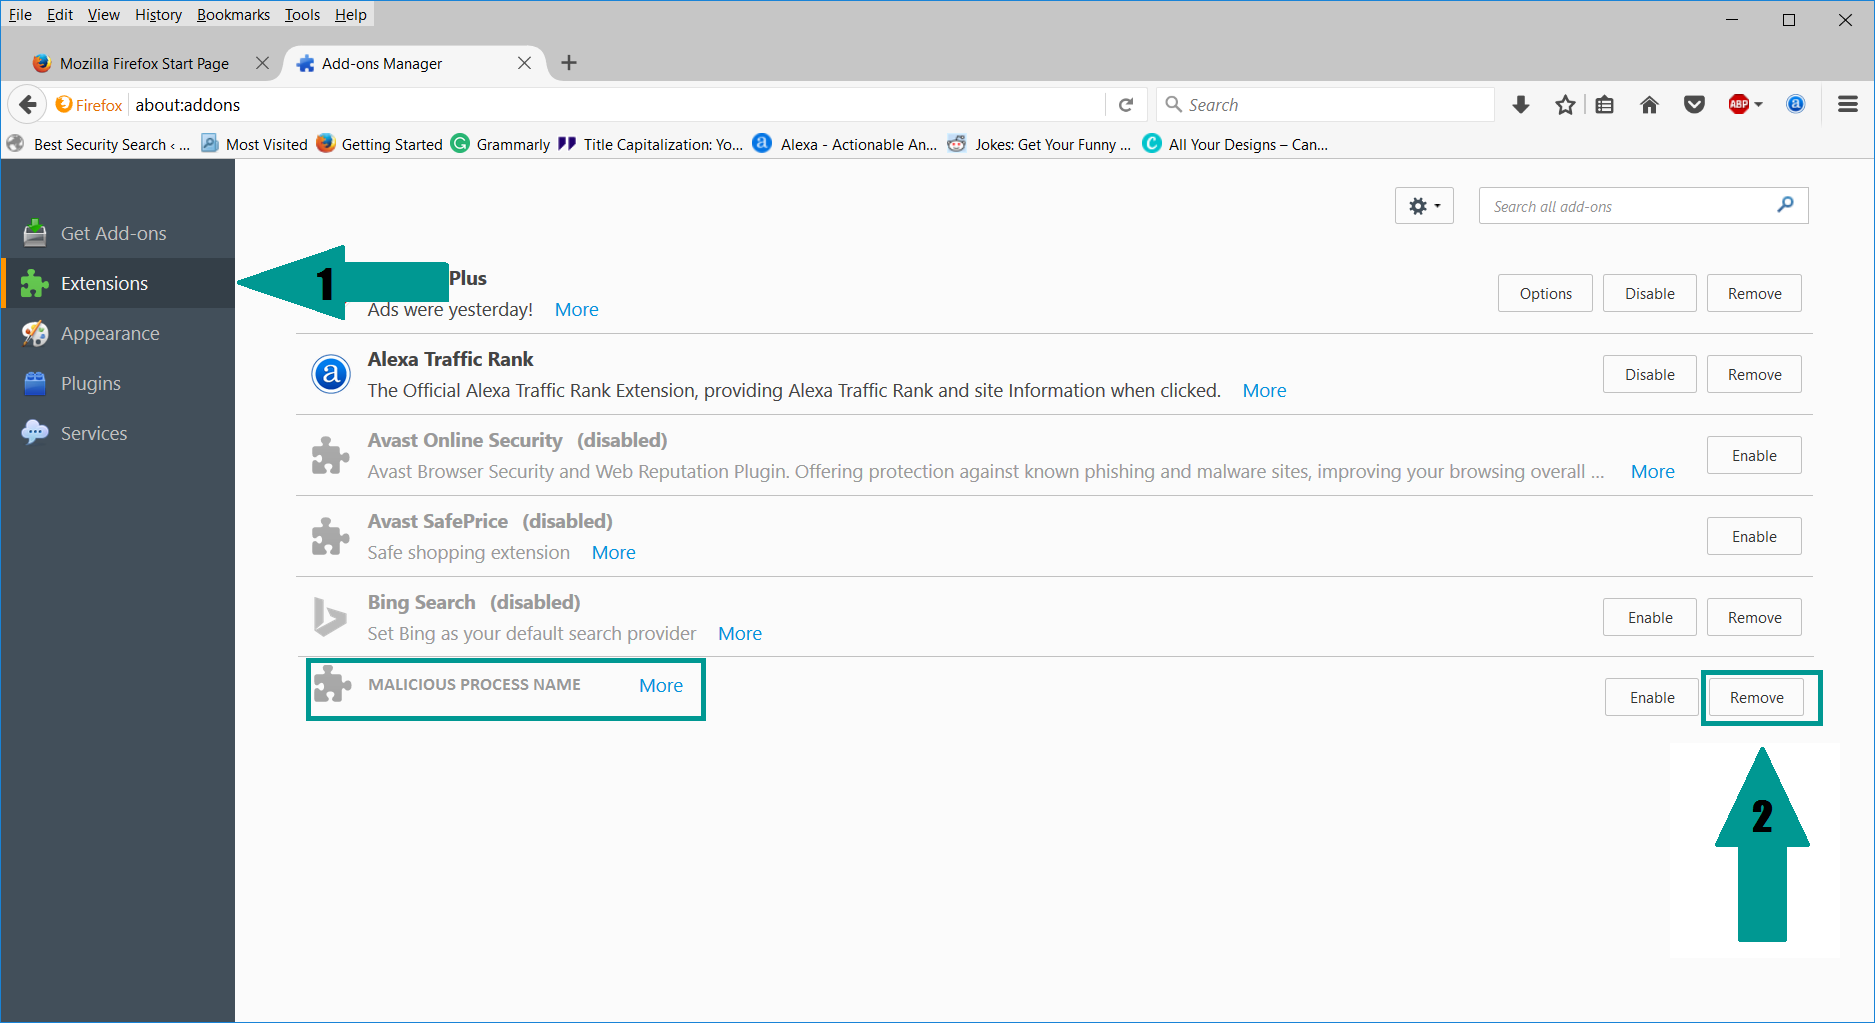
2. Inside the Add-ons Manager select “Extensions“. Search the list of extensions for suspicious entries. If you find any, select them and click “Remove“.
3. Click again on the Open menu icon, then click “Options“.
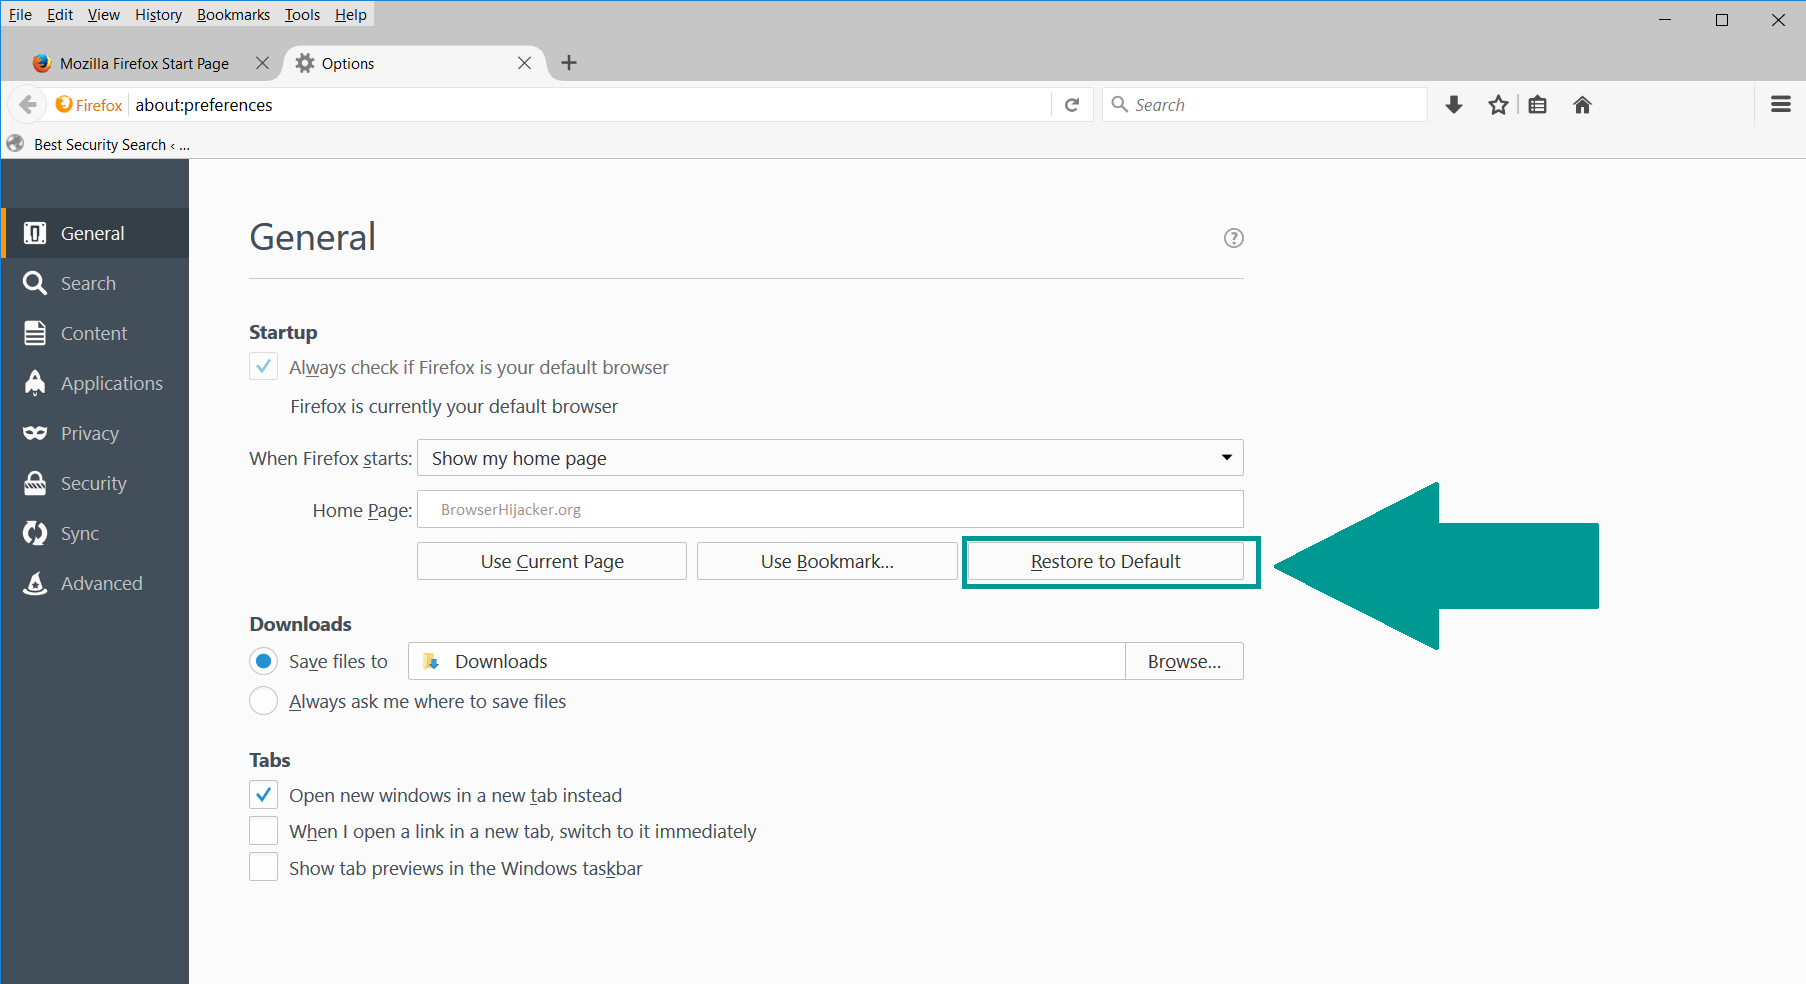
4. In the Options window, under “General” tab, click “Restore to Default“.
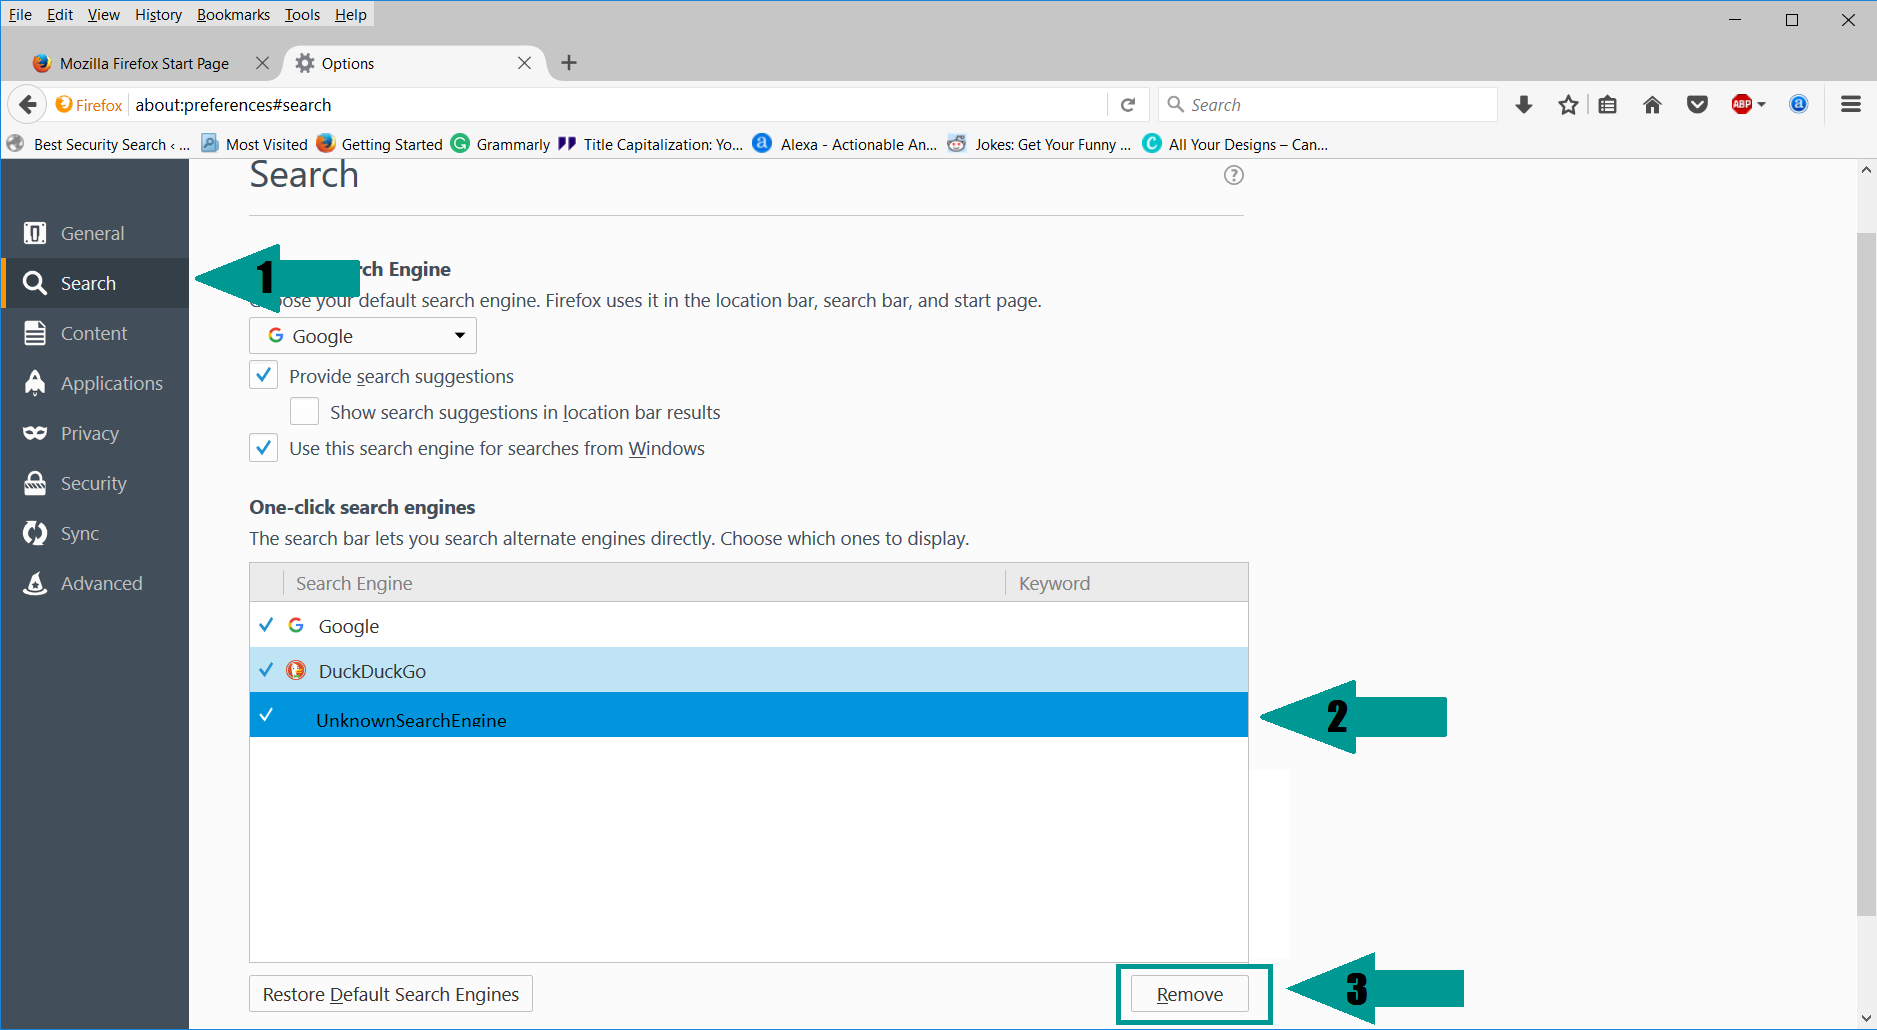
5. Select “Search” in the left menu, mark the unknown search engine and press “Remove”.
-
1. Start Google Chrome. On the upper-right corner, there a “Customize and Control” menu icon. Click on it, then click on “Settings“.

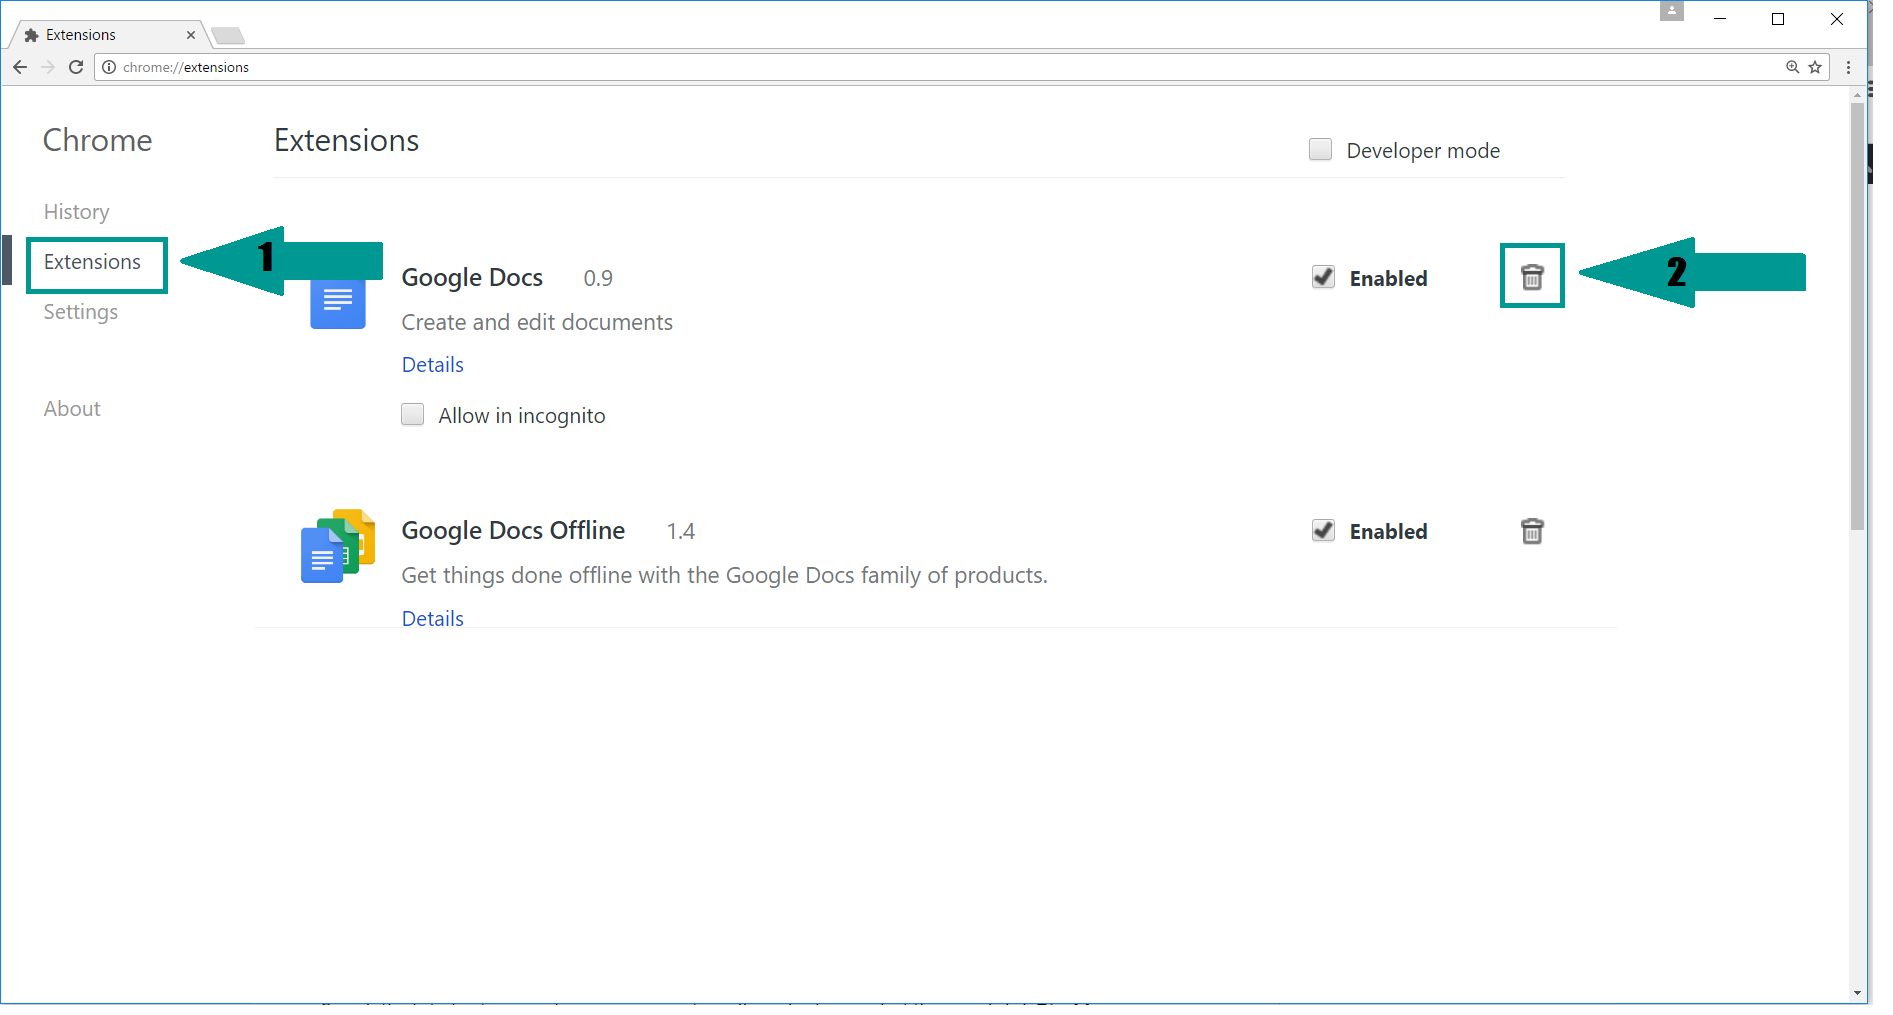
2. Click “Extensions” in the left menu. Then click on the trash bin icon to remove the suspicious extension.
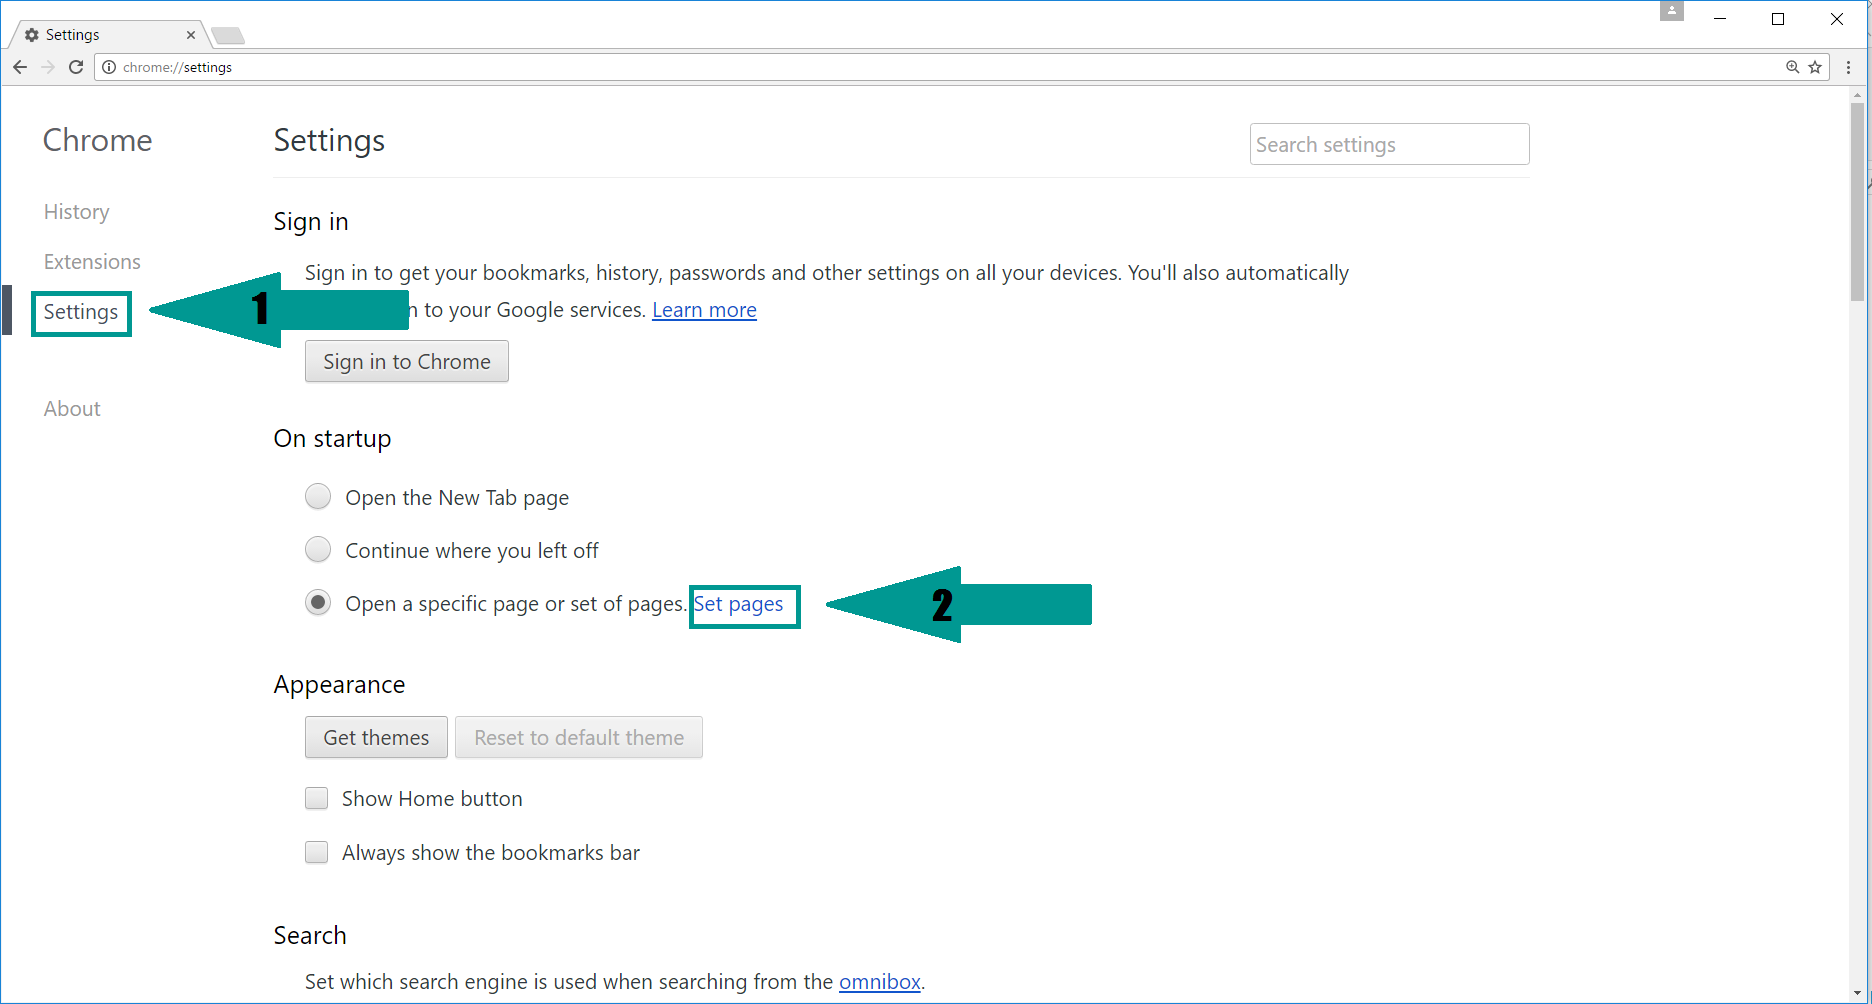
3. Again in the left menu, under Chrome, Click on “Settings“. Go under “On Startup” and set a new page.
4. Afterward, scroll down to “Search“, click on “Manage search engines“.
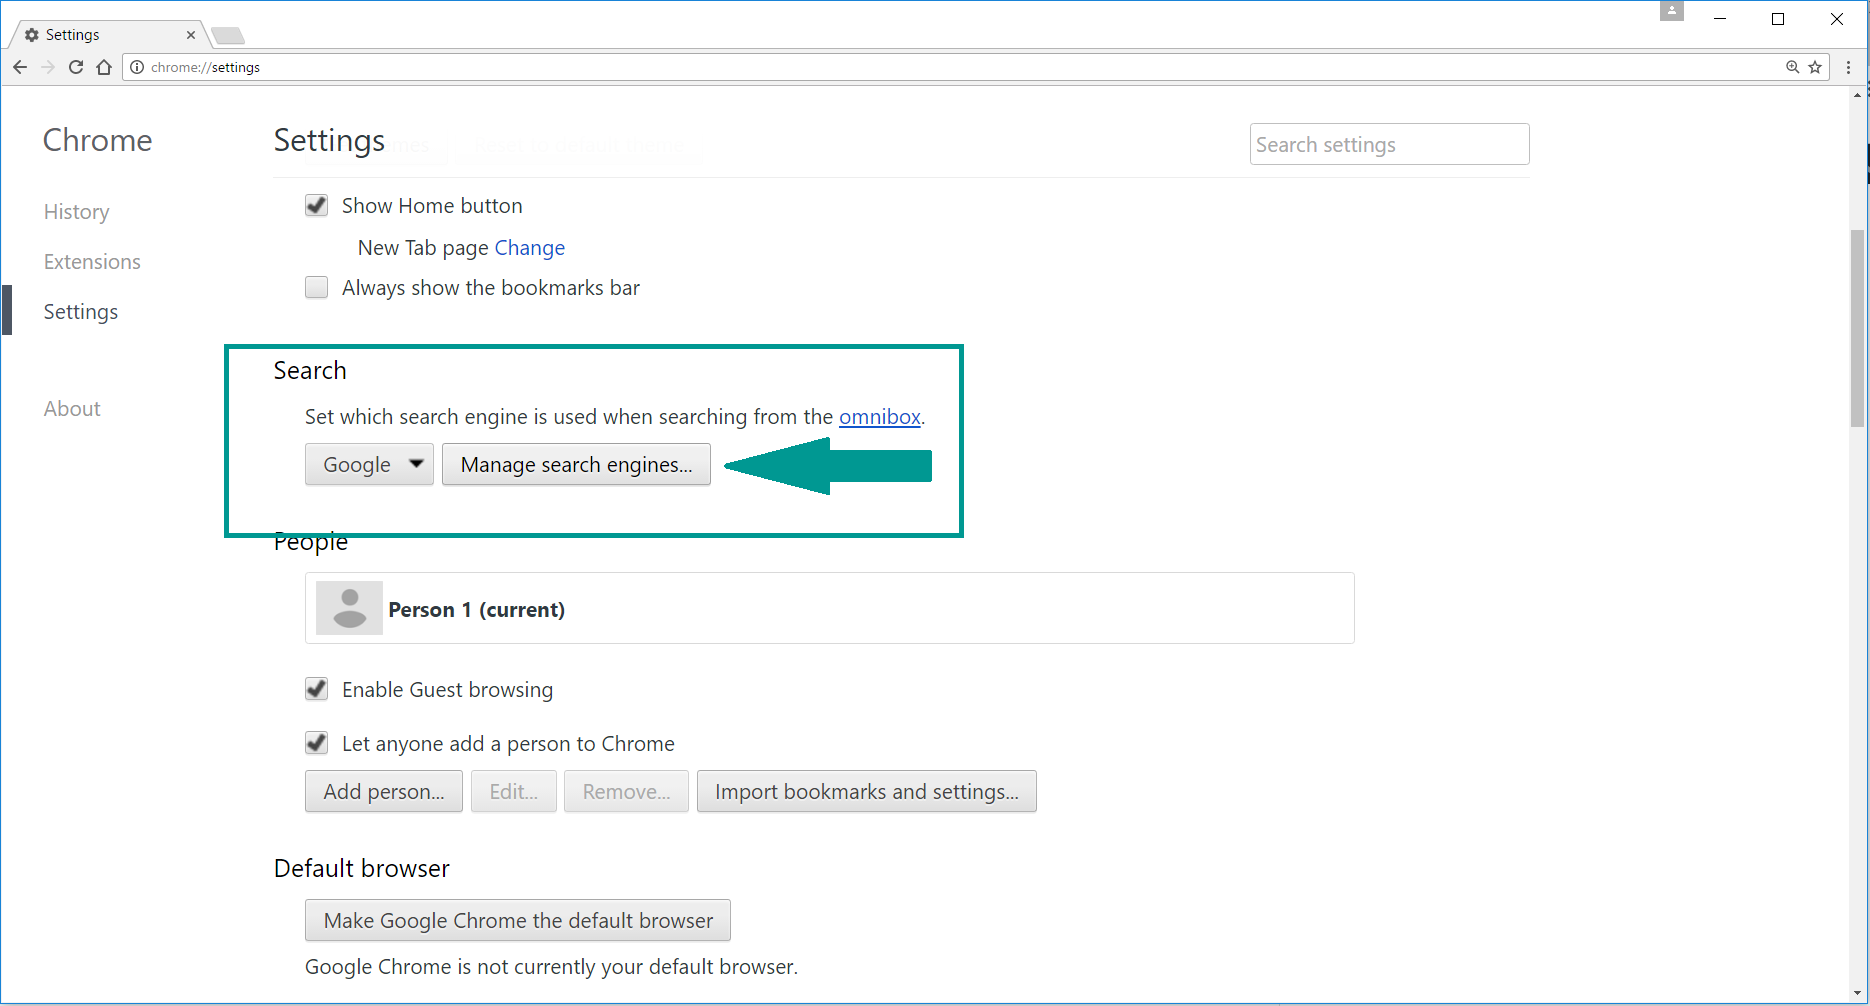
5. In the default search settings list, find the unknown search engine and click on “X“. Then select your search engine of choice and click “Make default“. When you are ready click “Done” button in the right bottom corner.
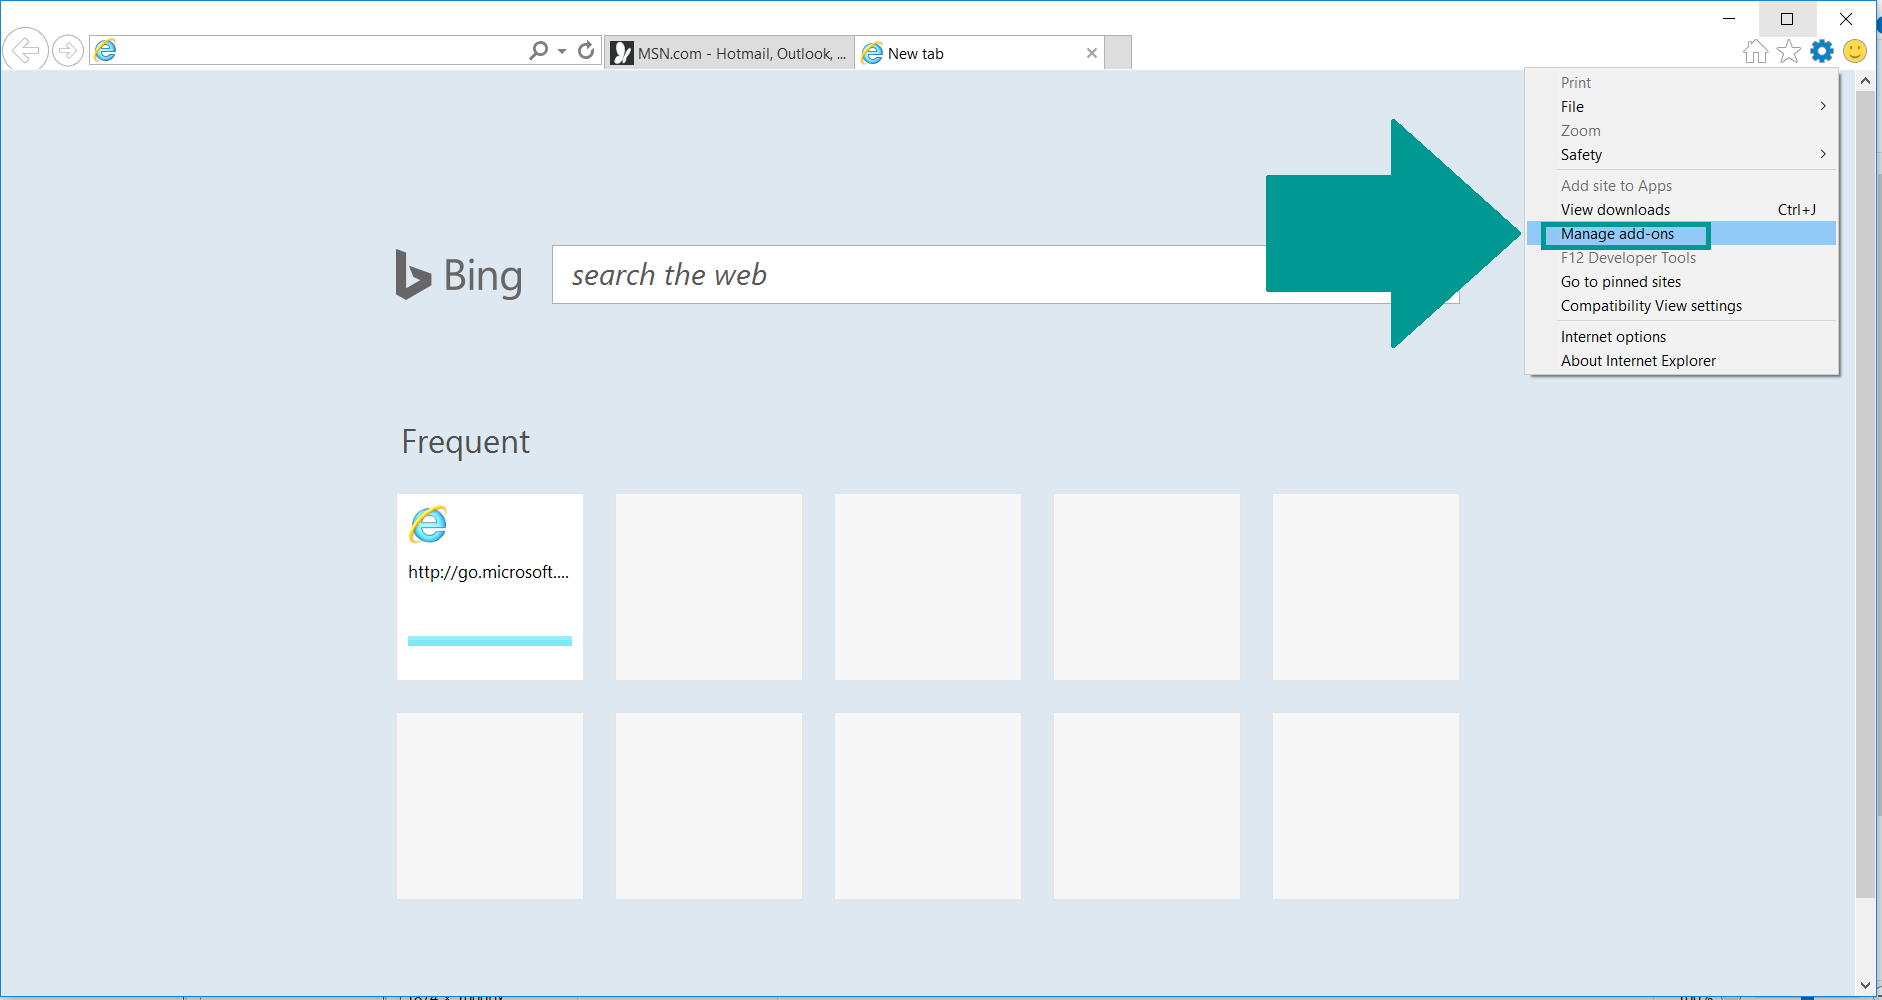
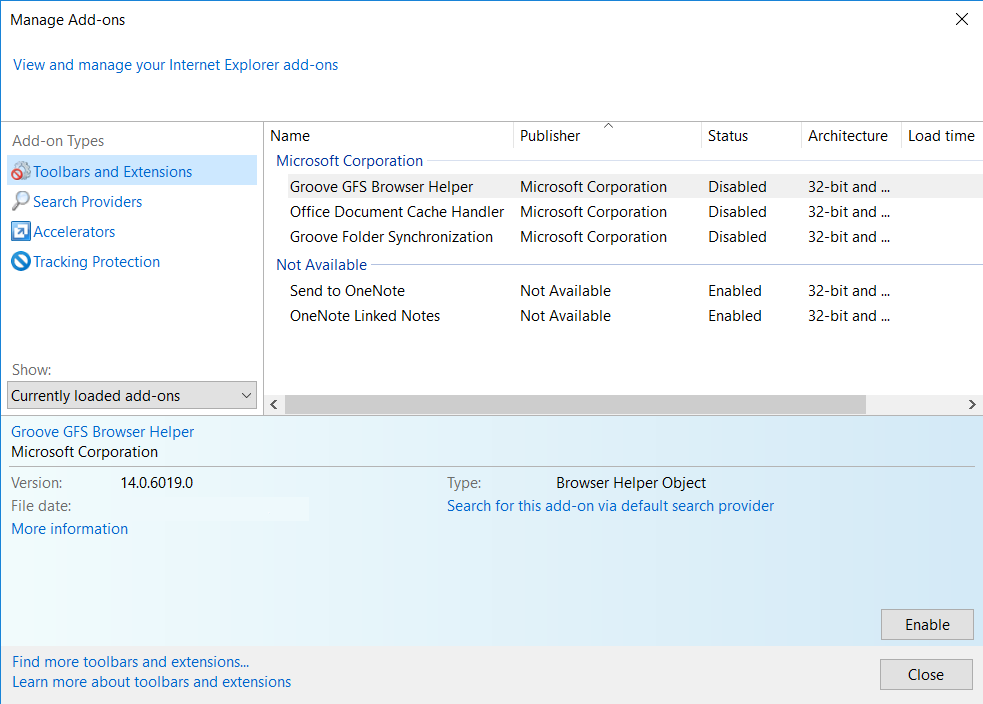
2. In the “Manage add-ons” window, bellow “Add-on Types“, select “Toolbars and Extensions“. If you see a suspicious toolbar, select it and click “Remove“.
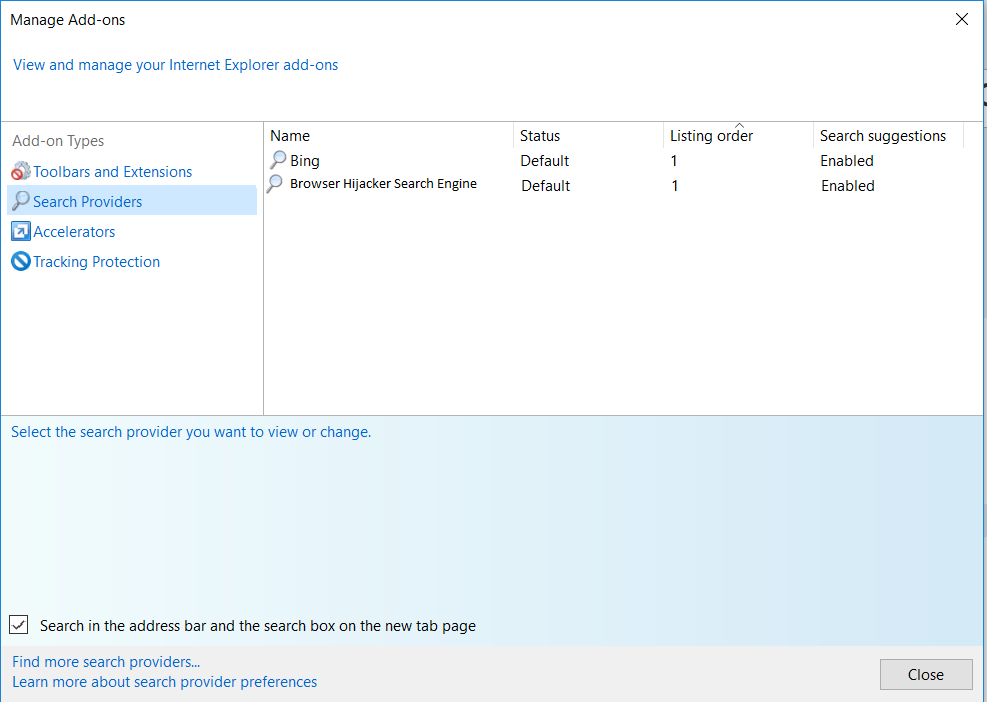
3. Then again in the “Manage Add-ons” window, in “Add-on Types“, Select “Search Providers“. Chose a search engine and click “Set as default“. Select the unknown search engine and click “Remove and Close”.
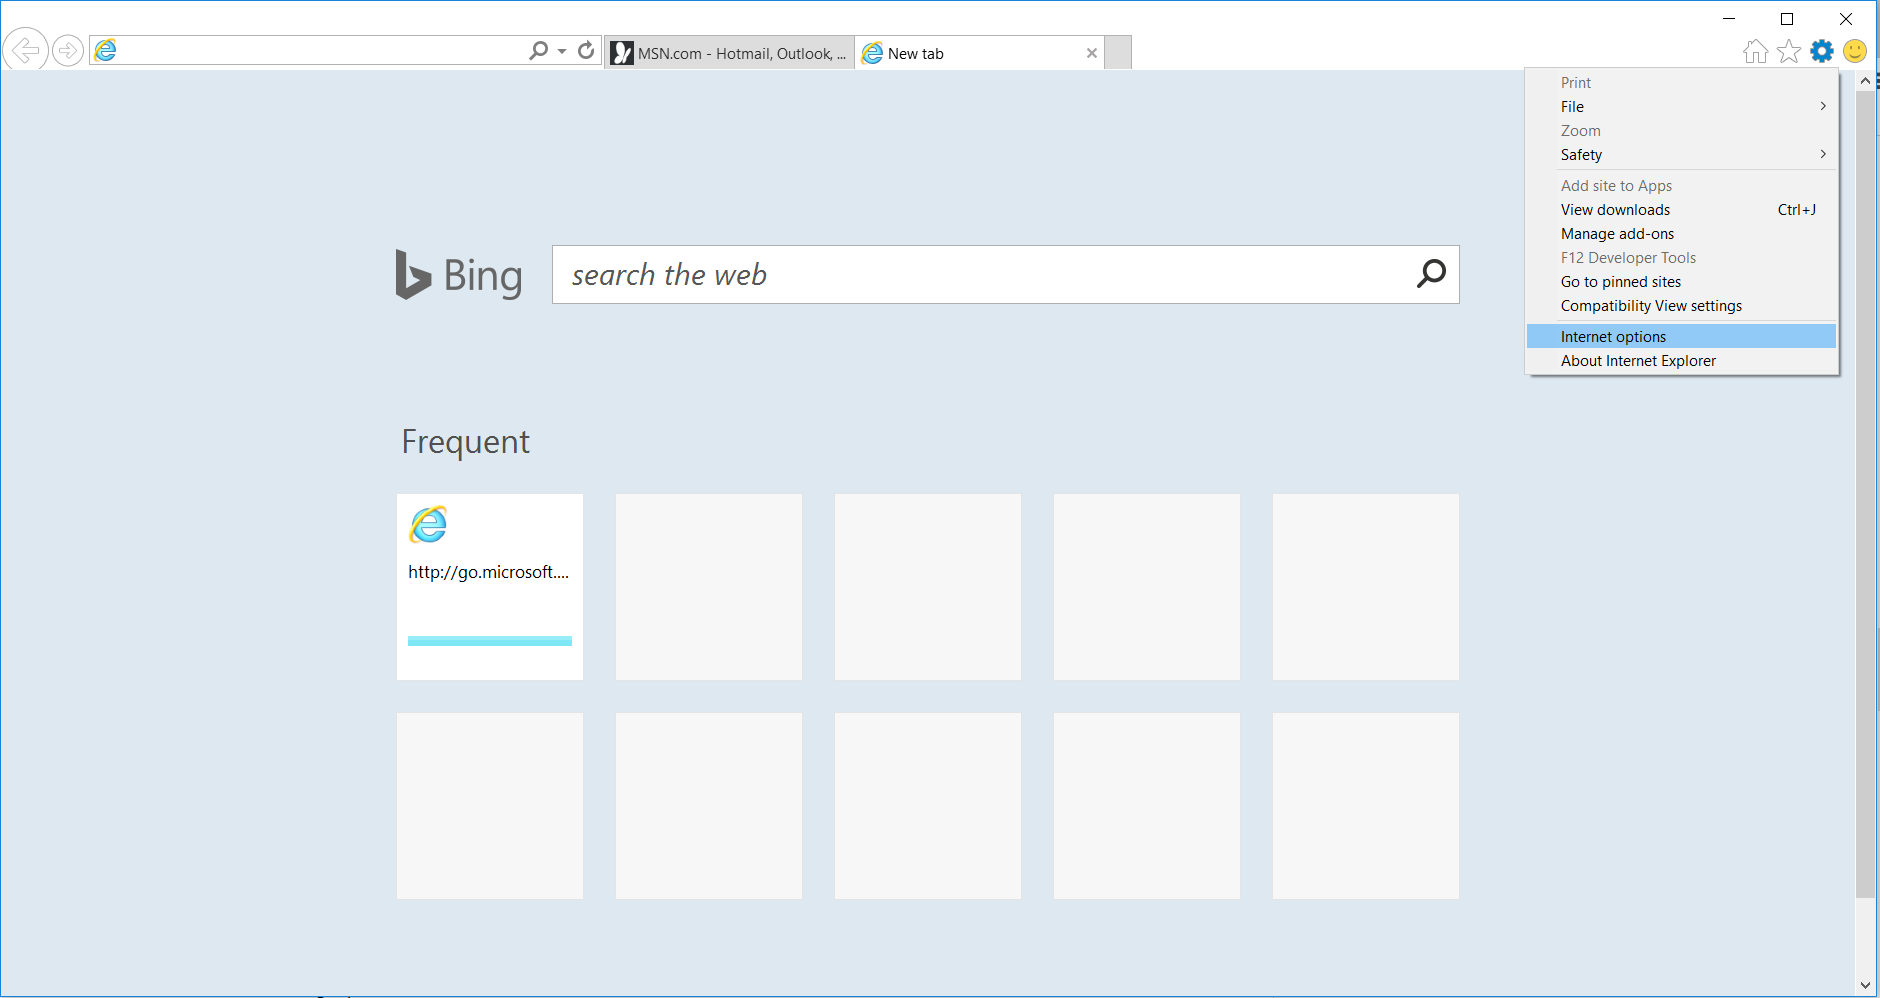
4. Open the Tools menu, select “Internet Options”.
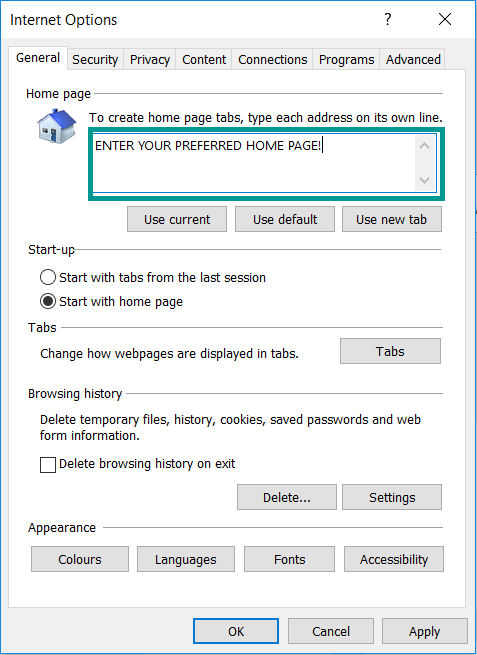
5. In the “General” tab, in “Home page”, enter your preferred page. Click “Apply” and “OK”.
Repair Windows Registry
1. Again type simultaneously the WIN Key + R key combination
2. In the box, write regedit and hit Enter
3. Type the CTRL+ F and then write the malicious name in the search type field to locate the malicious executable
4. In case you have discovered registry keys and values related to the name, you should delete them, but be careful not to delete legitimate keys
Click for more information about Windows Registry and further repair help