


In order to check for any malware that may have infected your PC as a result of opening the Save Yourself E-mail Spam, we strongly advise you to read this removal guide.
Remove Malware and Restore PC
Manual Removal Guide
Skip all steps and download anti-malware tool that will safely scan and clean your PC.
SpyHunter anti-malware tool will diagnose all current threats on the computer. By purchasing the full version, you will be able to remove all malware threats instantly. Additional information about SpyHunter / Help to uninstall SpyHunter
More Details About the Save Yourself E-mail Spam (Scam Message)
The Save Yourself is an e-mail scam message that attempts to make you believe that your computers were compromised by an anonymous hacker. The spam e-mail presents threatening statements according to which the hacker has managed to obtain personal details about you and your online behavior. Its main goal is to blackmail victims into paying a ransom of 800 USD.
Victims usually receive the following message when affected by Save Yourself e-mail scam message:
Hi, I know one of your passwords is: {SOME RANDOM PASSWORD} – but not only that!
Your computer was infected with my private malware, because your browser wasn’t updated / patched, in such case it’s enough to just visit some website where my iframe is placed to get automatically infected, if you want to find out more – Google: “Drive-by exploit”.
My malware gave me full access to all your accounts (see password above), full control over your computer and it also was possible to spy on you over your webcam.
I COLLECTED ALL YOUR PRIVATE DATA and I RECORDED YOU through your webcam, I must say – the result is some GOOD MATERIAL! 🙂
After that I removed my malware to not leave any traces and this email was sent from some hacked server. I can publish the videos of you and all your private data on the whole web, social networks, over email of all your contacts.
But you can stop me and only I can help you out in this situation. Mail-Client-ID: 73584424317358442431.
You can easily buy bitcoin here: www.paxful.com , www.coinbase.com , or check for bitcoin ATM near you, or Google for other exchanger.
You can send the bitcoin directly to my wallet, or create your own wallet first here: www.login.blockchain.com/en/#/signup/ , then receive and send to mine.
My bitcoin wallet is: 1D1nXbBdPmCpy9rPRdtaXjA5ftGzYPPw51 I give you 3 days time to pay.
Apparently, the hacker behind this scam pretends that he has infected your computer with malware and then managed to access and stole sensitive personal details. To make it sound scarier the hacker claims to have obtained some kind of embarrassing video records through your webcam. Keep in mind that this is a total scam that aims to lure you into transferring Bitcoin to hackers’ wallets. So if you receive Save Yourself e-mail scam, do not reply to it nor do pay hackers the demanded ransom amount.
Be sure, however, to change your current e-mail password and enable the two-factor authentication option. Additionally, you should ensure that your PC is malware-free as sometimes spam emails like Save Yourself may unnoticeably deliver malicious code directly on your computer. Follow the guide below and check up your computer for any present viruses.
Remove Save Yourself E-mail Spam and Restore PC
WARNING! Manual removal of the infection dropped by Save Yourself E-mail Spam requires being familiar with system files and registries. Removing important data by accident can lead to permanent system damage. If you don’t feel comfortable with manual instructions, download a powerful anti-malware tool that will scan your system for malware and clean it safely for you.
DOWNLOAD Anti-Malware Tool
SpyHunter anti-malware tool will diagnose all current threats on the computer. By purchasing the full version, you will be able to remove all malware threats instantly. Additional information about SpyHunter / Help to uninstall SpyHunter
Save Yourself E-mail Spam – Manual Removal Steps
Start the PC in Safe Mode with Network
This will isolate all files and objects created by the ransomware so they will be removed efficiently. The steps bellow are applicable to all Windows versions.
1. Hit the WIN Key + R
2. A Run window will appear. In it, write msconfig and then press Enter
3. A Configuration box shall appear. In it Choose the tab named Boot
4. Mark Safe Boot option and then go to Network under it to tick it too
5. Apply -> OK
Remove Save Yourself E-mail Scam from Windows
Here’s a way to remove the program. This method will work regardless if you’re on Windows 10, 8, 7, Vista or XP. Simply selecting the program and pressing delete won’t work, as it’ll leave a lot of small files. That’s bad because these leftovers can linger on and cause all sorts of problems. The best way to delete a program is to uninstall it. Here’s how you can do that:
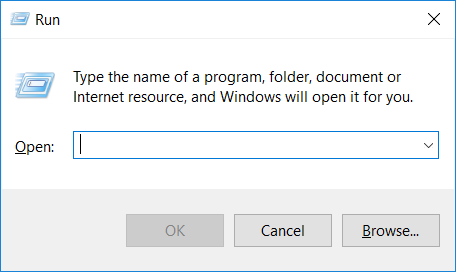
1. Hold the “Windows” button (It’s between CTRL and Alt on most keyboards) and press “R”. You’ll see a pop-up window.
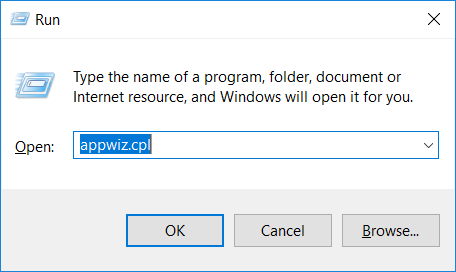
2. In the textbox, type “appwiz.cpl”, then press“ Enter ”.
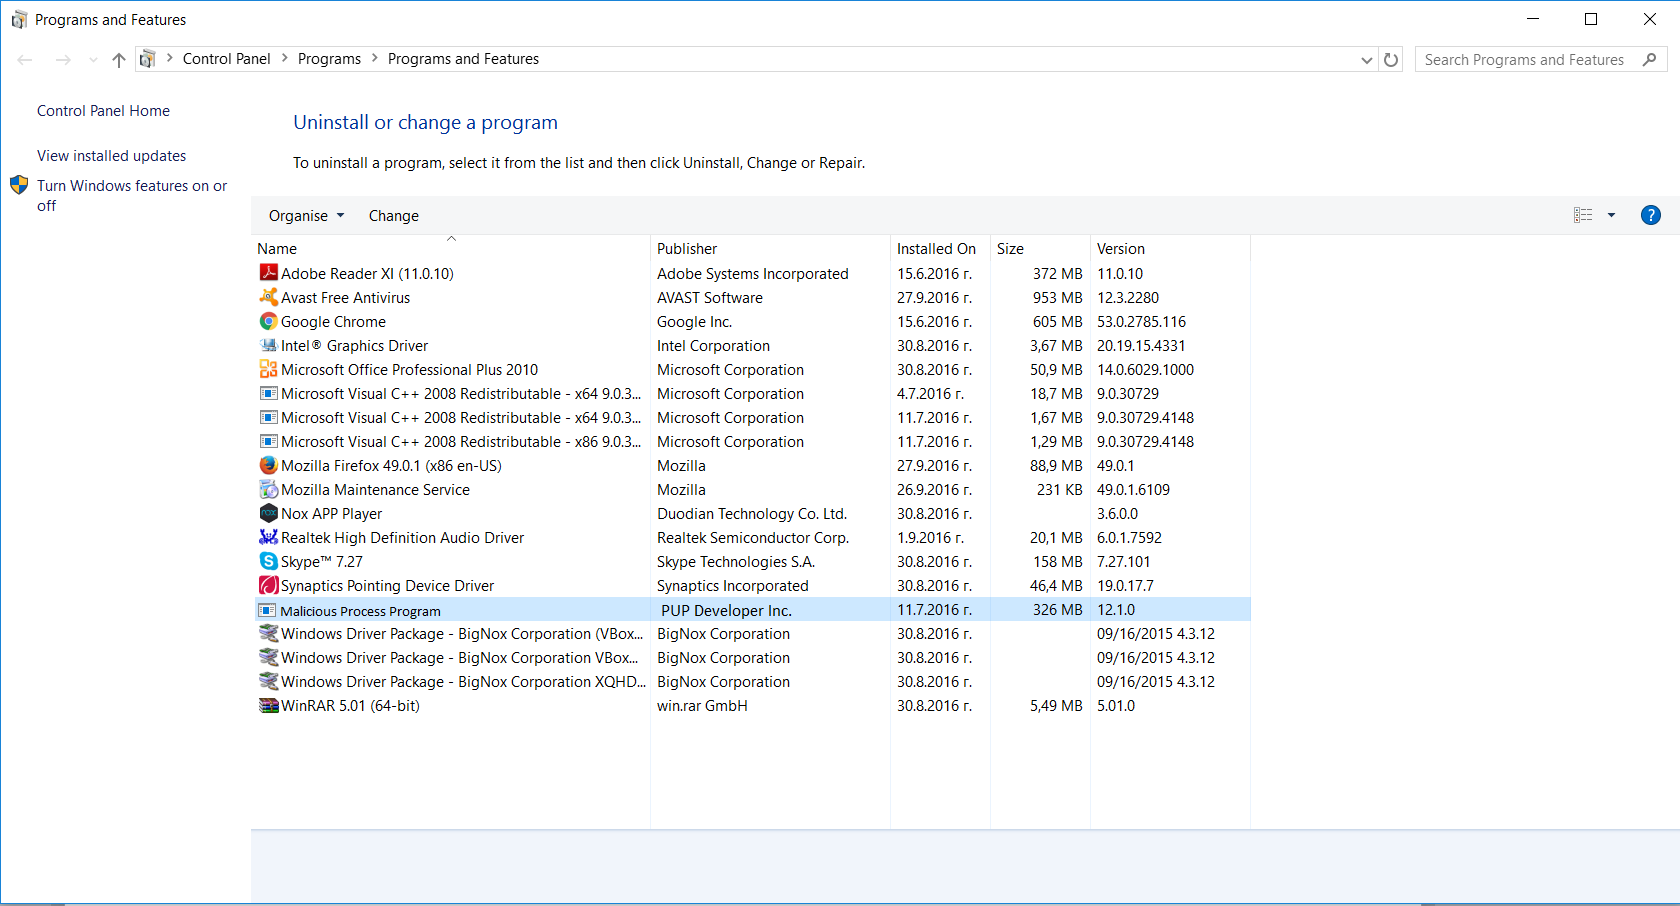
3. The “Programs and features” menu should now appear. It’s a list of all the programs installed on the PC. Here you can find the program, select it, and press “Uninstall“.
Remove Save Yourself E-mail Scam Virus From Your Browser
Before resetting your browser’s settings, you should know that this action will wipe out all your recorded usernames, passwords, and other types of data. Make sure to save them in some way.
-
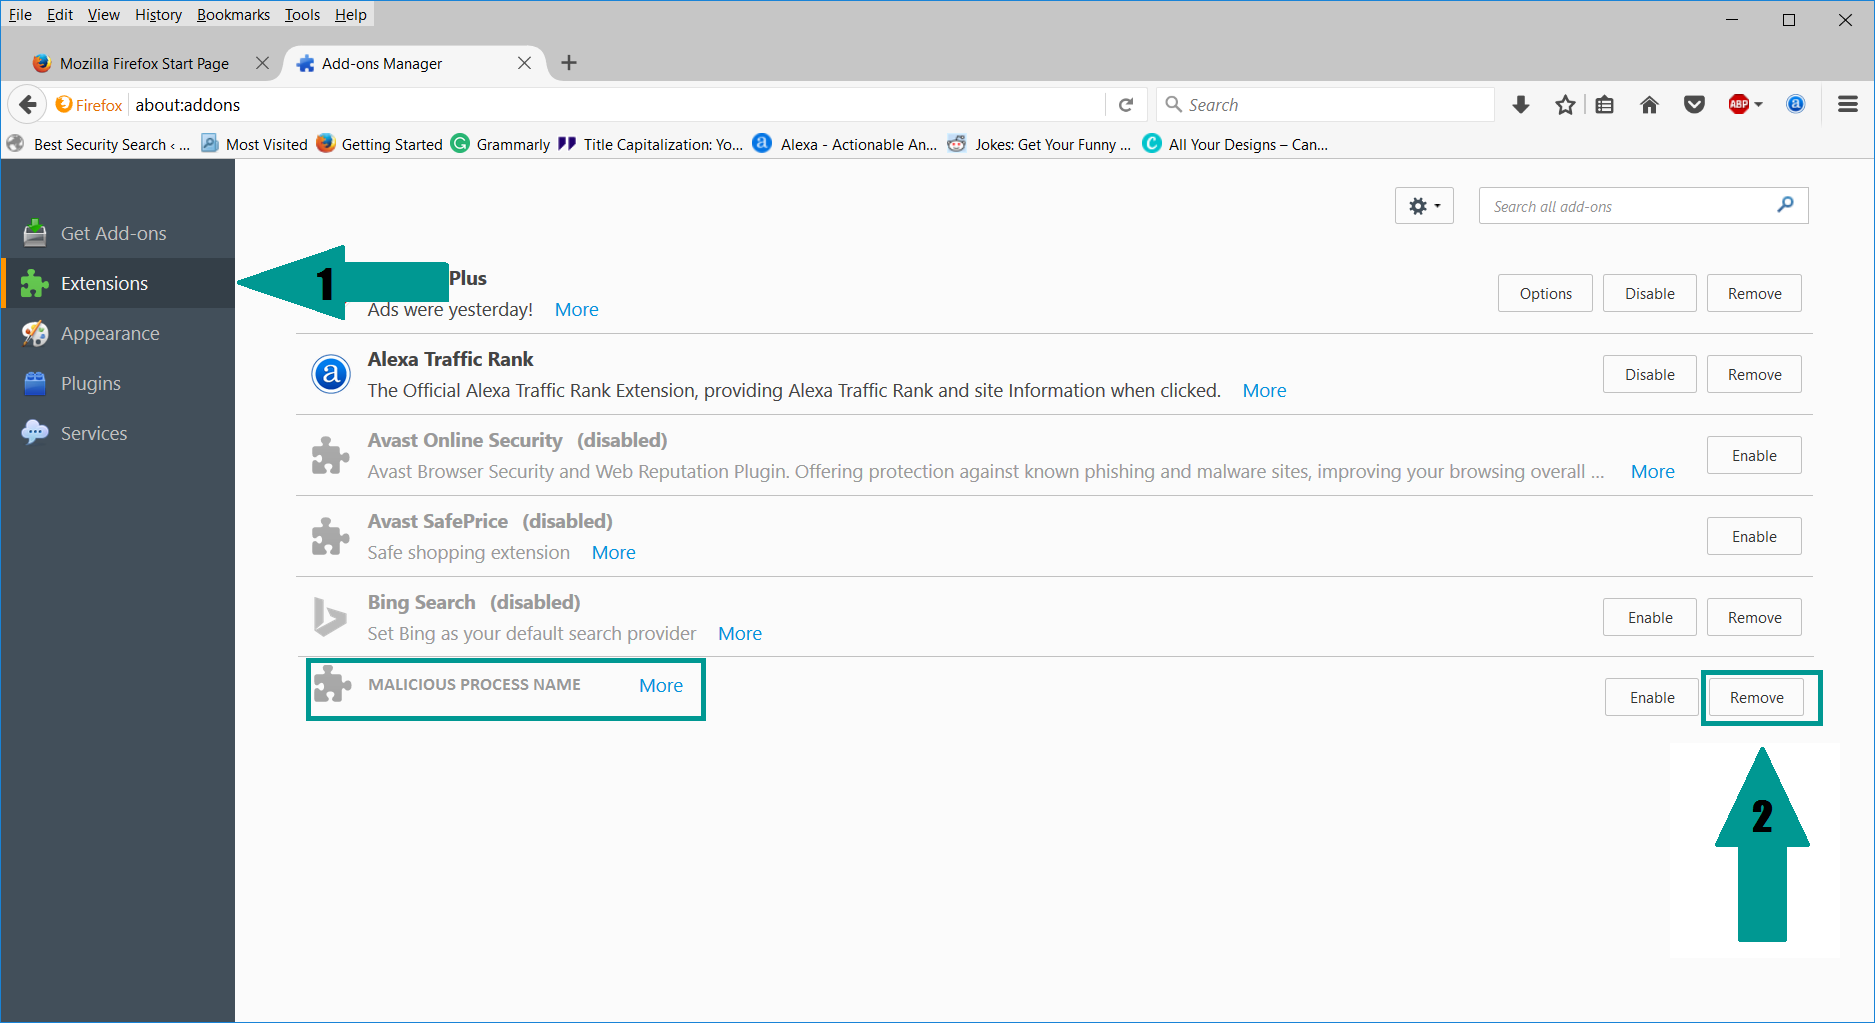
1. Start Mozilla Firefox. In the upper right corner, click on the Open menu icon and select “Add-ons“.
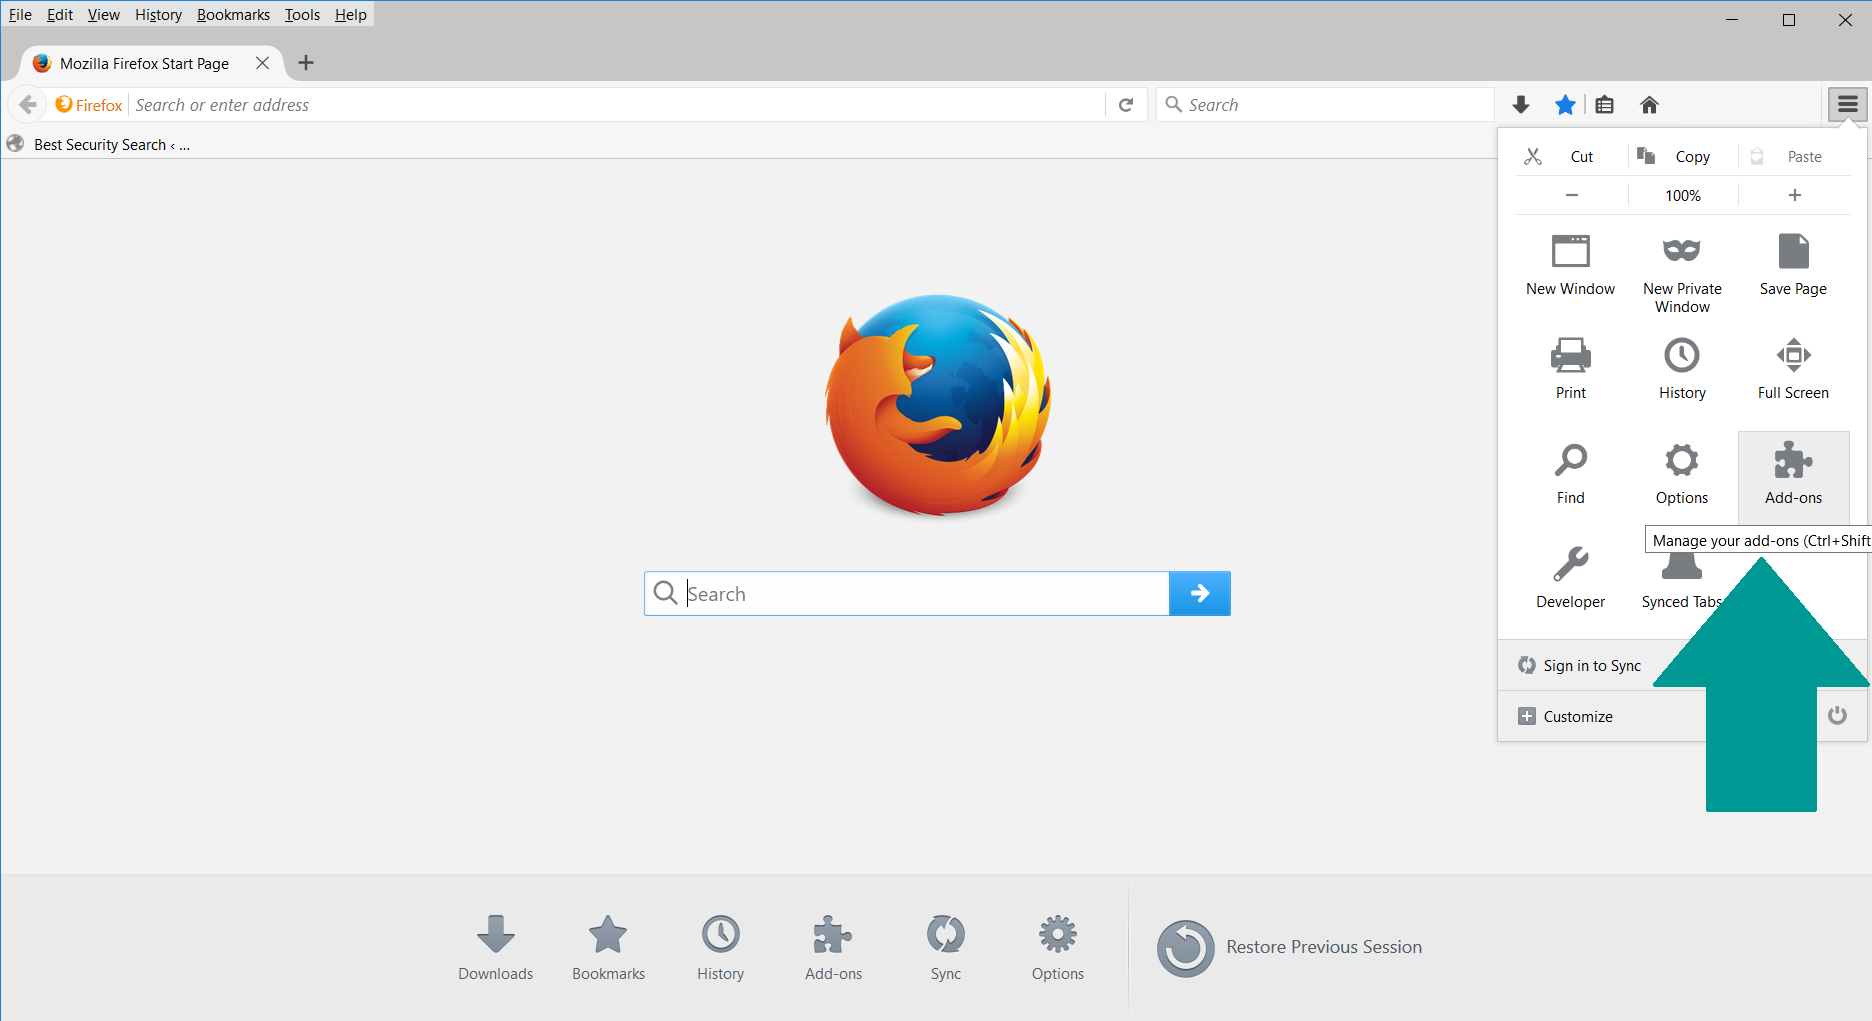
2. Inside the Add-ons Manager select “Extensions“. Search the list of extensions for suspicious entries. If you find any, select them and click “Remove“.
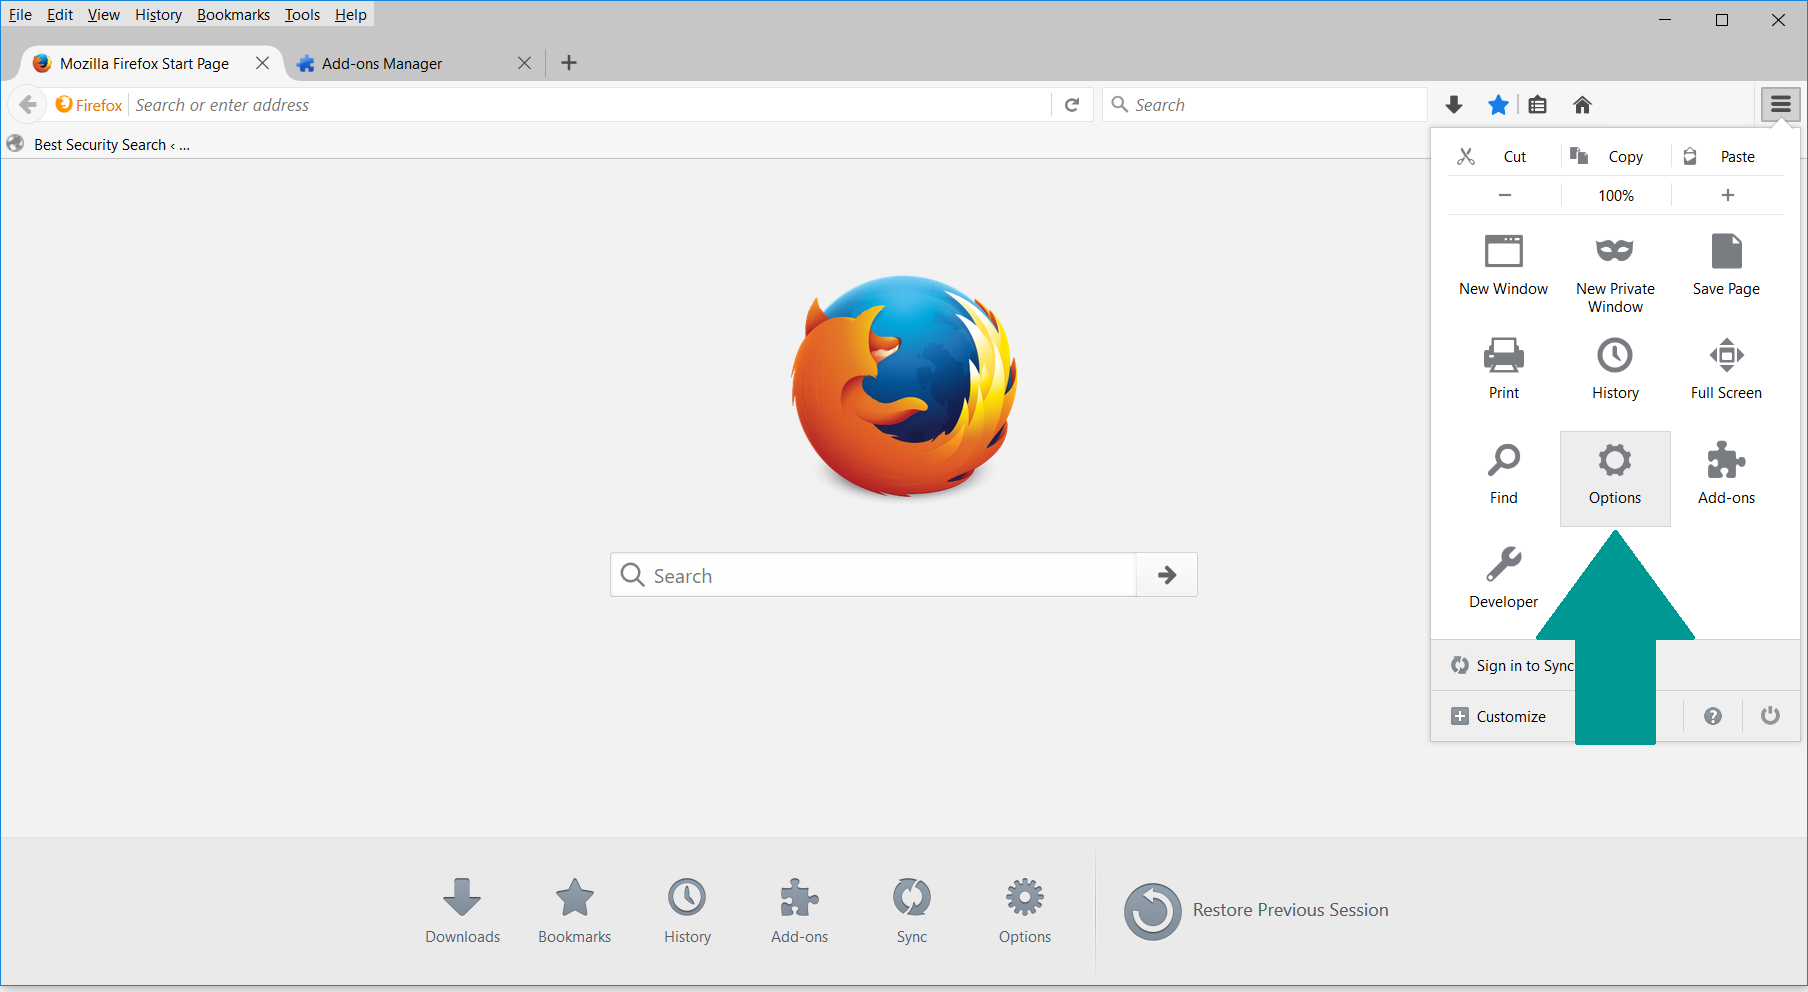
3. Click again on the Open menu icon, then click “Options“.
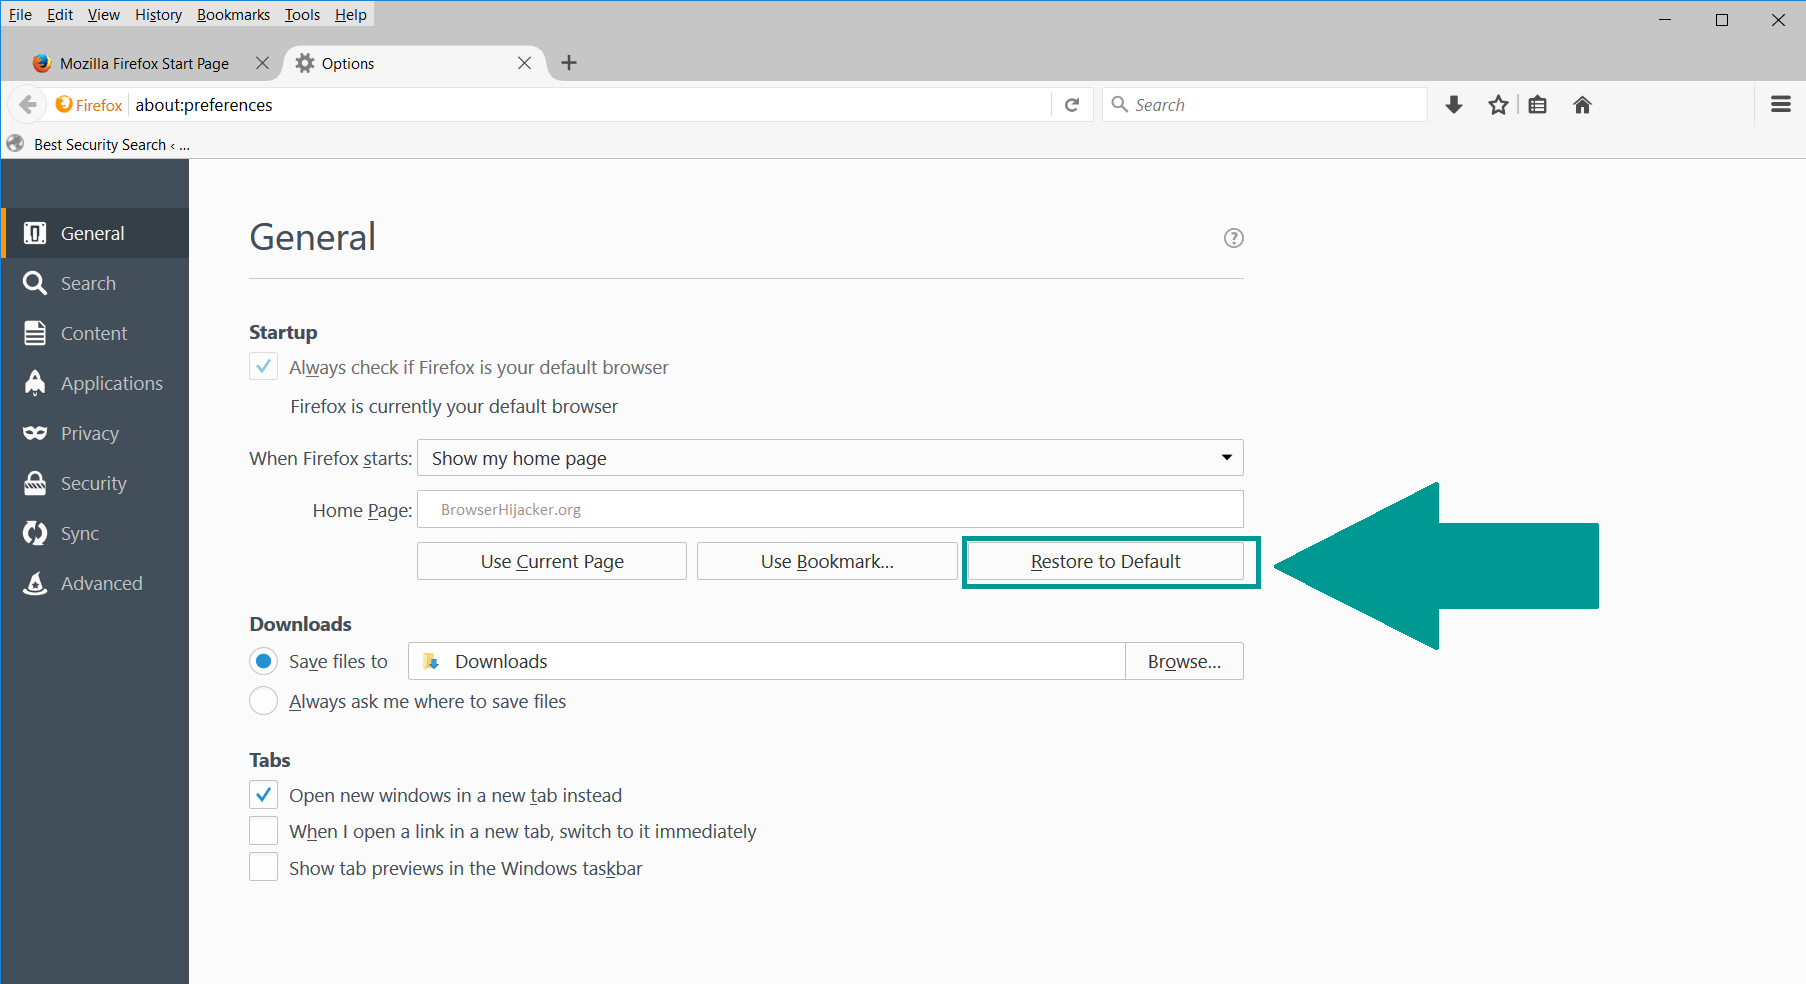
4. In the Options window, under “General” tab, click “Restore to Default“.
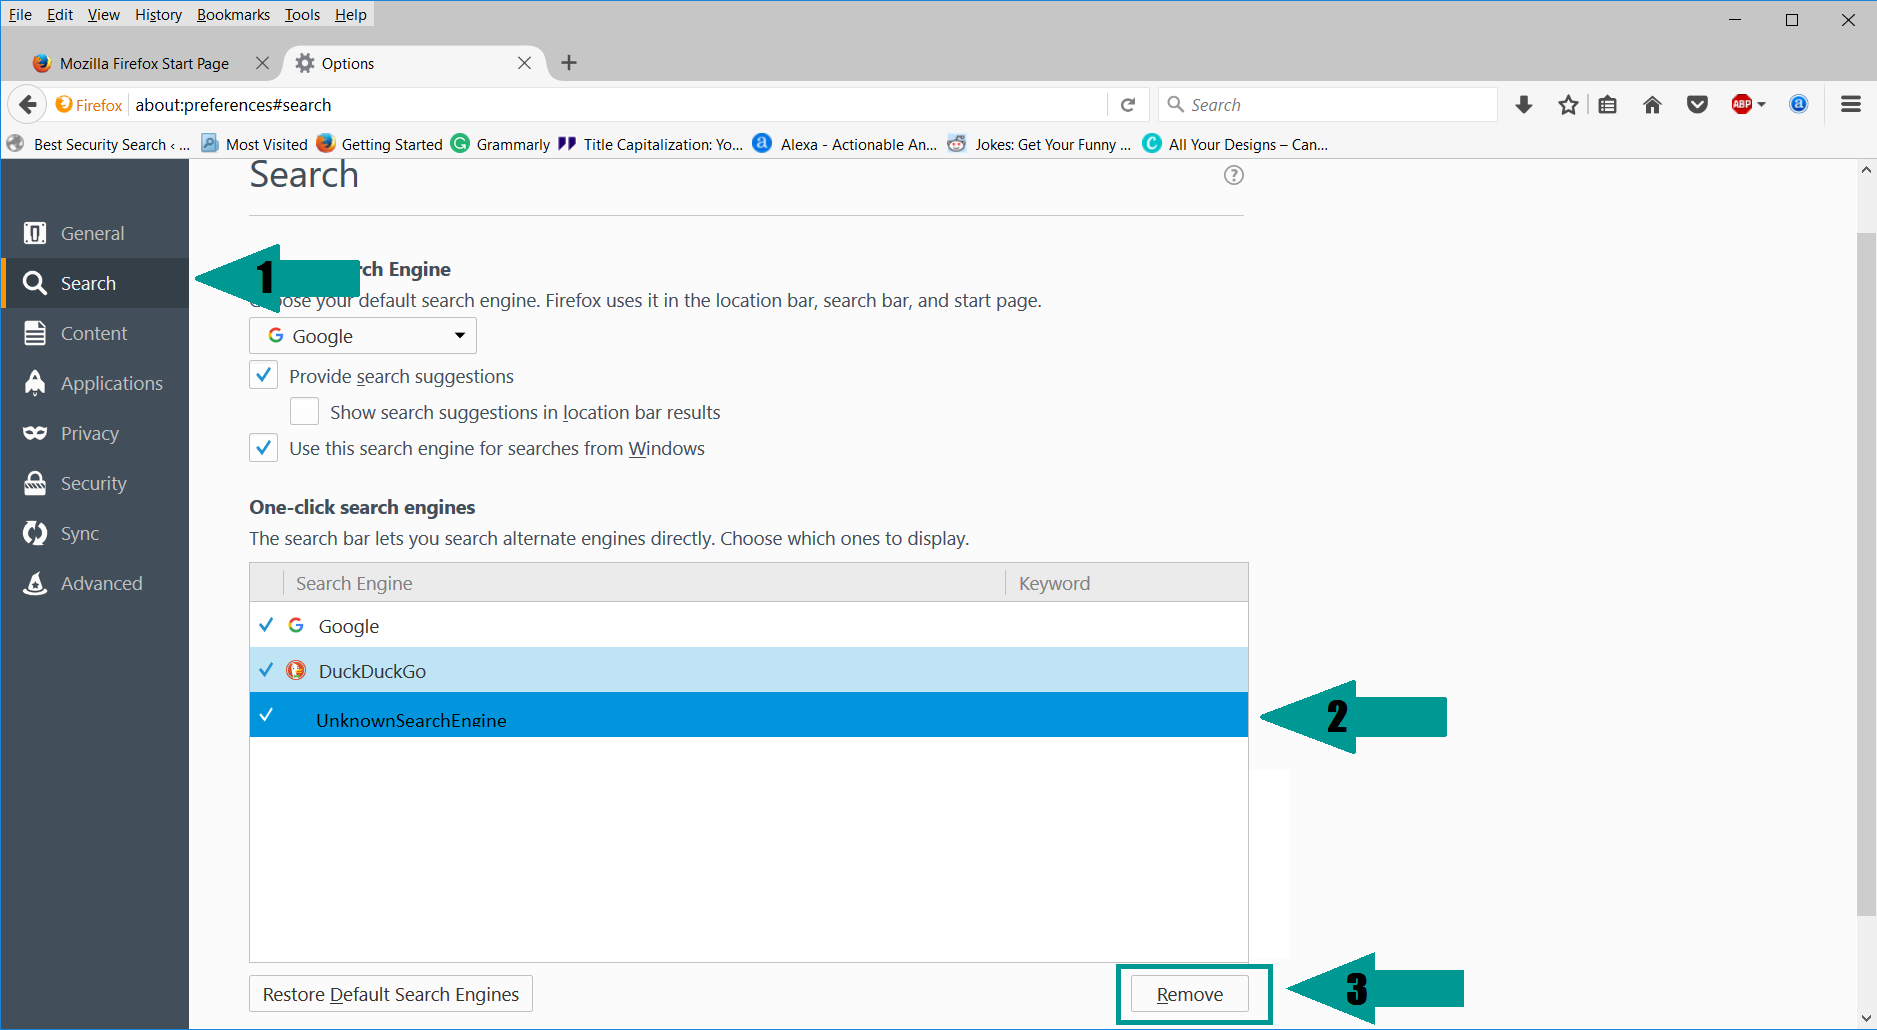
5. Select “Search” in the left menu, mark the unknown search engine and press “Remove”.
-
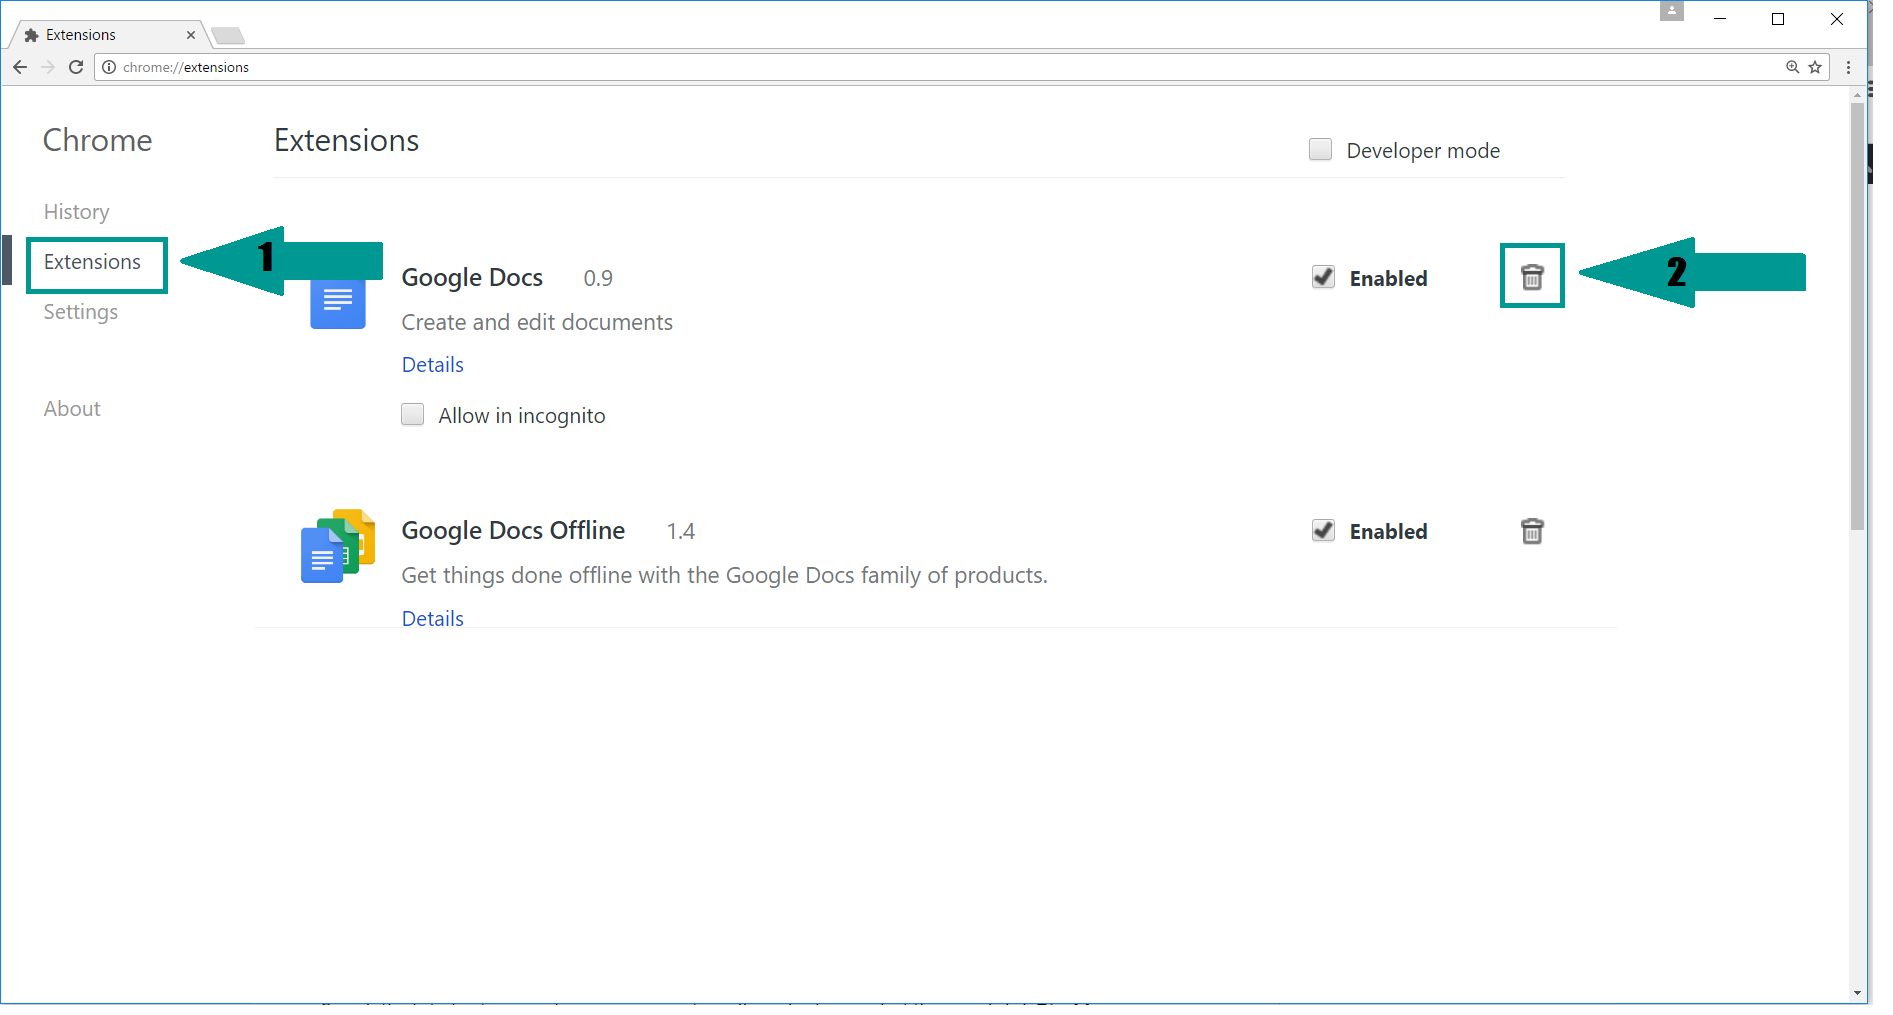
1. Start Google Chrome. On the upper-right corner, there a “Customize and Control” menu icon. Click on it, then click on “Settings“.

2. Click “Extensions” in the left menu. Then click on the trash bin icon to remove the suspicious extension.
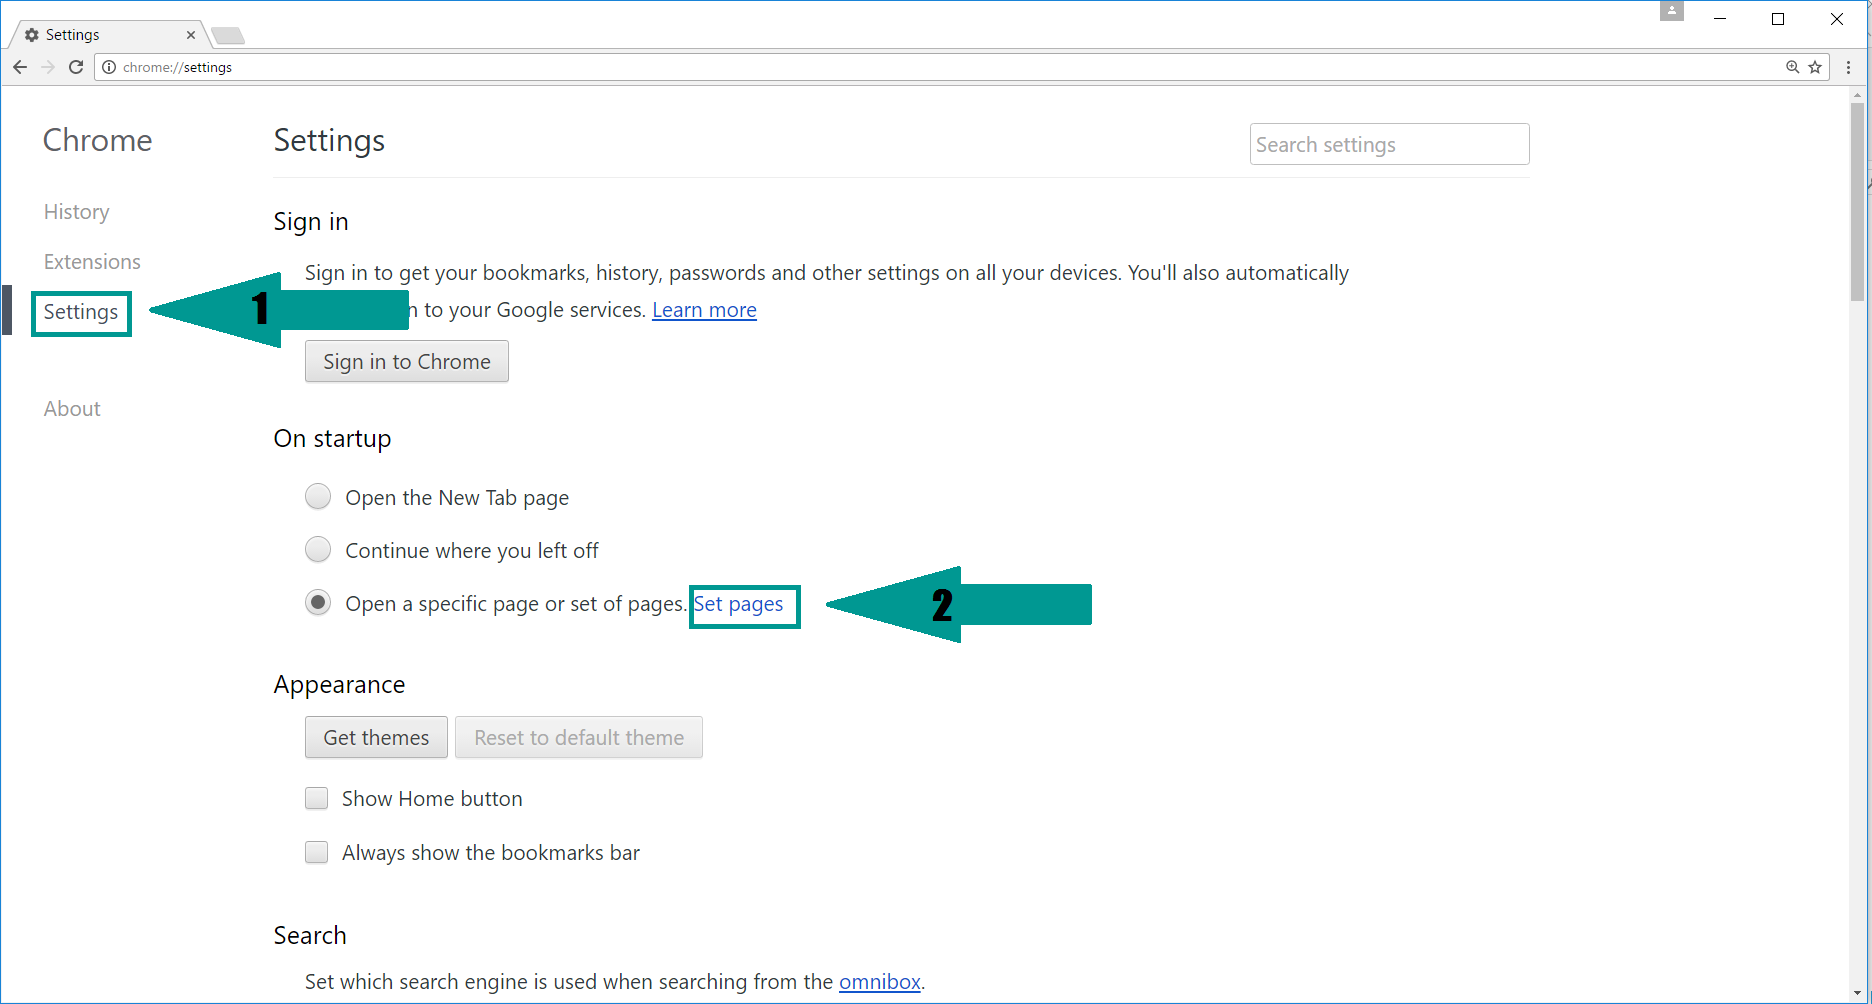
3. Again in the left menu, under Chrome, Click on “Settings“. Go under “On Startup” and set a new page.
4. Afterward, scroll down to “Search“, click on “Manage search engines“.
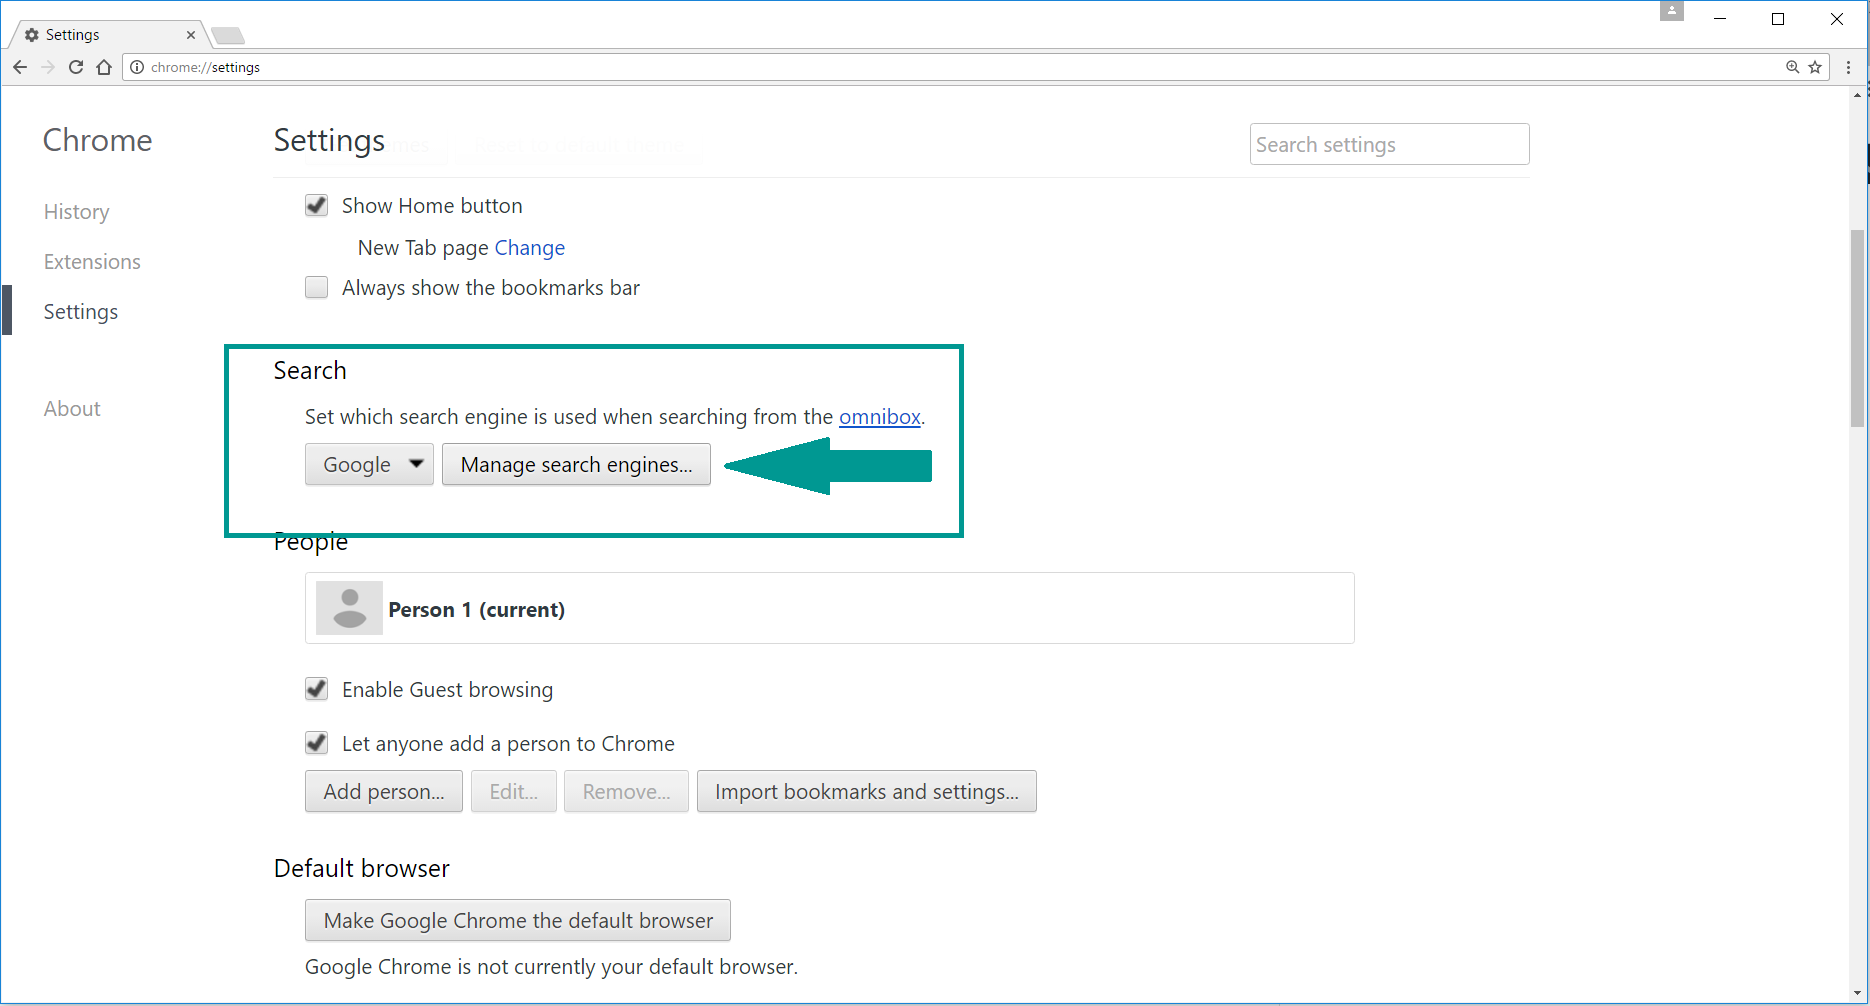
5. In the default search settings list, find the unknown search engine and click on “X“. Then select your search engine of choice and click “Make default“. When you are ready click “Done” button in the right bottom corner.
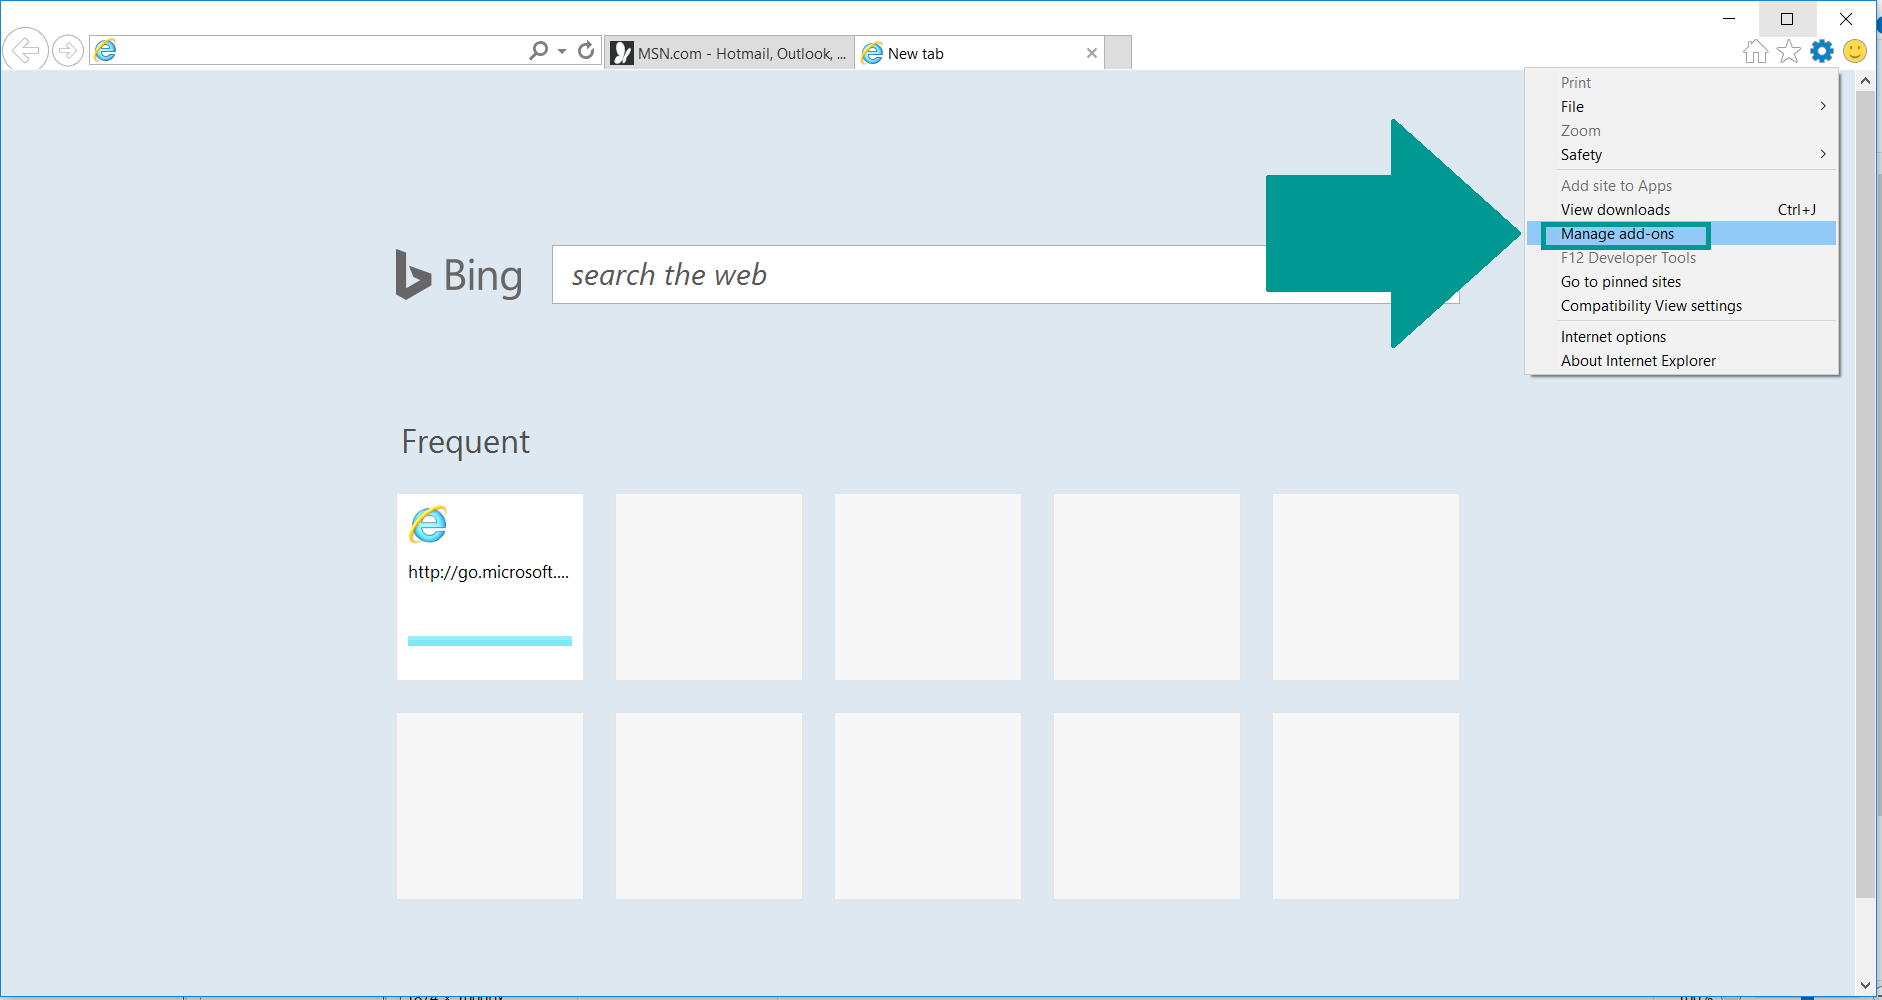
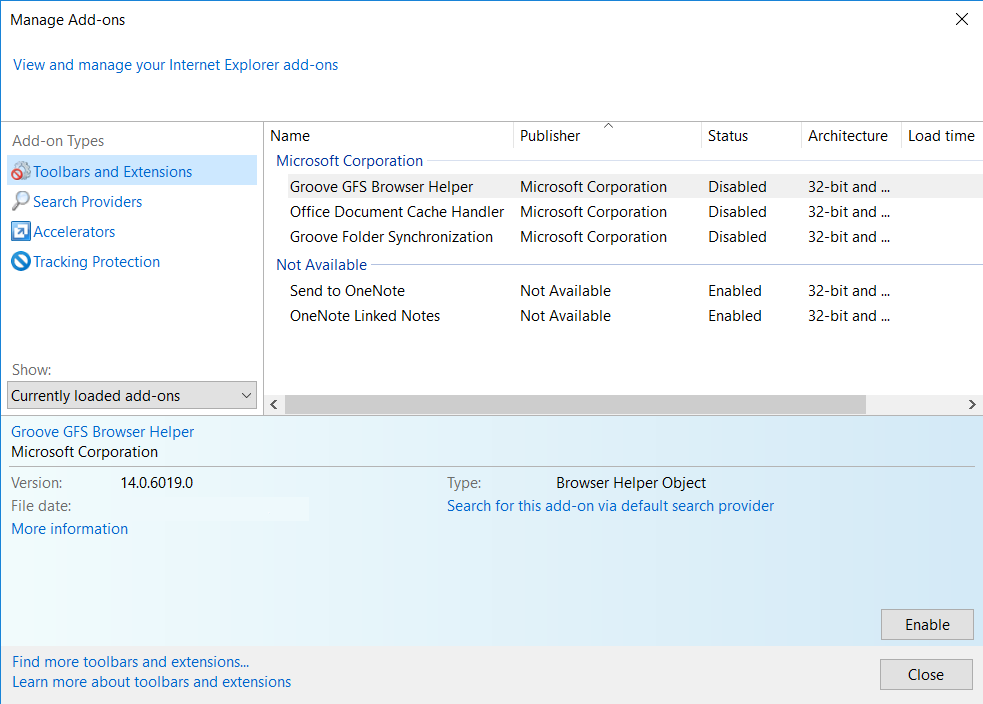
2. In the “Manage add-ons” window, bellow “Add-on Types“, select “Toolbars and Extensions“. If you see a suspicious toolbar, select it and click “Remove“.
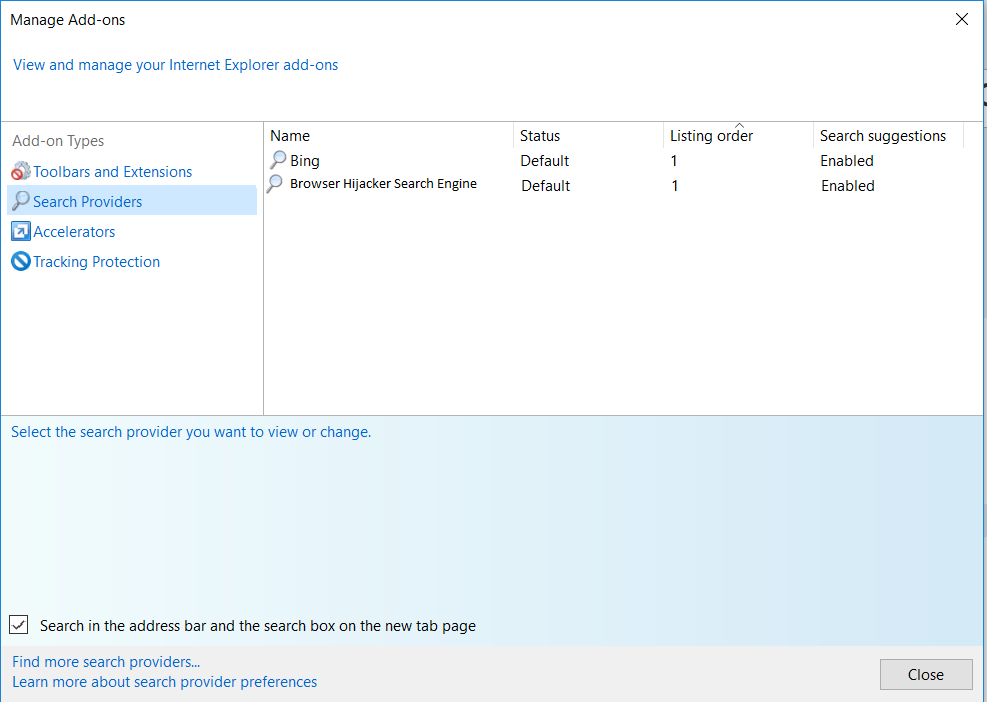
3. Then again in the “Manage Add-ons” window, in “Add-on Types“, Select “Search Providers“. Chose a search engine and click “Set as default“. Select the unknown search engine and click “Remove and Close”.
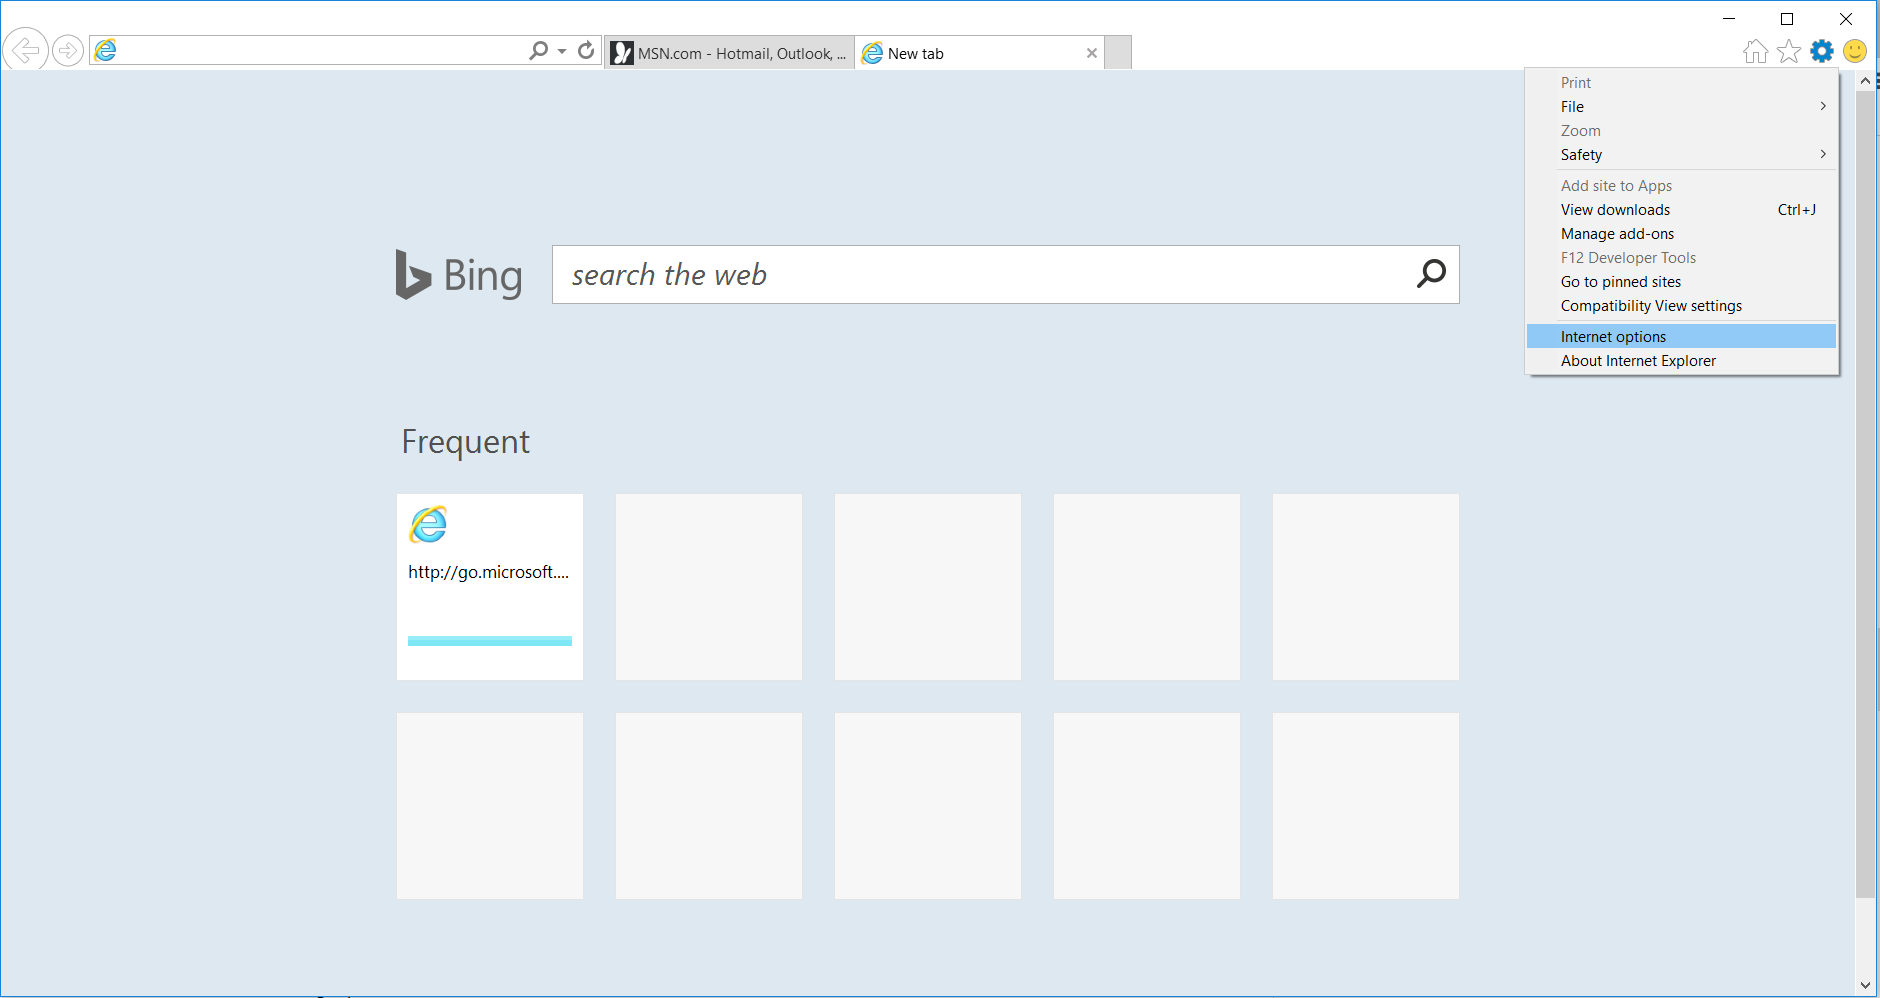
4. Open the Tools menu, select “Internet Options”.
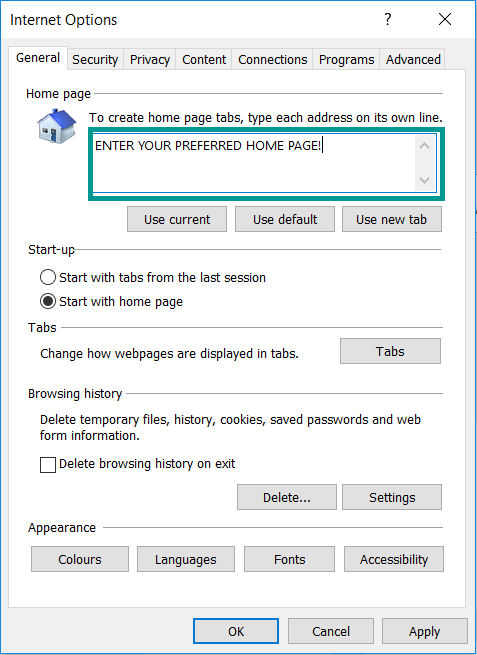
5. In the “General” tab, in “Home page”, enter your preferred page. Click “Apply” and “OK”.
Repair Windows Registry
1. Again type simultaneously the WIN Key + R key combination
2. In the box, write regedit and hit Enter
3. Type the CTRL+ F and then write the malicious name in the search type field to locate the malicious executable
4. In case you have discovered registry keys and values related to the name, you should delete them, but be careful not to delete legitimate keys
Click for more information about Windows Registry and further repair help