


Play-bar.net is a browser hijacker that can be removed easily. The site’s strategy is to infect your Google Chrome, Mozilla Firefox, or Internet Explorer browser with the Play-bar.net search engine. The site can collect your data and spread more cyber-security threats to your computer. This guide will help you to deal with the problem.
How Did I End Up With Play-bar.net On My Browser?
The search engine spreads via a browser hijacking toolbar. Once you attach the toolbar to your browser, you’d end up with the Play-bar.net as your default search engine and new tab page. Another distribution method is to install a program that’s affiliated with the site’s creators.
Browser hijacker developers often make dozens of sites, toolbars, and junkware programs. The usual method is to make a circle network where every one of those tools infects users with the other tools. To break the circle, never install programs from the “Quick” or “Easy” route, and check the “Custom” or “Advanced” options.
Play-bar.net – What Does It Do?
The main site collects your data, redirects you to Radler.ru, and tries to get you into playing flash games.
The current design of Play-bar.net:
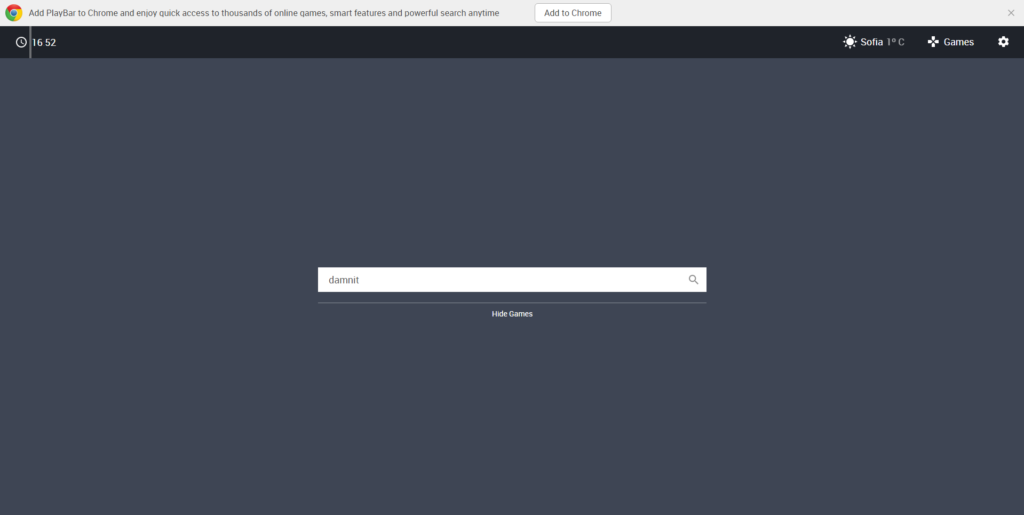
You may not see the games, as Flash Player content is often blocked by default. The player is very popular among phishing schemers and should be avoided. This tactic may be utilized by the Play-bar.net browser hijacker.
The site will also collect your personal data from your searches. By using Play-bar.net, you agree to the site’s collection of your IP address, Location, Search Engine History (time, keywords, referral data, etc.) The site is just a hoax, as it lacks any sort of searching capabilities. It merely redirects you to Rambler.
How Can I Protect My PC from Play-bar.net?
The hijacker can be removed quickly with the right anti-malware tool. You can also attempt manual removal using the tutorial below.
Play-bar.net Removal Guide
Manual removal of Play-bar.net requires being familiar with system files and registries. Removal of any important data can lead to permanent system damage. You could prevent this troublesome effect and delete Play-bar.net browser hijacker with SpyHunter malware removal tool.
STEP I: Start the PC in Safe Mode with Network
This will isolate all files and objects created by the browser hijacker so they will be removed efficiently.
-
1) Hit WIN Key + R
- 2) A Run window will appear. In it, write “msconfig” and then press Enter
3) A Configuration box shall appear. In it Choose the tab named “Boot”
4) Mark “Safe Boot” option and then go to “Network” under it to tick it too
5) Apply -> OK
Or check our video guide – “How to start PC in Safe Mode with Networking”
STEP II: Remove Play-bar.net from Windows
Here’s a way to remove the program. This method will work regardless if you’re on Windows 10, 8, 7, Vista or XP. Simply selecting the program and pressing delete won’t work, as it’ll leave a lot of small files. That’s bad because these leftovers can linger on and cause all sorts of problems. The best way to delete a program is to uninstall it. Here’s how you can do that:
-
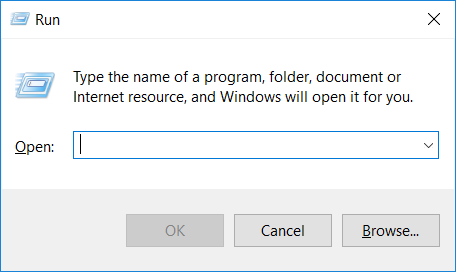
1) Hold the “Windows” button (It’s between CTRL and Alt on most keyboards) and press “R”. You’ll see a pop-up window.
-
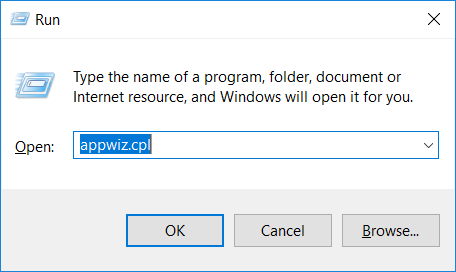
2) In the textbox, type “appwiz.cpl”, then press“ Enter ”.
-
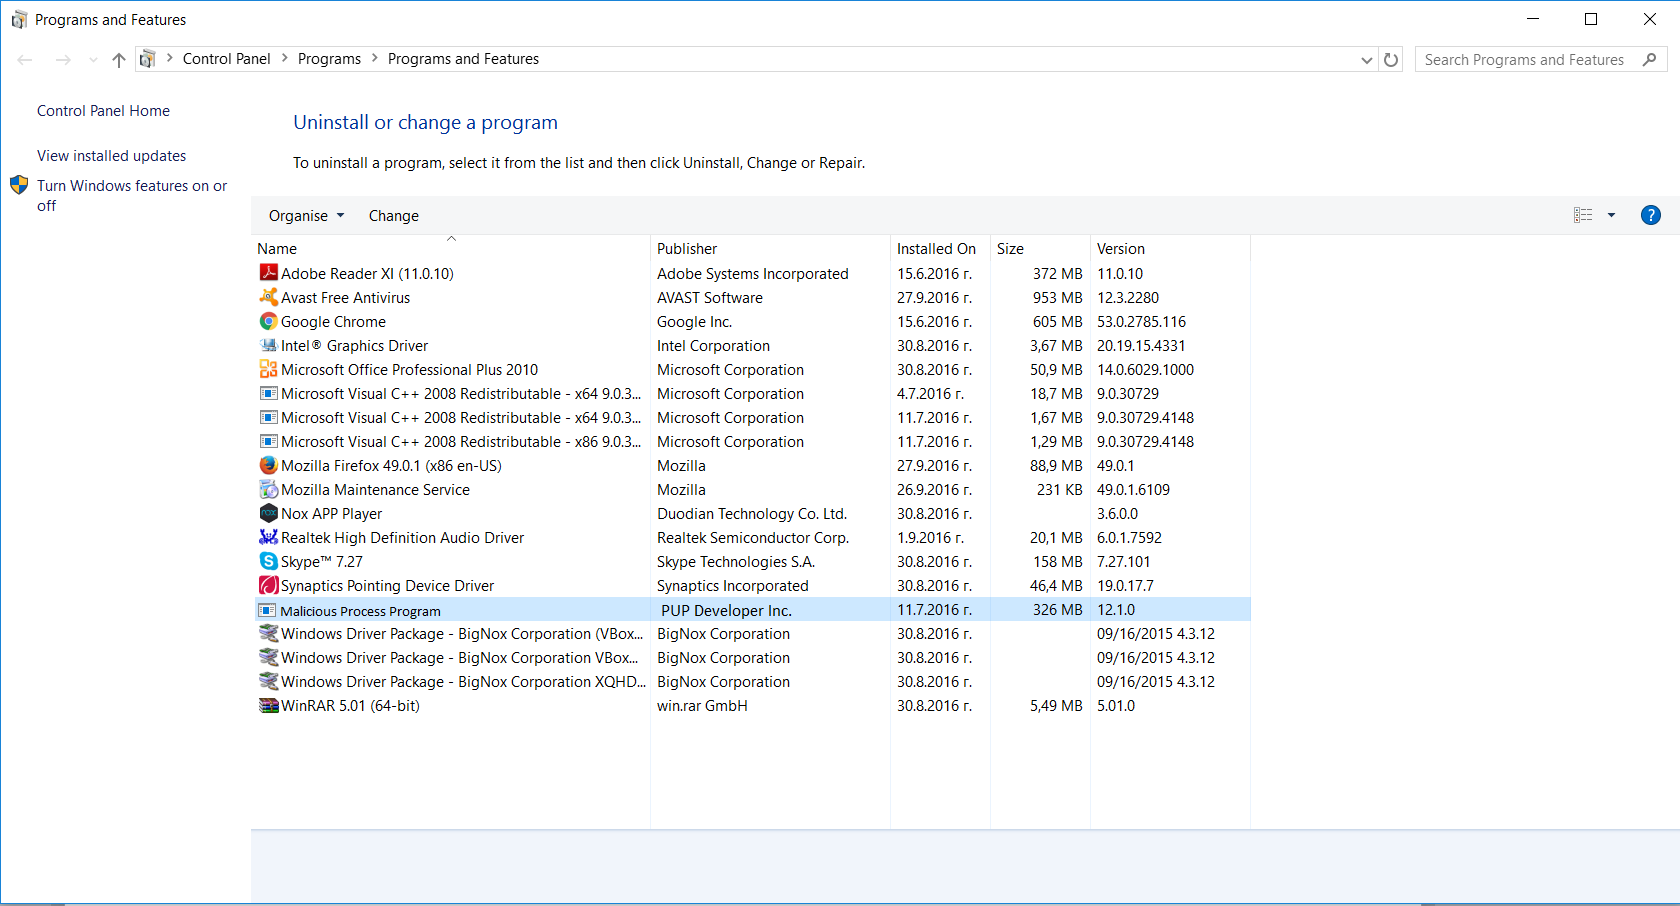
3) The “Programs and features” menu should now appear. It’s a list of all the programs installed on the PC. Here you can find the program, select it, and press “Uninstall“.
STEP III: Remove Play-bar.net From Your Browser
Before resetting your browser’s settings, you should know that this action will wipe out all your recorded usernames, passwords, and other types of data. Make sure to save them in some way.
-
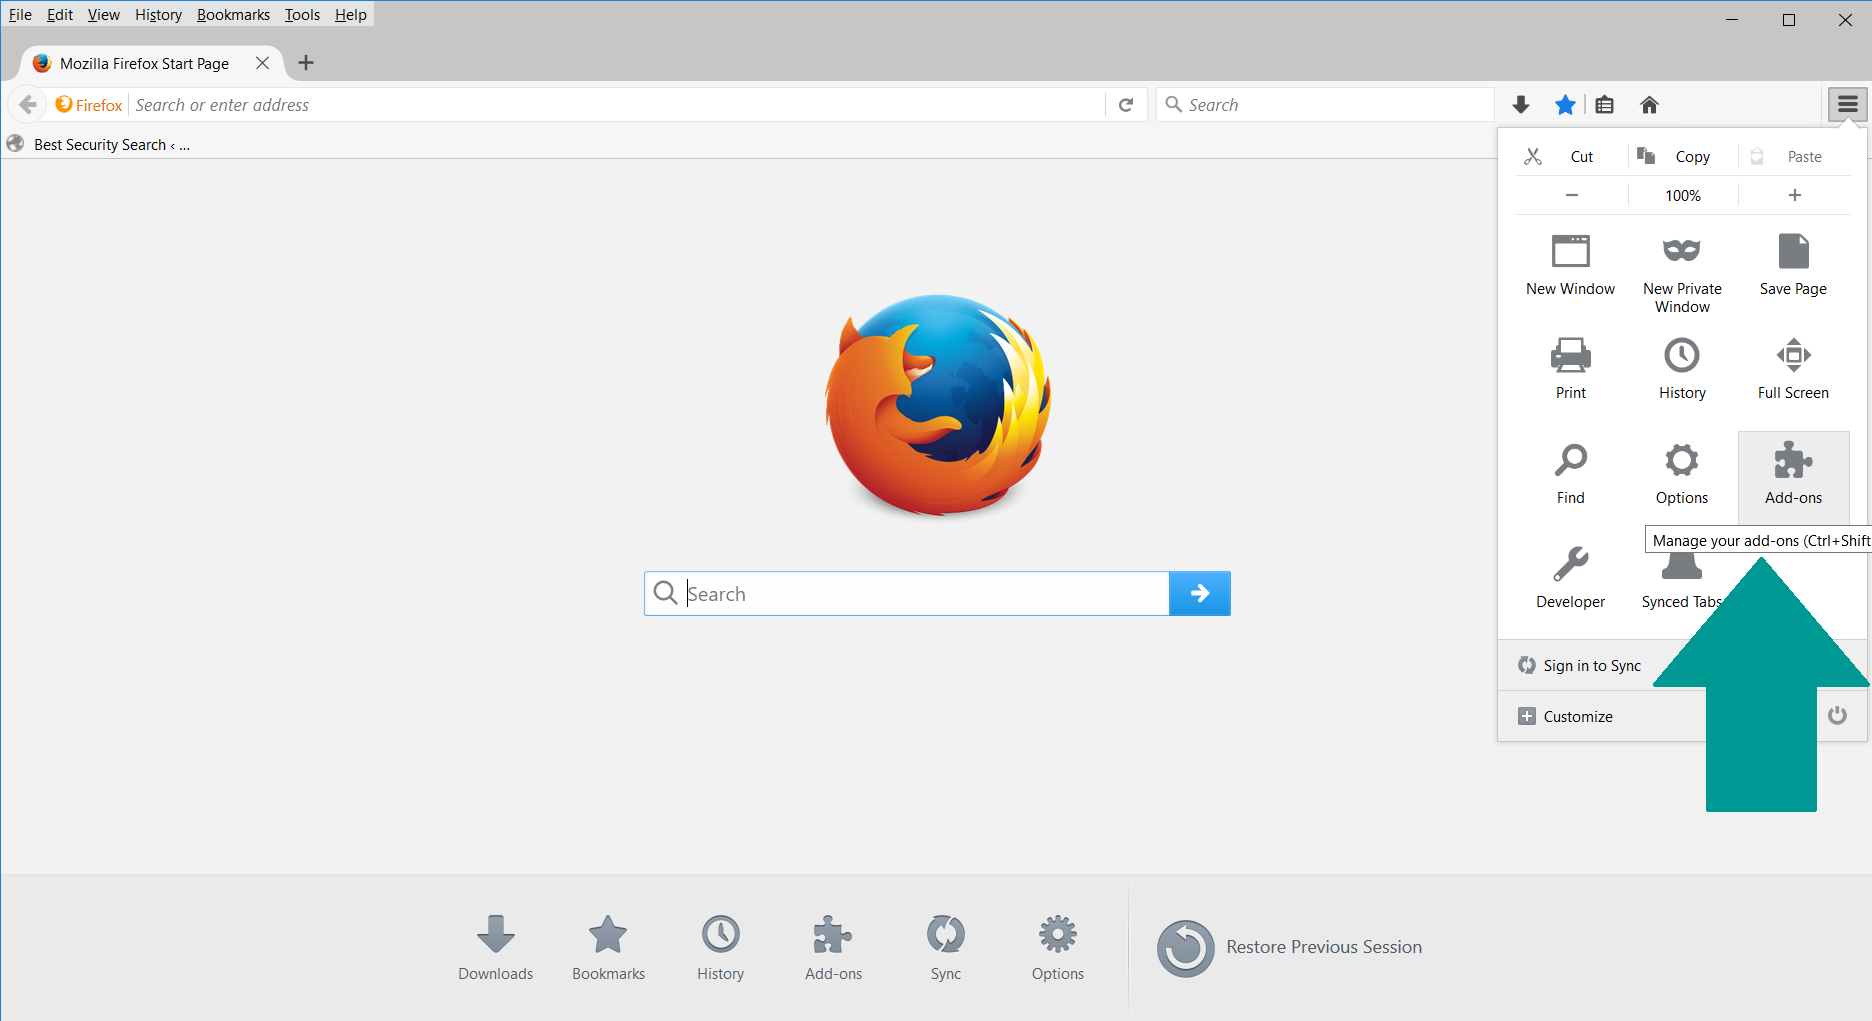
1) Start Mozilla Firefox. In the upper right corner, click on the Open menu icon and select “Add-ons“.
-
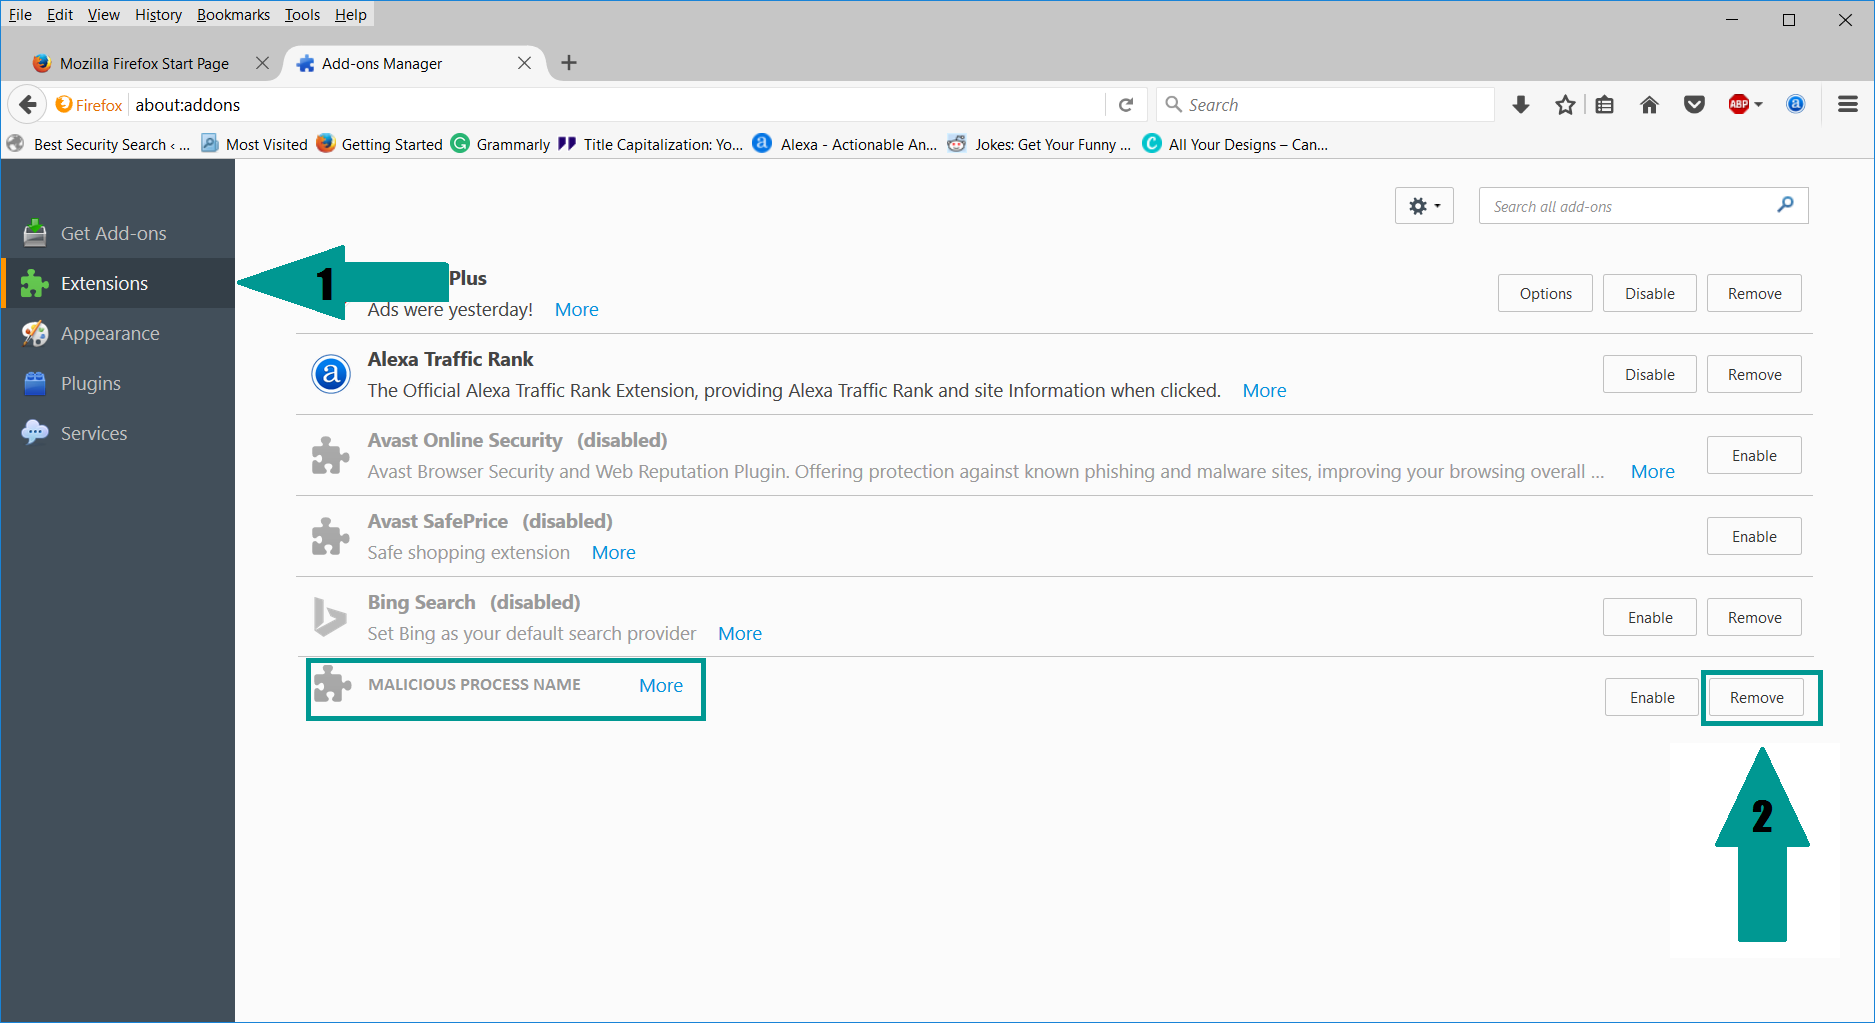
2) Inside the Add-ons Manager select “Extensions“. Search the list of extensions for suspicious entries. If you find any, select them and click “Remove“.
-
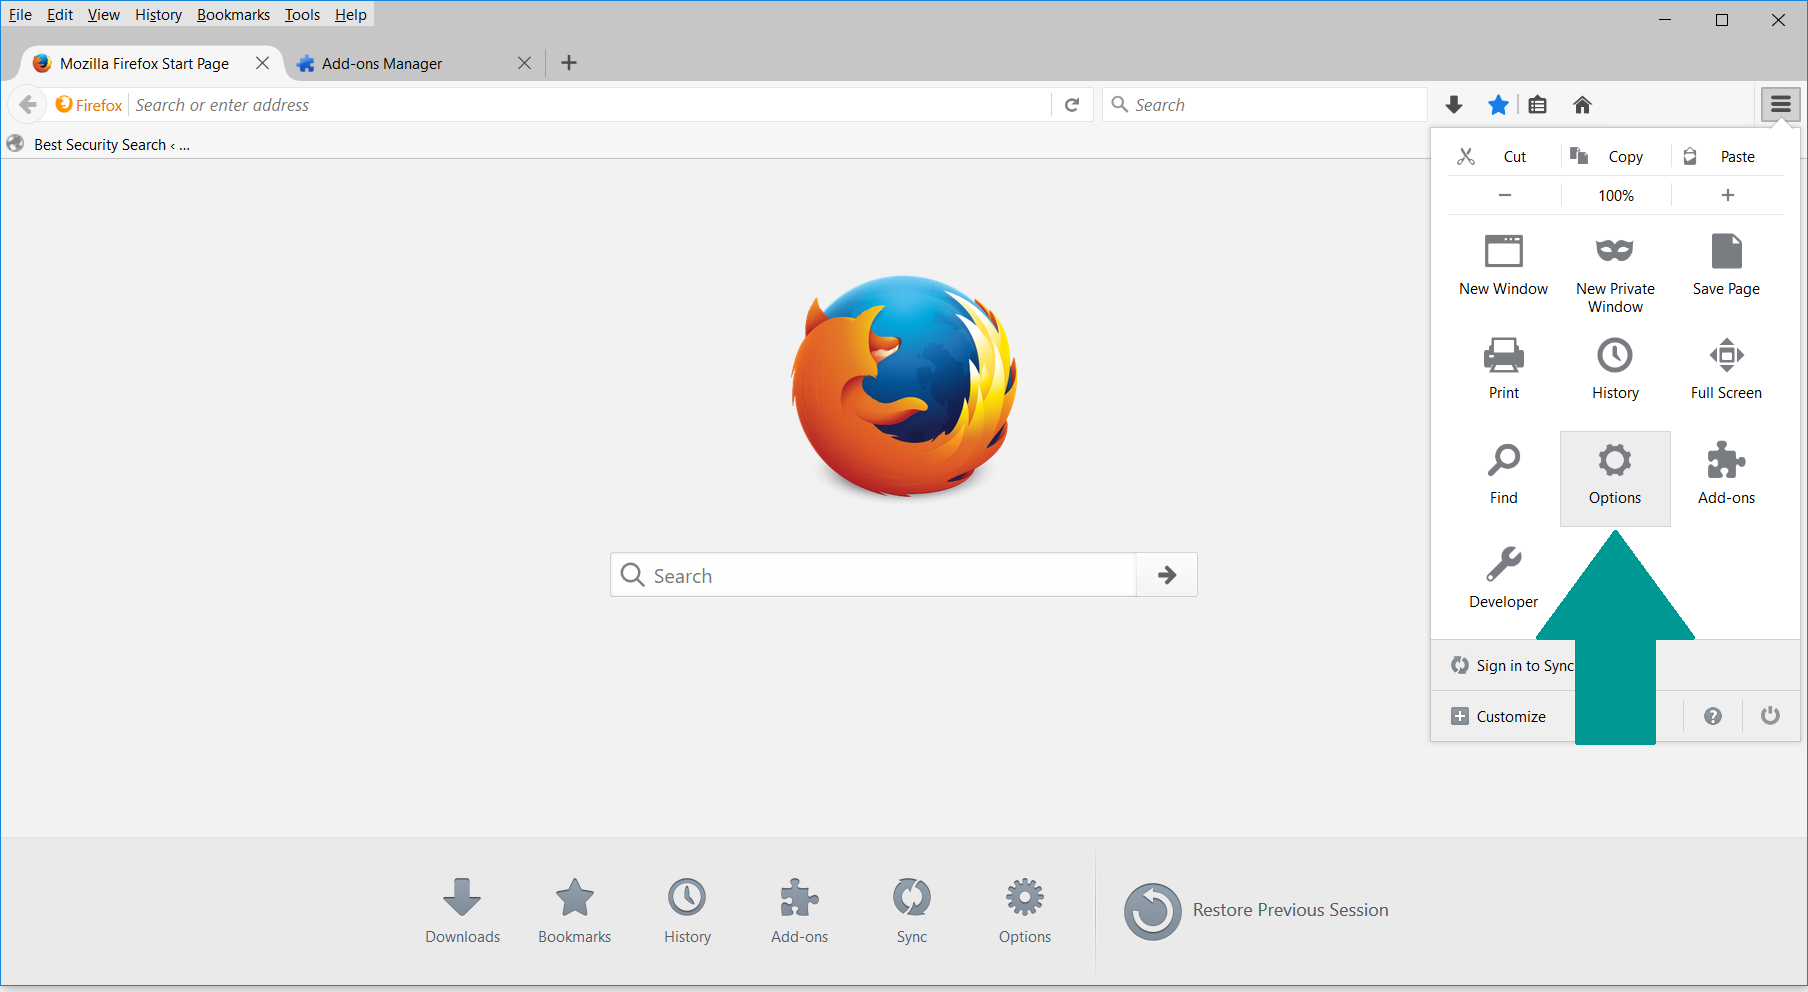
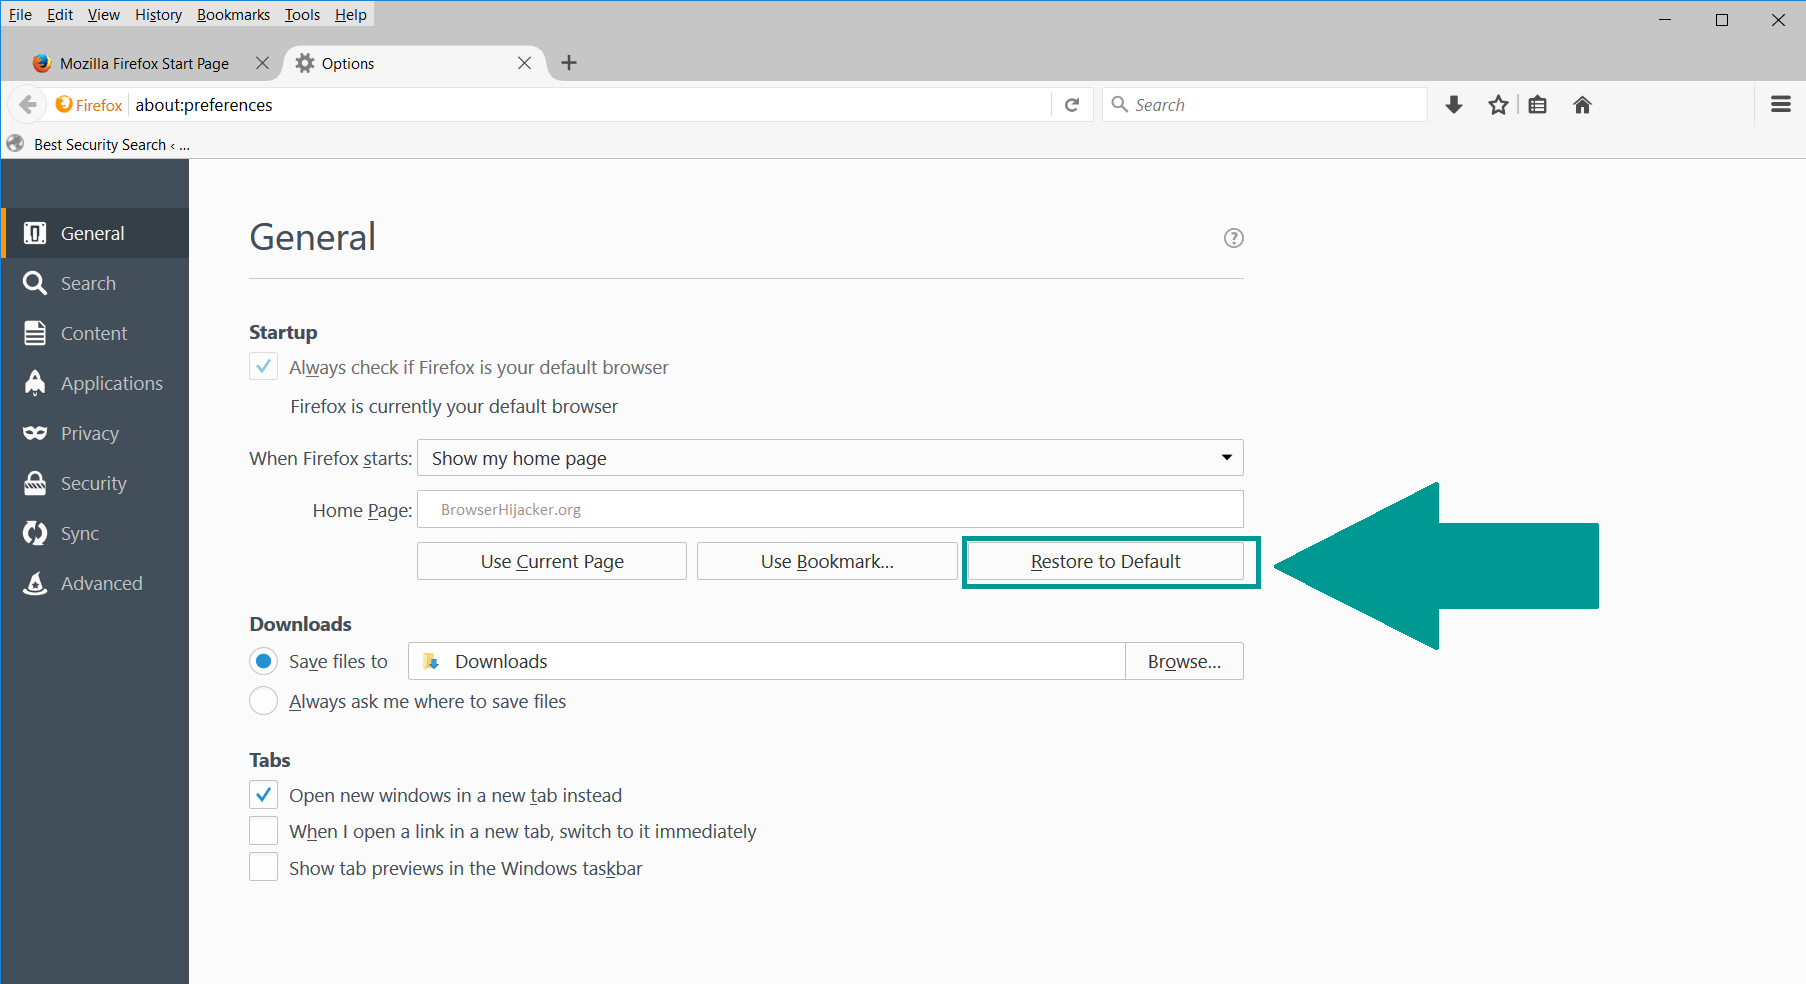
3) Click again on the Open menu icon, then click “Options“.
-
4) In the Options window, under “General” tab, click “Restore to Default“.
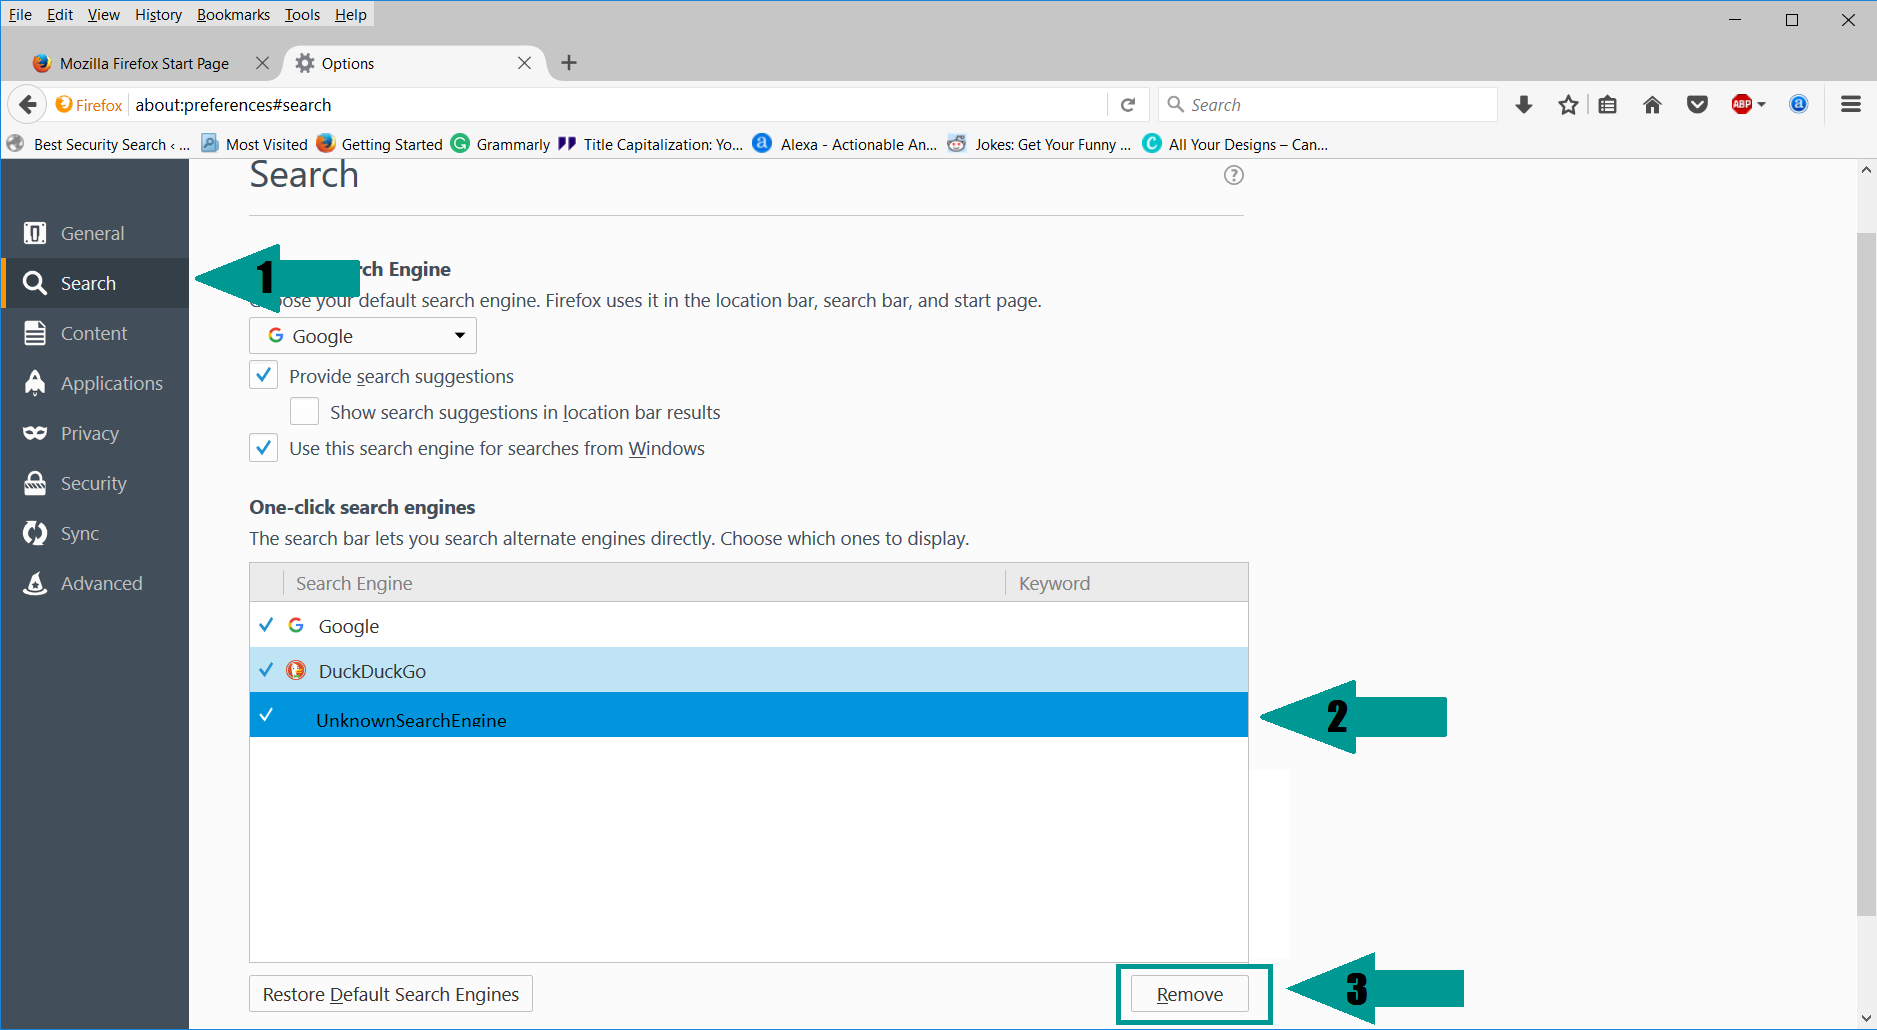
-
5) Select “Search” in the left menu, mark the unknown search engine and press “Remove”.
-
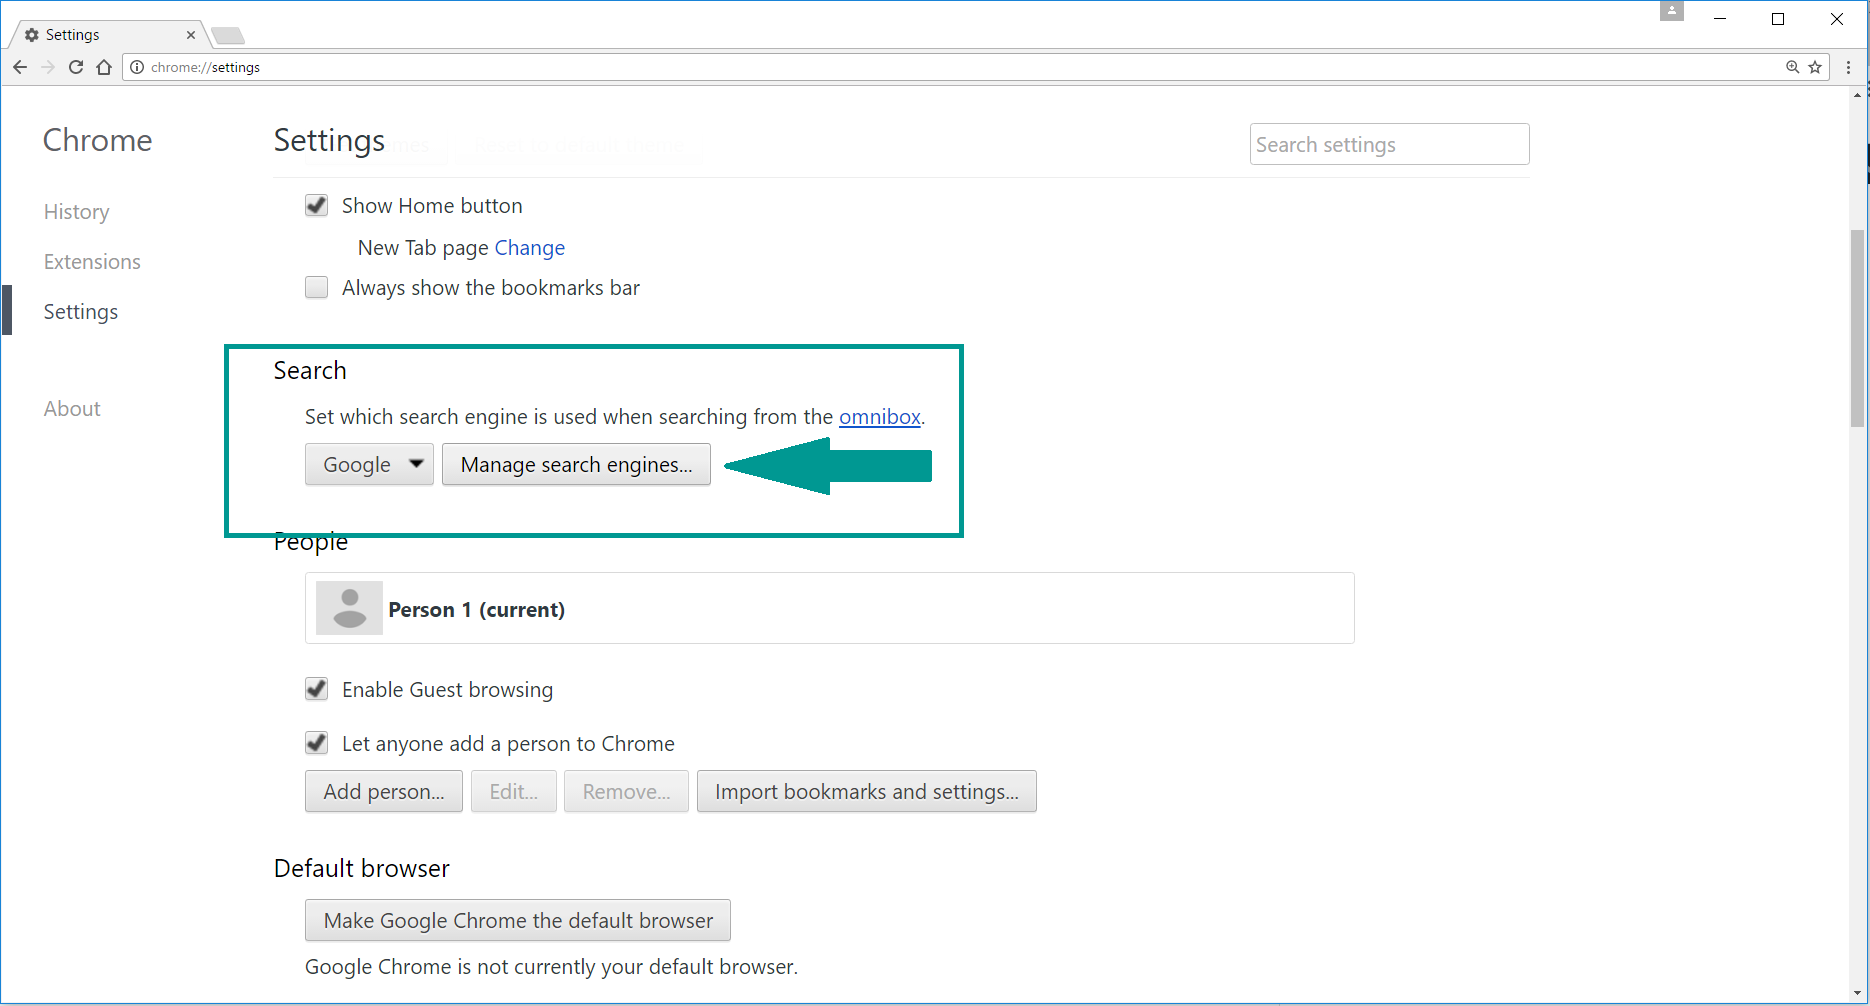
1) Start Google Chrome. On the upper-right corner, there a “Customize and Control” menu icon. Click on it, then click on “Settings“.

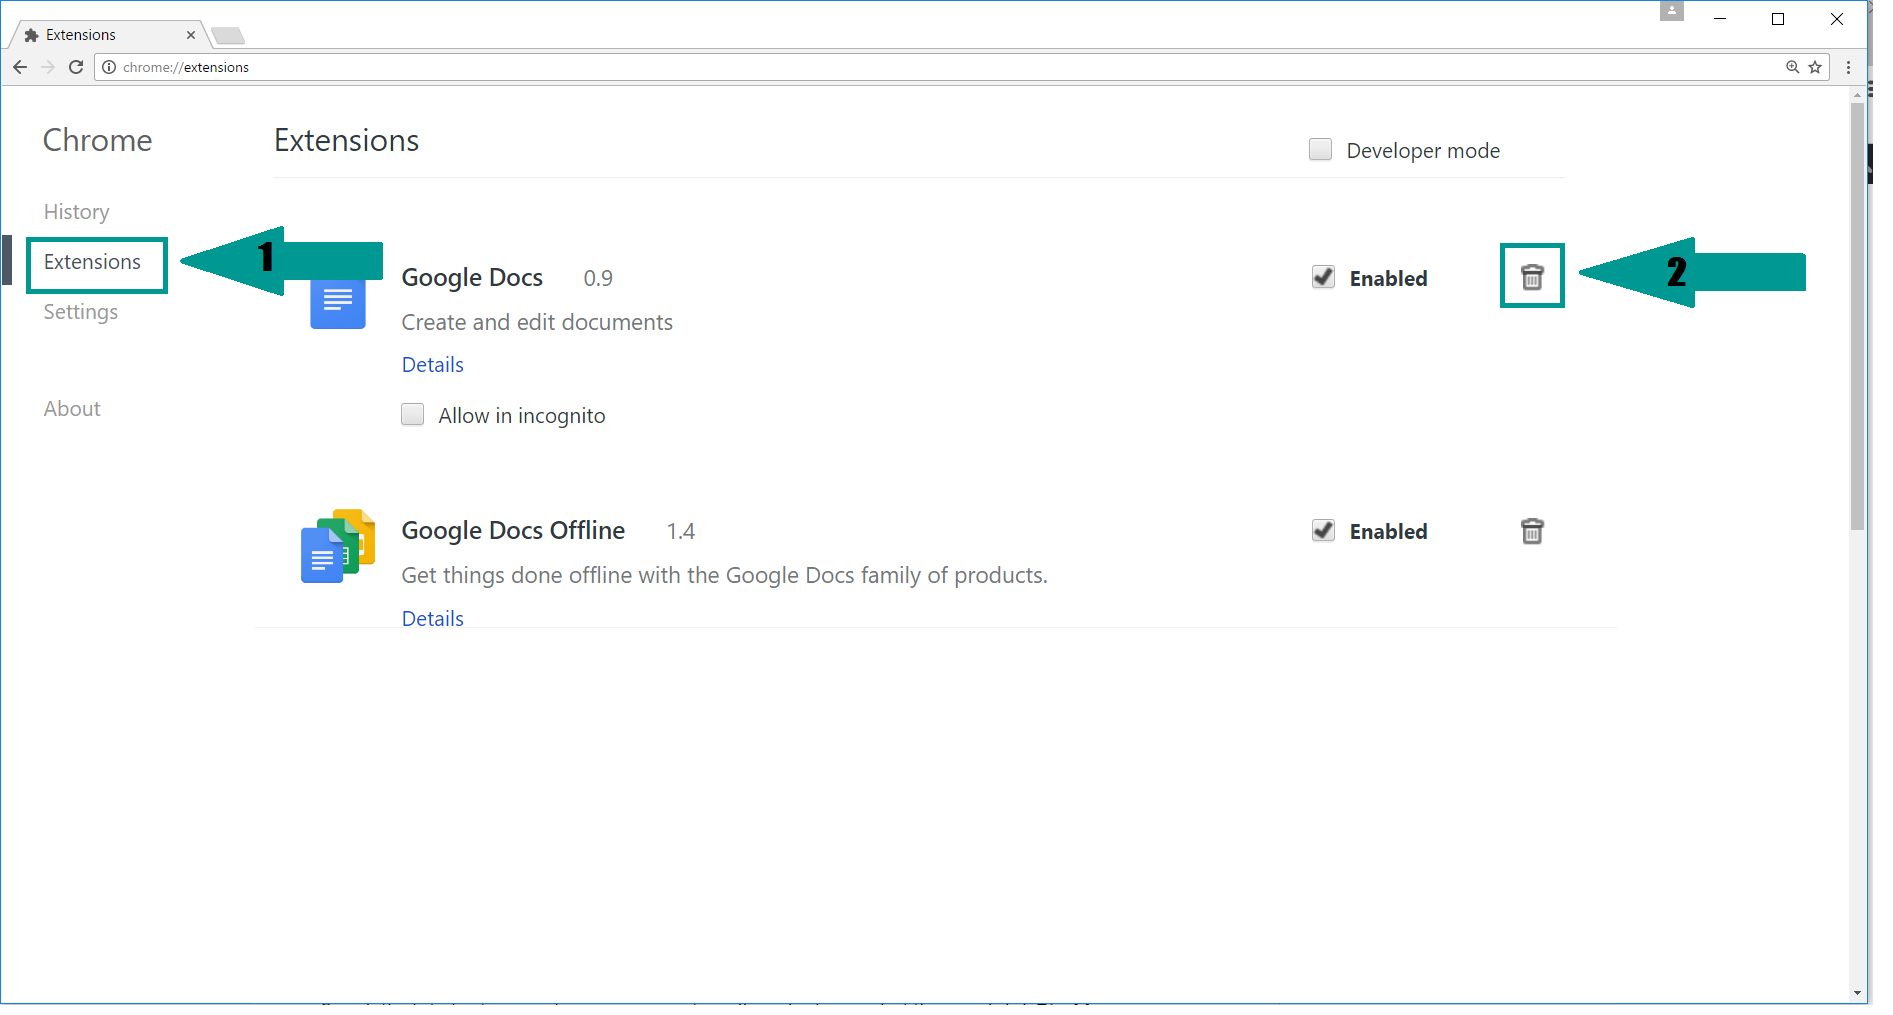
-
2) Click “Extensions” in the left menu. Then click on the trash bin icon to remove the suspicious extension.
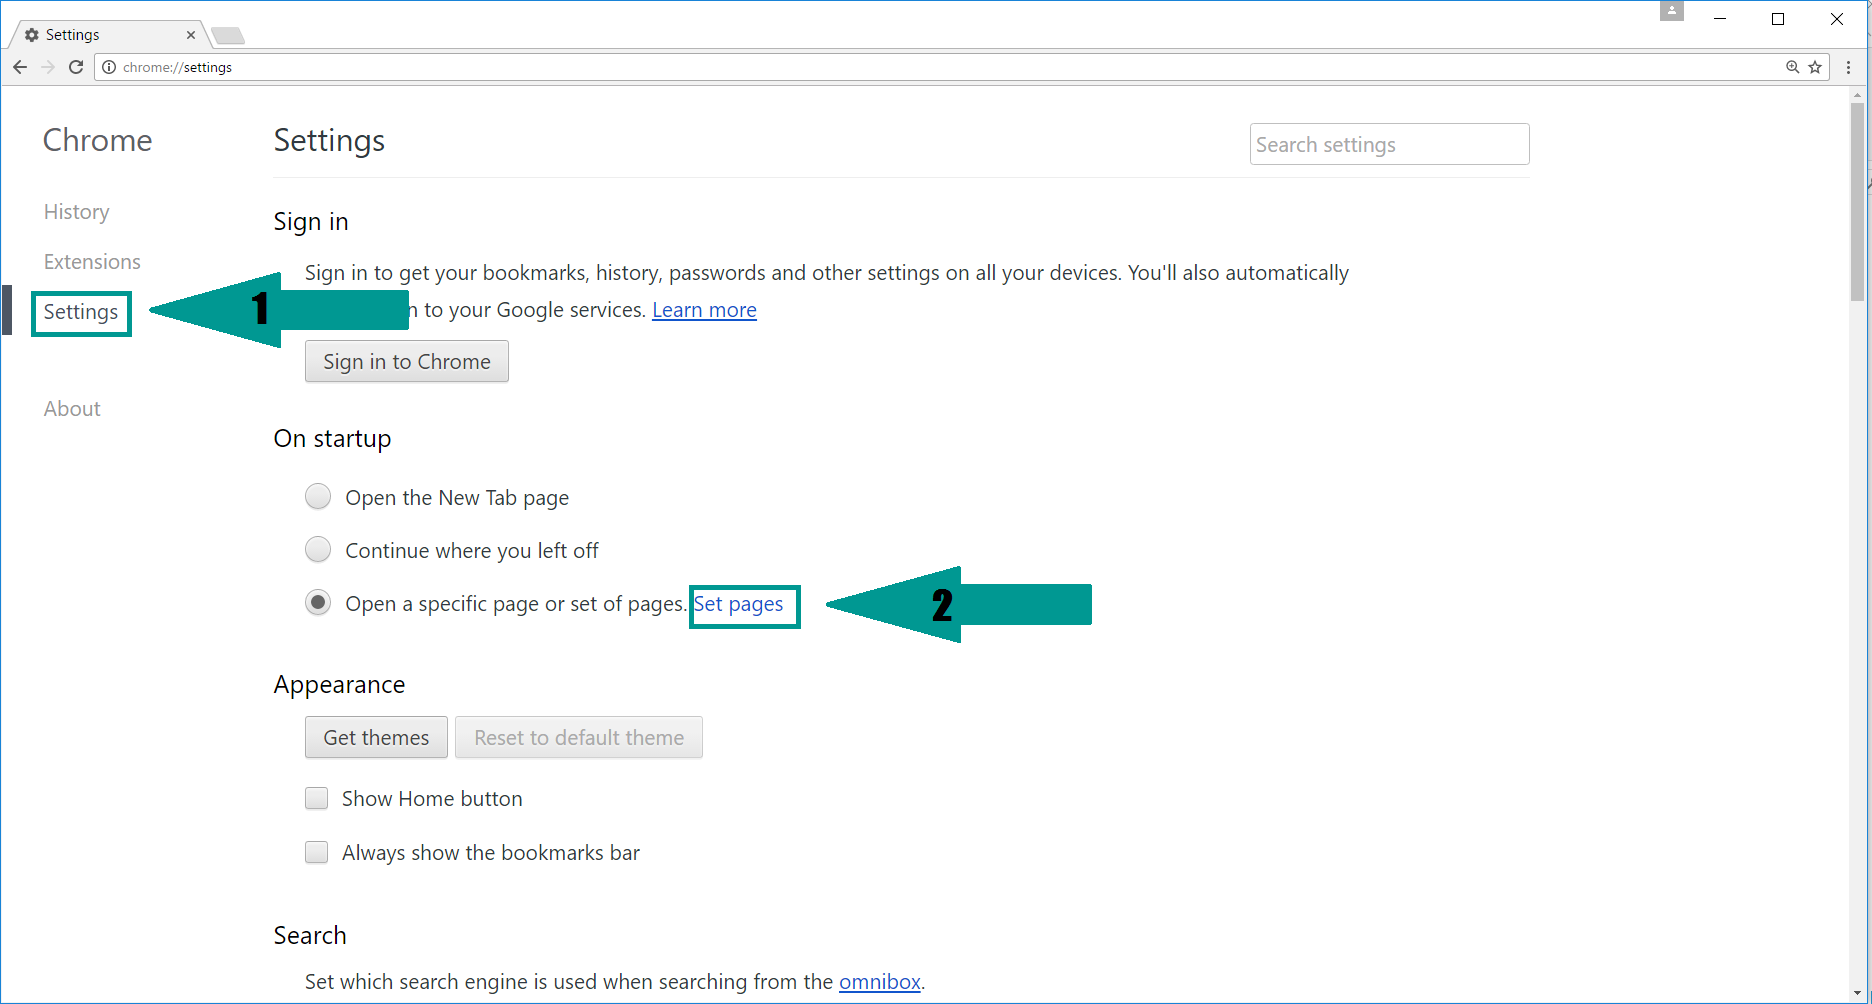
-
3) Again in the left menu, under Chrome, Click on “Settings“. Go under “On Startup” and set a new page.
-
4) Afterward, scroll down to “Search“, click on “Manage search engines“.
-
5) In the default search settings list, find the unknown search engine and click on “X“. Then select your search engine of choice and click “Make default“. When you are ready click “Done” button in the right bottom corner.
-
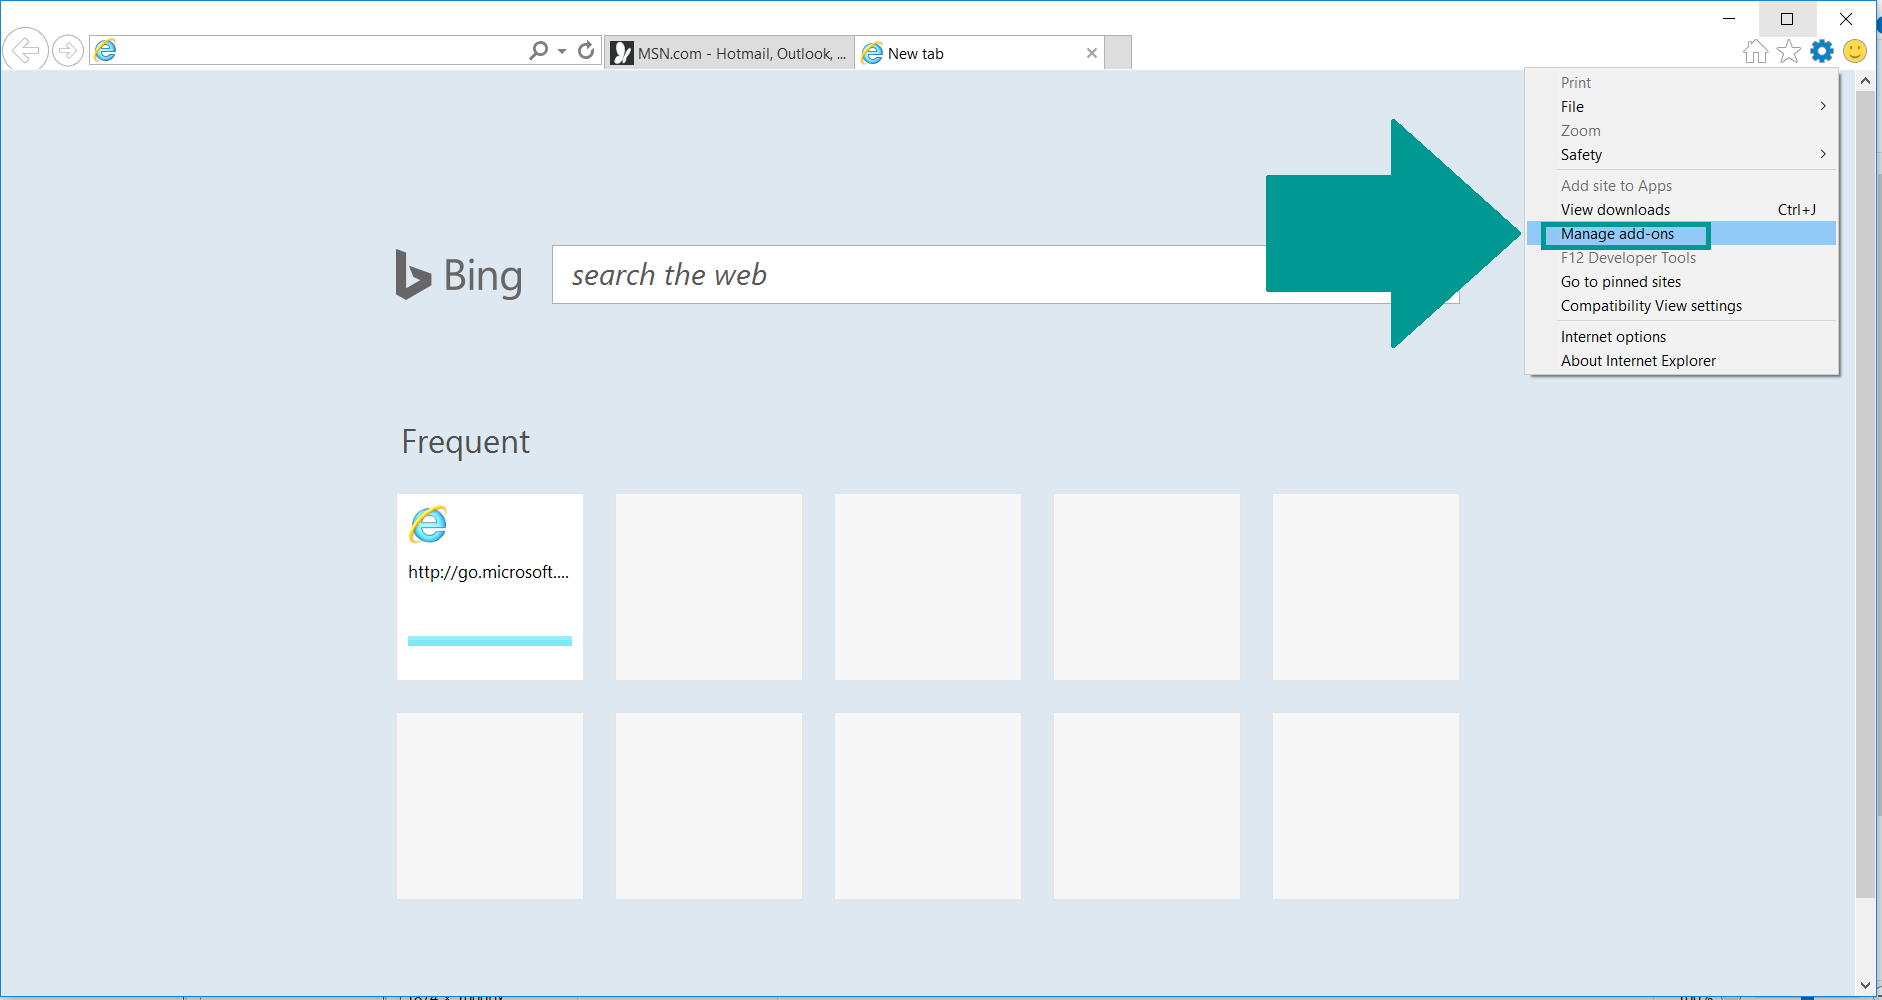
1) Start Internet Explorer. Go to the “Tools” menu and click on “Manage add-ons“.
-
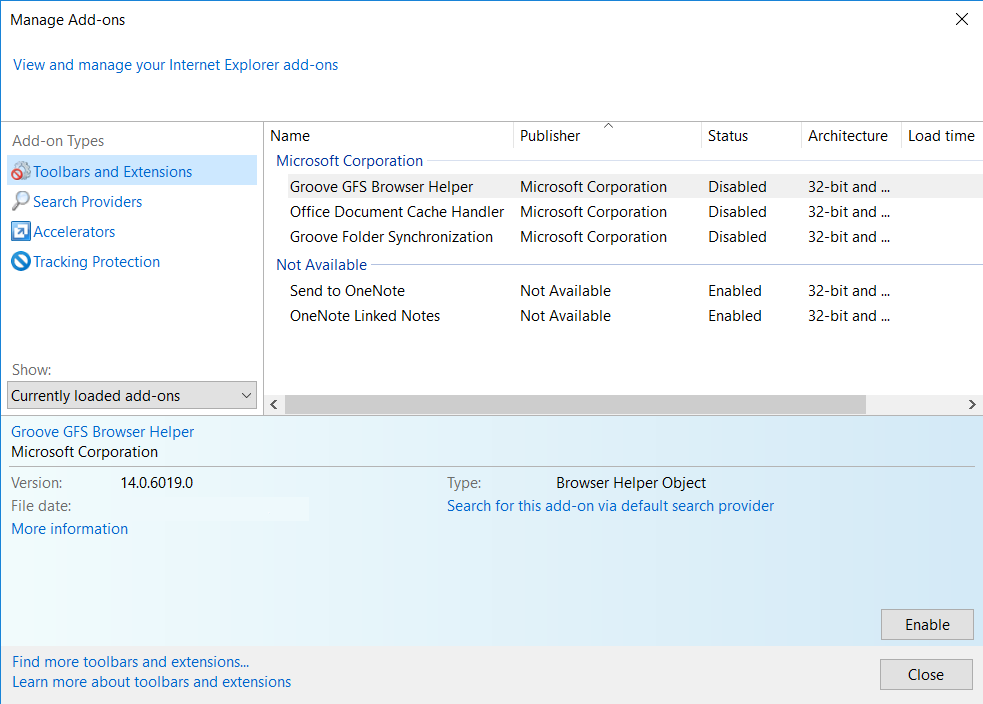
2) In the “Manage add-ons” window, bellow “Add-on Types“, select “Toolbars and Extensions“. If you see a suspicious toolbar, select it and click “Remove“.
-
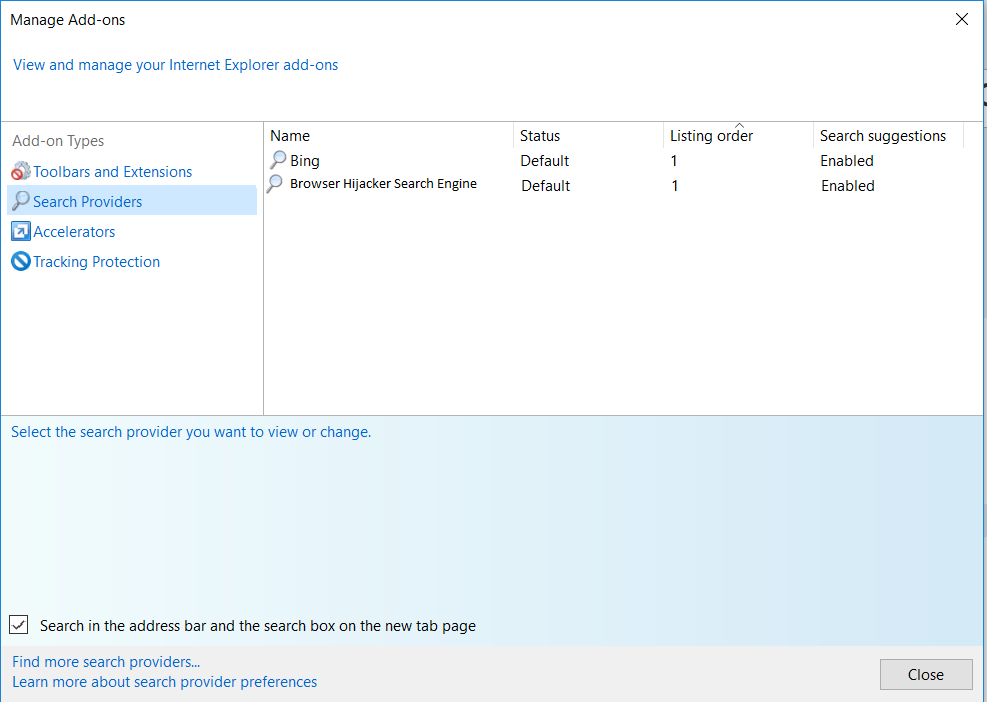
3) Then again in the “Manage Add-ons” window, in “Add-on Types“, Select “Search Providers“. Chose a search engine and click “Set as default“. Select the unknown search engine and click “Remove and Close”.
-
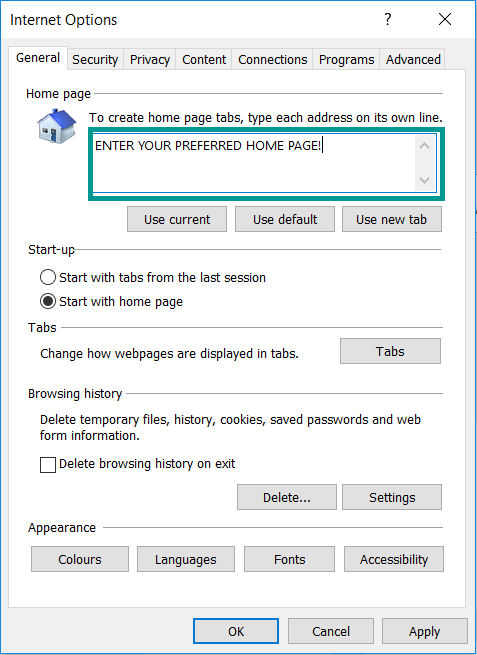
4) Open the Tools menu, select “Internet Options”.
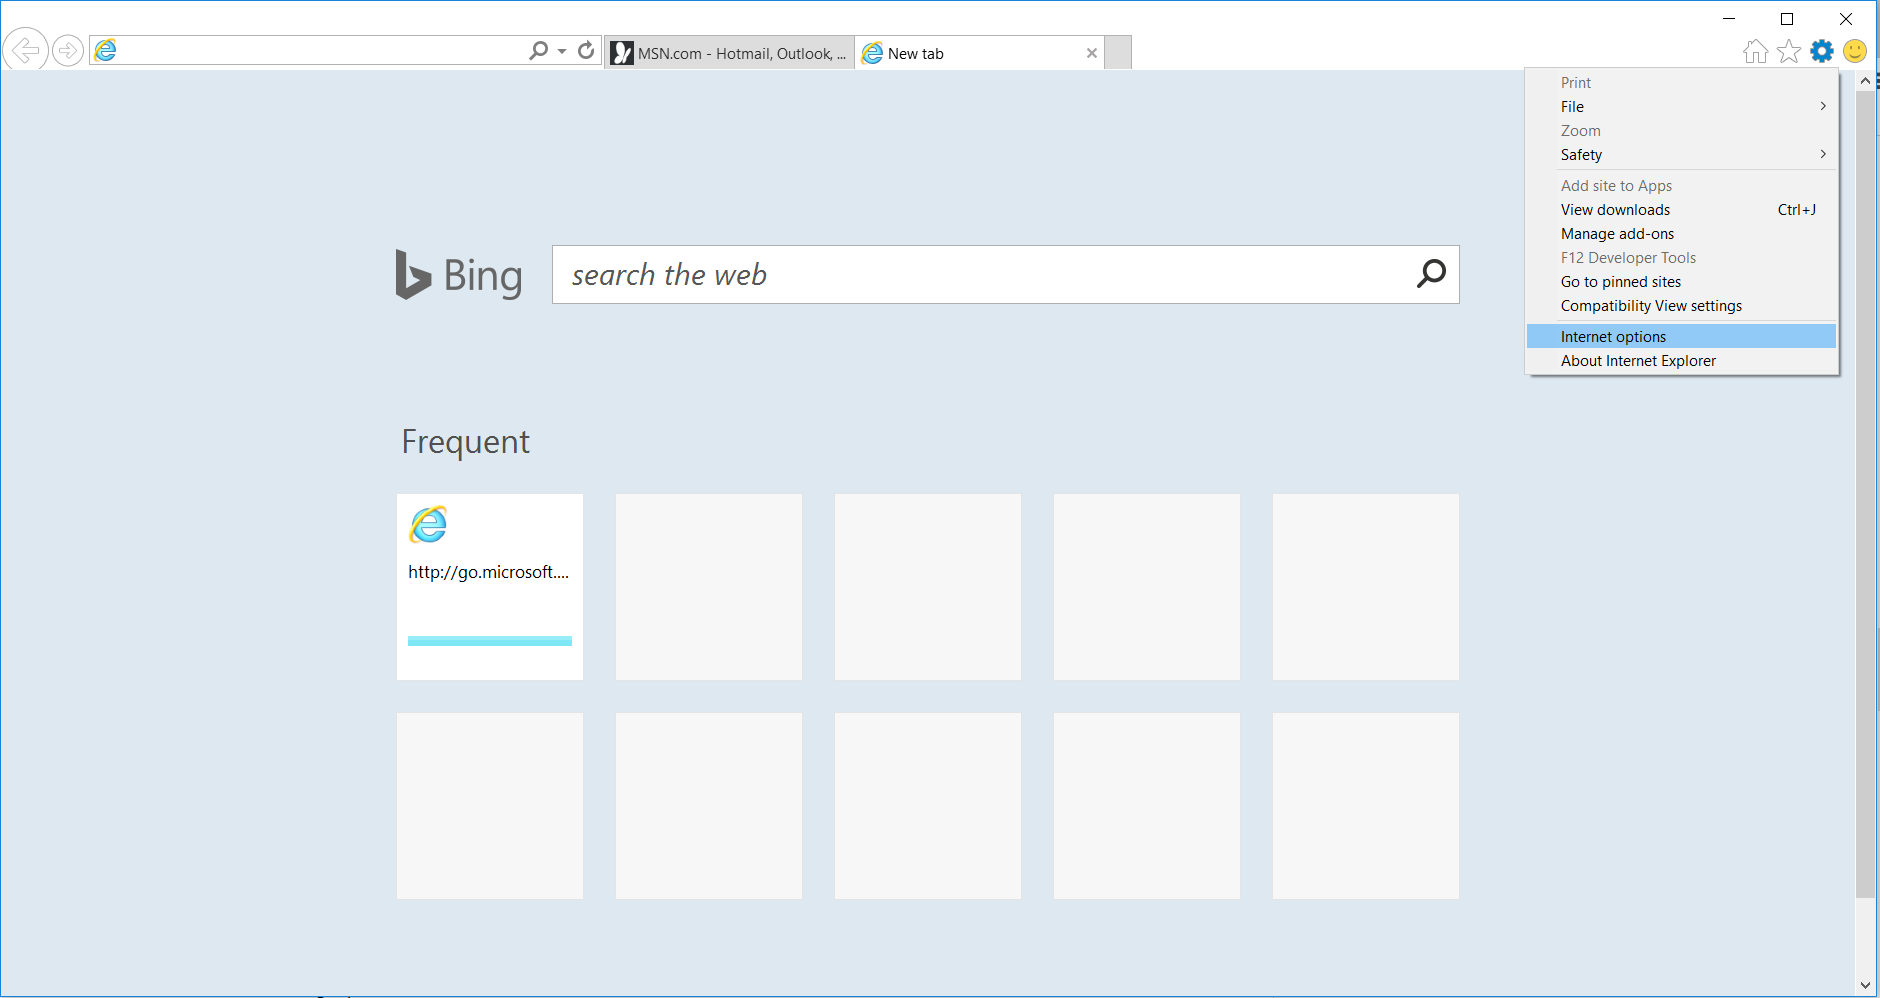
-
5) In the “General” tab, in “Home page”, enter your preferred page. Click “Apply” and “OK”.
STEP IV: Remove Completely Play-bar.net Browser Hijacker Using SpyHunter Anti-Malware Tool
SpyHunter anti-malware tool will diagnose all current threats on the computer. By purchasing the full version, you will be able to remove all malware threats instantly. Additional information about SpyHunter / Help to uninstall SpyHunter
STEP V: Repair Windows Registry
-
1) Again type simultaneously the Windows Button + R key combination
2) In the box, write “regedit”(without the inverted commas) and hit Enter
3) Type the CTRL+F and then write the malicious name in the search type field to locate the malicious executable
4) In case you have discovered registry keys and values related to the name, you should delete them, but be careful not to delete legitimate keys
Further help for Windows Registry repair
STEP VI: Preventive Security Measures
-
1) Enable and properly configure your Firewall.
2) Install and maintain reliable anti-malware software.
3) Secure your web browser.
4) Check regularly for available software updates and apply them.
5) Disable macros in Office documents.
6) Use strong passwords.
7) Don’t open attachments or click on links unless you’re certain they’re safe.
8) Backup regularly your data.